Changing live configuration
We don't
need to change the configuration in Visual Studio and redeploy our
cloud package just to make configuration setting changes. We're provided
with a nice text editor in the portal to make changes on the fly.
Assume our connection string needs to be changed, we can do that. Need
more instances of a role, we can manage that as well!
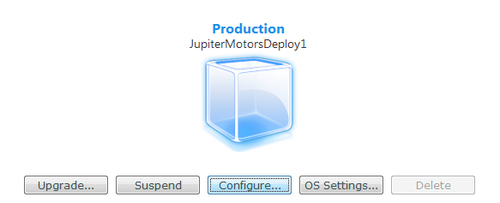
To do this, go to our Hosted Service page and click the Configure... button below our deployed package (cube).
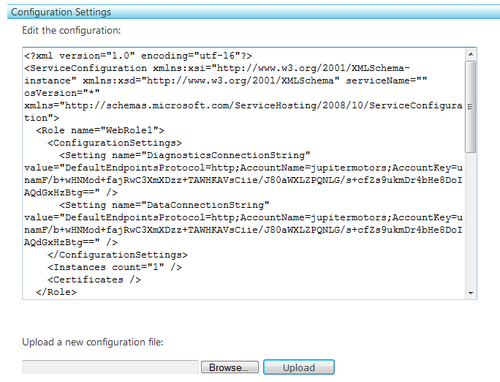
The page with the text
editor will be displayed. We can make our changes right in this textbox
if we want. We can also upload a new configuration file from our Visual
Studio build. Make the necessary changes or browse to the new file and
click the Upload button. Once the changes have been made manually or the new file has been uploaded, click the Save button.
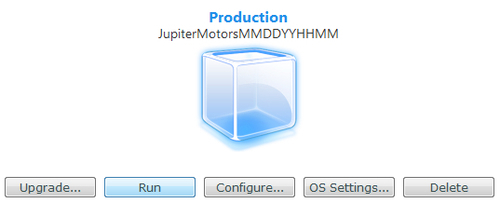
Upgrading the deployment
We have an option to upgrade
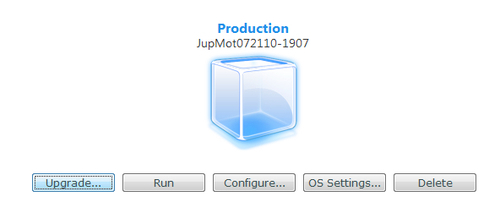
our deployment on the fly in the portal. At our Hosted Service page, all
we need to do is click the Upgrade...
button. A quick note for us to remember: we can upgrade a deployment as
long as service model is identical. In other words, we cannot upgrade
if we added or deleted a role to our cloud project.
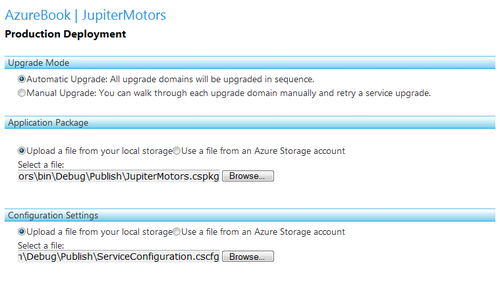
We will be asked a lot of the
same information as the initial deployment (Application Package file,
Configuration Settings file, Operating System Settings, and Deployment
Name) but we do have two new options: Upgrade Mode and Service Upgrade.
For the Upgrade Mode, we can
choose whether we want Windows Azure to upgrade our upgrade domains in
sequence, or if we want to upgrade manually. Wait a second! We first
need to understand what an upgrade domain. Upgrade domains
are logical groupings of running instances. There are two upgrade
domains by default. For example, imagine we had one role, with 10
different instances of it running. Now that there are two upgrade
domains, each one would have five instances. With this upgrade mode, we
could have Windows Azure automatically upgrade the first five instances
in the first upgrade domain, followed by the next five instances in the
other upgrade domain, or we could do it ourselves (maybe we want to
upgrade the second upgrade domain first, then upgrade the first one).
The next part of the upgrade process that we haven't yet seen is the Service Upgrade.
What's this? With service upgrade, we can update only one role in the
cloud project. Consider this example. We find out one of our roles has a
bug in it and we fix it. Do we really need to upgrade everything? No,
we don't have to tinker with anything else. What's the first rule we
should always follow? Never touch anything more than we need, especially
if it's running perfectly as it is. This allows us to do just that!
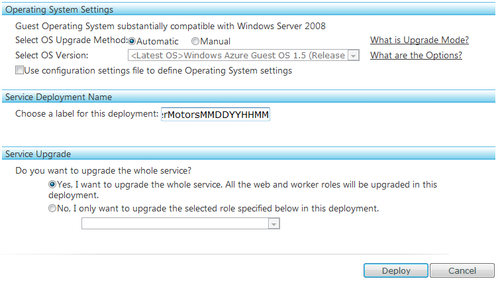
Once you have finished filling out all of these options and information, just click the Deploy button.
Running the deployment
It's
the time that we all have been waiting for! We've deployed, changed
configuration, and upgraded the deployment. Now it's time to get it
running!
On our Hosted Service page, all we need to do it click the Run button to get things underway.
Once again, during the process
when the deployment is started, the portal will give us updates along
the way. Once you see the green checkmarks alongside each of our roles,
we know it's all done and running!
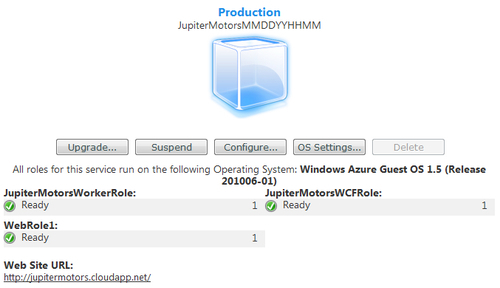
At this
point, we should be able to go to the URL below our deployment and see
our application in action! It should act identical to our application in
our development fabric as long as we choose a compatible OS to run our
service on!
