Installing Exchange Server 2007 on a Server System
After
the Exchange 2007 prerequisites have been installed on the server that
will become the Exchange 2007 system, the next step is to install the
Exchange 2007 application.
Note
In
an environment where you have front-end and back-end servers, choose to
migrate all of the front-end server(s) first before you install the
back-end servers. With Exchange 2007, Client Access servers (CAS) can
serve as both an Exchange 2007 CAS server and are fully functional as
Exchange 2000 or 2003 front-end servers. This allows you to install a
new Exchange 2007 CAS server and remove Exchange 2000 or 2003 front-end
servers to complete the total replacement of all Exchange 2000 or 2003
front-end servers from the Exchange organization.
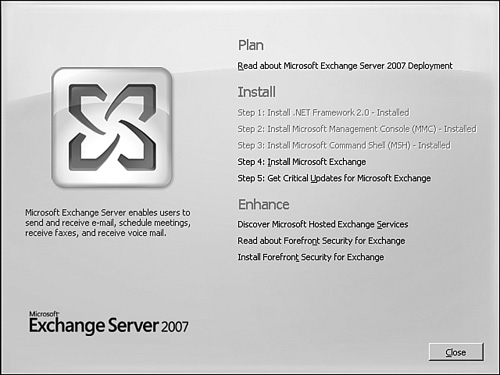
With the Setup Wizard still active, similar to what is now shown in Figure 2, do the following:
1. | Click Step 4: Install Microsoft Exchange.
|
2. | In the Microsoft Exchange Server Installation Wizard dialog box, on the Introduction page, click Next.
|
3. | At
the License Agreement page, after reviewing the license agreement,
click I Accept the Terms in the License Agreement, and then click Next.
|
4. | At
the Customer Feedback page, select whether to participate in the
Customer Experience Improvement Program by sending feedback
automatically to Microsoft, and then click Next.
|
5. | At the Installation Type page, select the type of Exchange Server 2007 installation (Typical or Custom).
|
If
you have various existing Exchange 2000 or 2003 server roles, such as
bridgehead servers, front-end servers, and back-end servers, the
process is to migrate each server role in a logical sequence. The
proper sequence is as follows:
1. | Migrate all front-end servers to Exchange 2007 Client Access servers first.
| 2. | Then migrate all bridgehead servers to Exchange 2007 Hub Transport servers second.
| 3. | Finally, migrate back-end servers to Exchange 2007 Mailbox servers.
|
The
reason you need to migrate Exchange 2000 or 2003 front-end servers to
Exchange 2007 Client Access servers first is because an Exchange 2007
Client Access server can fully host Exchange 2000 or 2003 front-end
services as well as Exchange 2007 Client Access server functions. In
contrast, an Exchange 2003 front-end server can only host the front-end
process of an Exchange 2003 back-end server. Before you can migrate
mailboxes from Exchange 2003 to Exchange 2007, the front-end server
supporting the back-end server needs to be replaced with an Exchange
2007 Client Access server.
After the
front-end servers have been replaced, proceed with the installation of
bridgehead servers being replaced one for one with Hub Transport
servers. Hub Transport servers will service all Exchange 2000, 2003,
and 2007 routing functions. Unlike the requirement for front-end
servers to be replaced by Exchange Client Access servers before
mailboxes are moved to Exchange 2007, all bridgehead servers do not
necessarily need to be replaced by Hub Transport servers before the
migration of mailboxes. Bridgehead servers will continue to
successfully route information for both the Exchange 2003 and Exchange
2007 environment as long as at least one routing group connector exists
between each Exchange routing group in the organization.
After
the front-end and bridgehead servers are replaced by CAS and Hub
Transport servers, install Exchange 2007 Mailbox server systems and
move mailbox data to the new servers.
|
|
6. | On
the Installation page, if there is a need to change the installation
folder, click Browse before proceeding and specify a path for the
Exchange Server installation. Click Next to continue. |
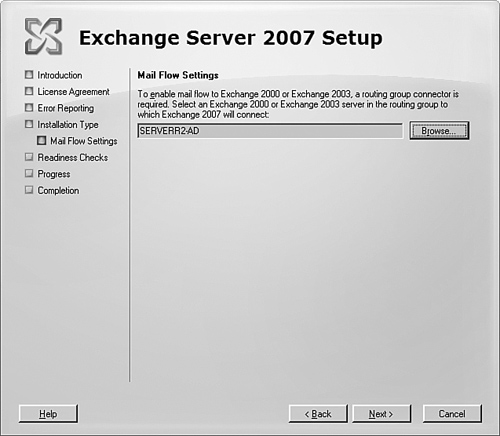
7. | In
an Active Directory where Exchange 2000 or 2003 already exists, the
next page will be the Mail Flow Server page. If you end up with an
Exchange Organization Page prompting you to enter the name of the new
Exchange organization, STOP! For some reason, the Exchange 2007
installation is not recognizing your existing Exchange 2000 or 2003
environment. You need the Mail Flow Server page for interoperability
with an existing Exchange environment. Assuming you have the Exchange
Mail Flow Server page, enter in the name of an Exchange server to which
you want this new Exchange 2007 server to route messages, similar to
what is shown in Figure 3.
This mail flow creates a routing group connector between this new
Exchange 2007 server and the Exchange 2000 or 2003 server. The Exchange
2000 or 2003 server you choose would be a bridgehead server in an
environment with bridgehead servers; however, in an environment without
a bridgehead server, the rule of thumb is to choose the Exchange 2000
or 2003 server that will be the last Exchange 2000 or 2003 server to be
removed in your environment so that communications will remain
operating as long as Exchange 2000 or 2003 exists in your environment.
Note
To
create a new routing group connector between Exchange 2007 and the old
Exchange 2000 or 2003 environment, you can use something similar to the
following syntax:
New-RoutingGroupConnector –Name "E2003 to E2007 RGC" –SourceTransportServers "E2007Hub1.companyabc.com"
–TargetTransportServers "E2003BH1.companyabc.com" –Cost 10 –Bidirectional $true –PublicFoldersEnabled $True
|
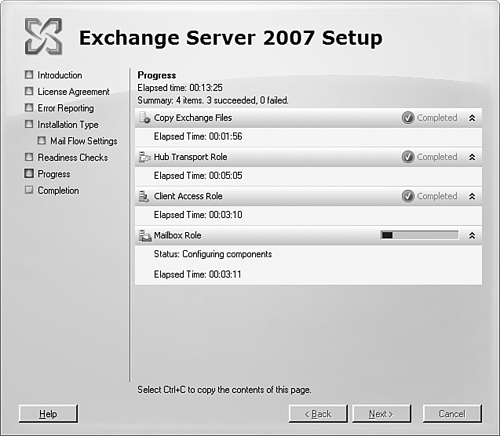
8. | On
the Readiness Checks page, the Installation Wizard is verifying that
the appropriate Exchange Server prerequisites have been installed. View
the status to determine if the organization and server role
prerequisite checks completed successfully, and then click Install to
implement the first Exchange Server 2007 server in the organization.
This process might take a while as the Exchange software is installed
on the system. During this process, you will see a screen similar to
the one shown in Figure 4.
Note
If
there are any errors returned or prerequisites not met on the Readiness
Checks page, it is necessary to address these issues and retry the
setup.
|
9. | After the installation has been completed, click Finish.
Note
To perform an unattended installation of Exchange 2007, you can use something similar to the following syntax:
Setup/mode:install /roles:ClientAccess,HubTransport,Mailbox /LegacyRoutingServer:Exch2000.companyabc.com
|
After
replacing an old Exchange 2000 or 2003 front-end server with an
Exchange 2007 Client Access server, confirm you can render an Outlook
Web Access page on the new Client Access server to mailboxes on the old
Exchange 2000 or 2003 Mailbox server. After you confirm that all
functions of the new Client Access server seem to operate, you can
remove the old Exchange 2000 or 2003 front-end server for Exchange.
Continue
to install new Exchange 2007 Client Access servers to replace all
Exchange 2000 or 2003 front-end servers, and then proceed with the same
steps to install new Exchange 2007 Mailbox servers, this time choosing
a custom installation of a Mailbox server. When a new Exchange 2007
Mailbox server has been added to the organization and you are ready to
move mailboxes from Exchange 2000 or 2003 to Exchange 2007, proceed to
the next section.
