The basic building block of a smart client Windows
application is the Windows Form. Windows Forms, a key technology of the
.NET Framework, provide
Libraries for creating a UI
Libraries for common tasks, such as reading and writing to the file system
A set of controls that provide common UI elements
The Windows Forms Designer is
the Visual Studio visual design surface for working with Windows Forms.
Use the Windows Forms Designer for these tasks:
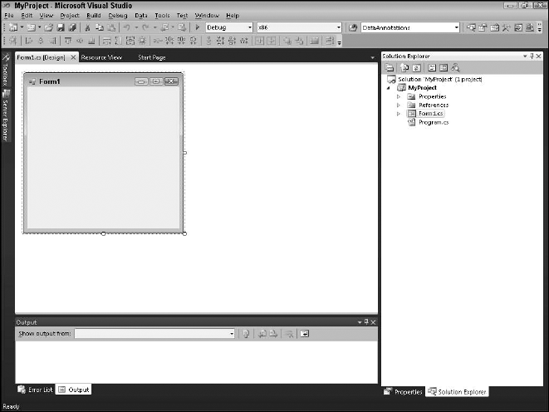
Figure 1
displays the Windows Forms Designer in Visual Studio. The next section
walks you through creating a new Windows application and using the forms
designer.
1. Creating your first smart client project
Visual Studio uses
Solutions and Projects containers to organize all the files necessary to
build an application. When you create a new Windows application, Visual
Studio creates all the files you need and prepares the development
environment with the windows, designers, and editors that you need to
work with your new project.
To create a new smart client project in Visual Studio, follow these steps:
Choose File=>New=>Project.
The New Project window appears.
|
You can also open the New Project window by pressing Ctrl+Shift+N. On some editions of the product, you can choose File=>New Project to create a project.
|
|
In the Installed Templates hierarchy, click the programming language you want to use.
A list of project templates that are available for that programming language appears on the right.
Windows
applications created by using Visual Basic, C#, managed C++, and F# use
the .NET Framework.
Click the Windows Forms Application icon.
Enter a unique name for your application in the Name text box.
Although
you can give your application any name you want, you probably should
choose a name that describes your application. Many developers include
the word Windows or the abbreviation Win in an application's name to
distinguish it from other kinds of applications, such as Web or mobile
applications. In this example, I use the default name WindowsApplication1.
Click OK to create the application.
Visual
Studio creates a new solution with a Windows project. A new Windows
Form is added to the project, and Visual Studio displays the form in the
Windows Forms Designer.
2. Saying, "Hello world!"
When you create a new
Windows application, Visual Studio generates all the code necessary to
display the Windows Form on the screen when you run your application. To
run your new Windows application, press Ctrl+F5. Visual Studio builds
your Windows application and displays a blank Windows Form.
Most Windows applications
use menus, text boxes, and buttons. These types of user interface
elements are controls. Follow these steps to add controls to make your
application say, "Hello world!":
Open the control toolbox by pressing Ctrl+Alt+X.
Make sure that you open the tab named All Windows Forms.
Drag and drop a label control from the toolbox onto the Form Designer.
Drag and drop a button control onto the forms designer.
Double-click the button control.
Visual
Studio creates a block of code to handle the button's Click event. The
Code Editor appears with the cursor flashing in the block of code.
Type this line in the Code Editor:
Press Ctrl+F5 to run your Windows Form.
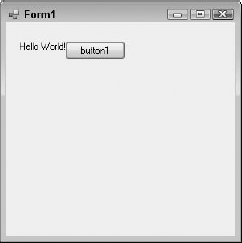
When you click the button on your form, Hello World! appears on the label you add in Step 3, as shown in Figure 2.