The following section demonstrates the creation of a simple “Hello World” service in a Windows Azure hosted application.
Note
If you are carrying out
the upcoming steps with Visual Studio 2008, you will need to be in an
elevated mode (such as Administrator). A convenient way of determining
whether the mode setting is correct is to press the F5 key in order to
enter debug mode. If you receive an error stating “the development fabric must be run elevated,” then you will need to restart Visual Studio as an administrator.
Also, ensure the following on your SQL Express setup:
SQL Server Express Edition 2008 must be running under the ‘.\SQLEXPRESS’ instance
your Windows account must have a login in .\SQLEXPRESS
your login account is a member of the sysadmin role
If SQL Express isn’t configured properly, you will get a permissions error.
1. Create a Cloud Service Project
First you need to open the New Project window to create a new cloud service project using VB.NET or C# (Figure 1).

2. Choose an ASP.NET Web Role
After you click OK on the New Project window, the New Cloud Service Project wizard will start. You will then see a window (Figure 2) that will allow you to choose the type of role that you would like as part of your service deployment.

For the Hello World project,
you will only need the ASP.NET Web Role type. Once you select this role,
you can choose the role name.
3. Create the Solution
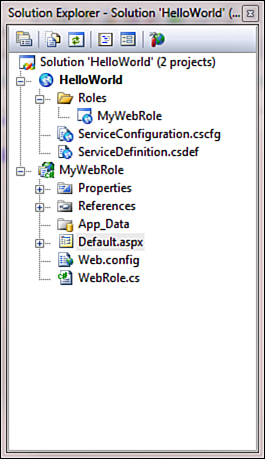
After clicking OK, the wizard will generate the solution, which you can then view using the Solution Explorer window (Figure 3).

4. Instantiate the Service
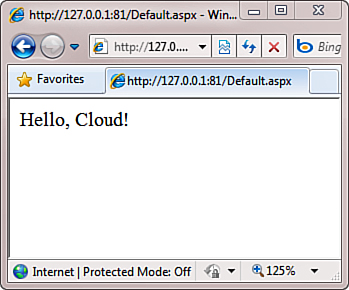
Now you can open the Default.aspx file using the Solution Explorer window, put “Hello, Cloud!” in the Body element and press F5 to run. You should see something like what is shown in Figure 4.

This example was executed
locally on IIS. If we were to deploy this service into the Windows Azure
cloud, it would still be running in IIS because it is hosted in a Web
role.