To implement an ADO.NET Data Service, you first
create a Web application, add your data source, and finally add a
service to your project. The goal of the next example is to expose data
within a master-detail relationship from the Northwind database via an
entity data model. Run Visual Studio 2010 and create a new Web
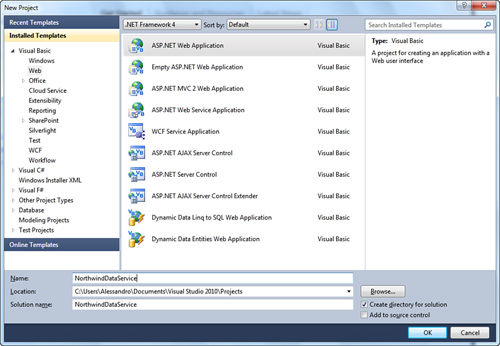
application, naming the new project NorthwindDataService. Figure 1 shows the New project window to explain the selection.
When the new project is ready, add a new entity data model to the project pointing to the Northwind database, ensuring that Customers, Orders, and Order_Details tables are selected and correctly mapped into the new EDM.In Solution Explorer right-click the project name and select Add New Item.
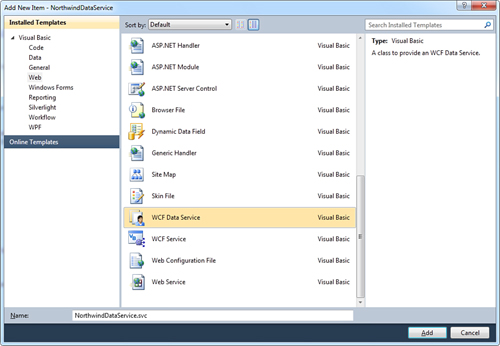
In the Add new item dialog, search for the ADO.NET Data Service
template and name the new service as NorthwindService.svc, as shown in Figure 2.
After a
few seconds the WCF service is added to the project. If you
double-click the NorthwindService.svc file, the code editor lists the
auto-generated code expressed in Listing 1.
Listing 1. Starting Code for a Data Service
Imports System.Data.Services
Imports System.Data.Services.Common
Imports System.Linq
Imports System.ServiceModel.Web

Public Class NorthwindService
    ' TODO: replace [[class name]] with your data class name
    Inherits DataService(Of [[class name]])

    ' This method is called only once to initialize service-wide policies.
    Public Shared Sub InitializeService(ByVal config As DataServiceConfiguration)
        ' TODO: set rules to indicate which entity sets and service operations are
        'visible, updatable, etc.
        ' Examples:

        'config.SetEntitySetAccessRule("MyEntitySet", EntitySetRights.All)
        'config.SetServiceOperationAccessRule("MyServiceOperation",
                                              ServiceOperationRights.AllRead)
        config.DataServiceBehavior.MaxProtocolVersion = _

              DataServiceProtocolVersion.V2
    End Sub
End Class
|
This is the point where we need
to make some considerations. First, WCF Data Services are implemented
by both the System.Data.Services.dll and System.Data.Services.Client.dll
assemblies. The most important namespaces exposed by such assemblies
are System.Data.Services, System.Data.Services.Common, and System.Data.Services.Client. On the server side, they need to work with the System.ServiceModel namespace that provides support for WCF. The entry point of a Data Service is the System.Data.Services.DataService(Of T) class that is the base class for each service. If you take a look at the code, you see that the NorthwindService class inherits from DataService(Of T). Comments suggest replacing the standard [[class name]] identifier with the appropriate one, which is NorthwindEntities in our case. With that said, the inheritance declaration becomes the following:
Inherits DataService(Of NorthwindEntities)
Notice how the InitializeService method (invoked to start the service) receives a config argument of type DataServiceConfiguration; with this class you can configure the service behavior, for example access authorizations for your data source. The SetEntitySetAccessRule
enables establishing access authorizations on entities from the EDM.
For example, if you want clients to gain full access on the Customers entity, you write the following line:
config.SetEntitySetAccessRule("Customers", EntitySetRights.All)
You need to provide an access
rule for each entity. As an alternative, you can use an * character for
providing the same access level to all entities. This is not the best
approach, but it can be useful for demonstration purposes. With that
said uncomment the line of code for the previously mentioned method and
replace the default line with the following one:
'Allows clients performing complete C.R.U.D. operations on all entities
config.SetEntitySetAccessRule("*", EntitySetRights.All)
The access rule is set via one of the EntitySetRights enumeration’s values, which are summarized in Table 1
Table 1. EntitySetRights Enumeration’s Values
| Value | Description |
|---|
| All | Provides full access to entities. |
| AllRead | Provides reading access to both multiple and single entities. |
| AllWrite | Provides writing access to both multiple and single entities. |
| None | No authorization offered. |
| OverrideEntitySetRights | If entities have explicit access rules, these are overridden with the ones specified here. |
| ReadMultiple | Provides reading access to multiple entities. |
| ReadSingle | Provides reading access to a single entity. |
| WriteAppend | Allows adding new entities. |
| WriteDelete | Allows deleting entities. |
| WriteMerge | Allows merging entities with existing data. |
| WriteReplace | Allows replacing entities. |
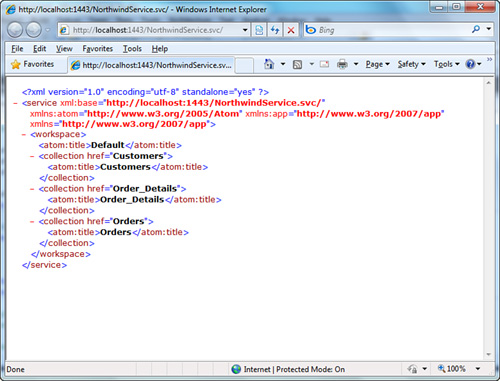
Just remember that if you want to perform classic insert/update/delete operations, you need to provide All access level. Basically you just completed the most basic steps for getting a Data Service up and running. If you now press F5
to start the application, your web browser shows the result of the XML
serialization of your data, according to the REST model. This result is
shown in Figure 3.
|
If you do not get the result shown in Figure 3
and instead see an RSS feeds reading view, you need to turn off such
view in your browser. If you run Internet Explorer, you can select Tools, Internet Options, Content and then click the Settings button, finally you unflag the Turn On Feed Reading View check box. You will need to restart Internet Explorer for the change to take effect.
|
Notice how the service tag
stores the service address. This is important because you use such an
address later when instantiating the service. Also notice how the three
entitysets (Customers, Orders, and Order_Details)
are serialized. Now type the following Uri in the browser address bar,
replacing the port number with the one you see on your machine:
http://localhost:1443/NorthwindService.svc/Customers
This line fetches the full customers list, as shown in Figure 4.
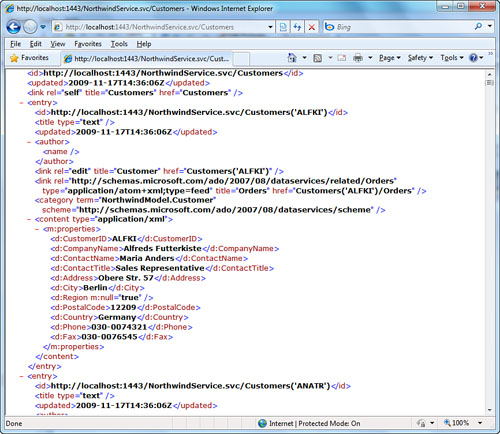
You can simply scroll the page to see how each customer is serialized in the query result. If you look at Figure 4,
you can easily understand how each customer property is represented.
You can also perform some more complex queries. For example, you might
want to retrieve master-details data such as all orders from a specific
customer, as in the following Uri:
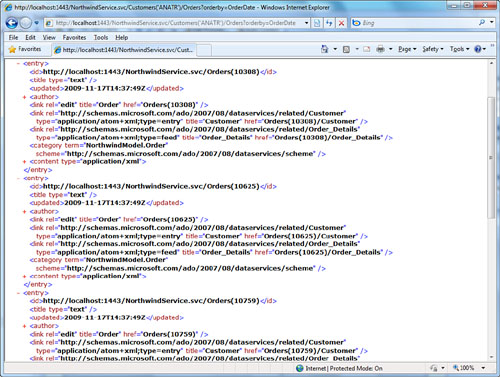
http://localhost:1443/NorthwindService.svc/Customers('ANATR')/Orders?orderby=OrderDate
This Uri will retrieve the result shown in Figure 5.
You can perform complex
queries via Uri, and this is one of the allowed modes for querying data
from client applications, so you need to understand how query strings
are composed. For this, read the following document from the MSDN
Library for a full list of supported operators: http://msdn.microsoft.com/en-us/library/cc668784(VS.100).aspx.
Generally you cannot query your service this way, whereas you will
instead do it from a client application. This is what the next section
begins to show.
Deploying WCF Data Services to Internet Information Services
In
real-world applications you will probably host your Data Services on
web servers such as Internet Information Services. Because they are WCF
services, you will deploy them with related techniques described in this
page on the MSDN Library: http://msdn.microsoft.com/en-us/library/ms730158(VS.100).aspx.
