1. | Launch
Setup.exe from the SharePoint installation location.
|
2. | Read the Microsoft software license terms. If you
accept the terms, click I Accept the Terms of This Agreement, and then
click Continue.
|
3. | Select
Server Farm as the installation type you want.
|
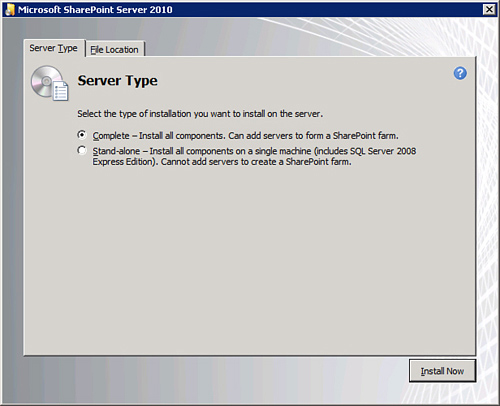
4. | From the Server Type tab, select Complete, and then
click Install Now. The installation begins (see Figure 4). The installation
takes a few minutes to complete.
Caution
At this point, you are again
given the option between doing a farm install or a standalone install.
Even though you selected a server farm install on the previous screen,
the default is to do a standalone install on this screen, which negates
the choice you made in the previous step and does a standalone install.
Before proceeding, be sure to change the radio button selection to
select Complete install.
|
5. | When the
installation is complete, select the Run the SharePoint Products and
Technologies Configuration Wizard Now check box, and then click Close.
|
6. | The wizard provides a warning about starting or
resetting services during configuration. Review the warning carefully.
If it is acceptable to start or reset the services listed, click Yes.
Caution
The SharePoint
Configuration Wizard restarts IIS. If you run the installation on a
mission-critical server, try scheduling this step during off hours or
during a scheduled downtime to avoid disruption of critical Internet
services.
|
7. | Select
Create a New Server Farm, and then click Next.
|
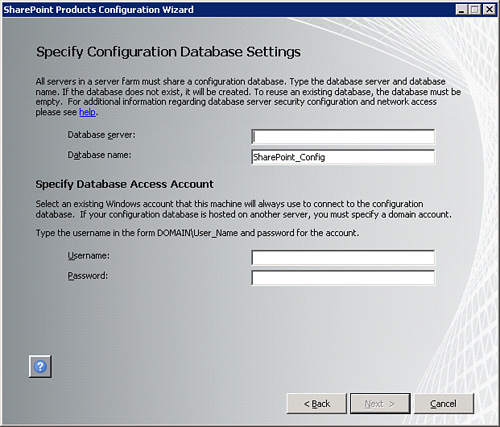
8. | In the Specify Configuration Database Settings dialog
box, enter the name of the database server and the name of the database
you want to use. In addition, specify the database access account in
this dialog box (see Figure 5). This is the
account that will be granted access to the database, and it will be the
SharePoint server farm account. Click Next to continue.
Tip
The user running setup
needs system administrator level access on the database specified here.
Setup uses the user’s credentials to grant minimal required permissions
to the database access account.
|
9. | The
Configuration Wizard requests a passphrase that is asked for when other
servers attempt to join the farm. Make sure you enter a strong
passphrase, and then click Next to continue.
|
10. | In this step, you configure the SharePoint Central
Administration Web Application. The Administration Web Application is
the site you use to perform all farm-level configurations. Enter a port
number you can remember easily or accept the default random port. It is
also possible to configure the authentication method for accessing
Central Administration, with the default being NTLM. It is recommended
that you use the default. Otherwise, Kerberos requires additional manual
steps that need to be performed by a domain administrator to make
Central Administration work after the Configuration Wizard closes. Make
your choice, and then click Next.
|
11. | Review the configuration settings that will be applied.
When you are satisfied with the settings, click Next to start the
installation. The installation takes several minutes to complete.
|
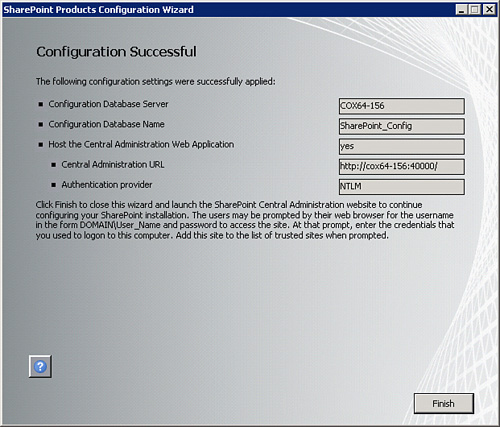
12. | When the wizard has completed the configuration, you
see a message confirming a successful configuration (see Figure 6).
If configuration was successful, click Finish.
|
13. | SharePoint
Central Administration launches automatically. At this point, you can
choose to participate in the Customer Experience Improvement Program.
After you make your selection, click OK to continue.
Note
Microsoft uses the data collected through the Customer
Experience Improvement Program to determine which bugs should get fixed
in service packs and to shape testing efforts for future releases. This
effort focuses on the most frequently used features. None of the data is
personally identifiable information (PII). Make sure to enable this
option if you want to cast a vote on which features should be tested.
|
14. | Accept
the default option, Walk Me Through the Settings Using This Wizard, and
then click Next.
|
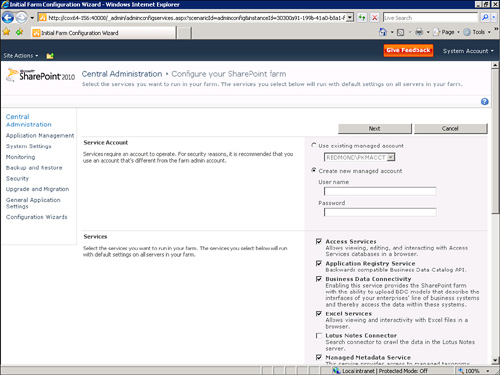
15. | In the
Service Account section, enter the credentials of a new account to use
as an application pool for the service applications or use the
SharePoint server farm account. In the Services section, select the
services you want to run in the farm. Make sure to select
PerformancePoint Service (see Figure 7).
Tip
Regarding security, a best
practice is to enter a new managed account in the Service Account
section instead of using the existing server farm managed account.
Caution
Depending on the computer
hardware, this step may time out if all services are selected. This may
happen especially if you select the Search service. If the process does
time out, you can restart the wizard. At this point, only unconfigured
services are available for configuration.
|
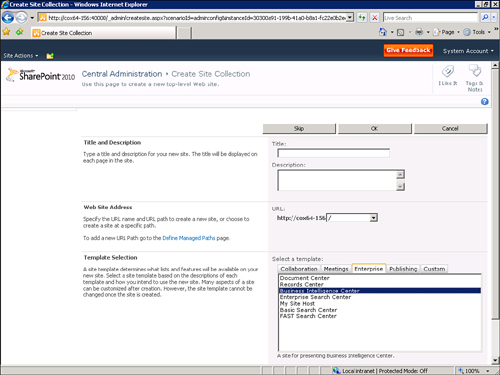
16. | Enter a
title for the site in the Title and Description section. In the Template
Selection section, select a template for the root site of the site
collection, and then click OK (see Figure 8).
|
