When you create a Flash video
(.flv) file using Adobe Flash, you insert the Flash video component in
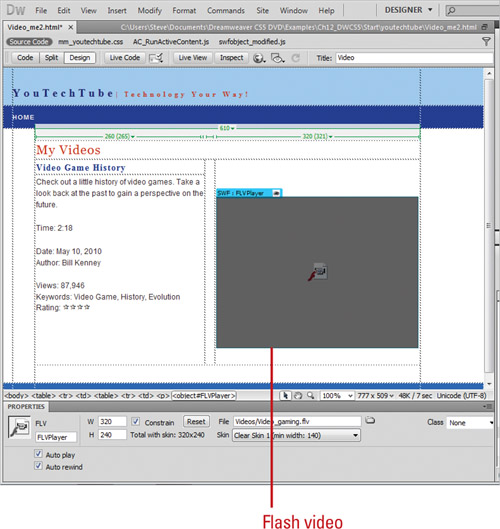
Dreamweaver. When you view the page in a browser, the component displays
the Flash video and playback controls. You can deliver the Flash video
in two delivery formats: Progressive Download Video or Streaming Video. Progressive Download Video
downloads the FLV file to the visitor’s computer and then plays it. The
video starts to play before the download is complete to speed up the
process. On the other hand, streaming video buffers the video on the Web server with Adobe Flash Media Server, and then plays it.
Insert a Flash Video
 Open the Web page you want to insert a Flash video.
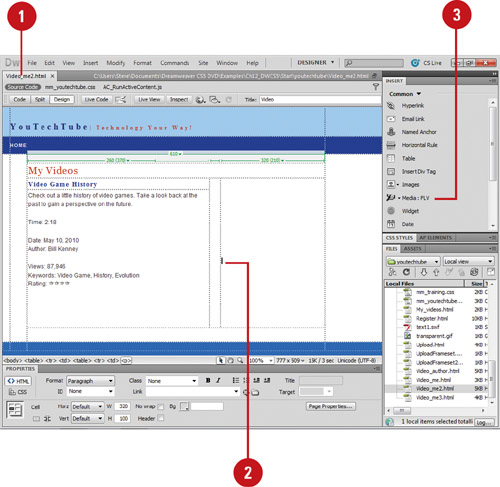 |
 Click to place the insertion point where you want the Flash video.
|
 Insert the Flash video using one of the following options:
- Click the Common tab on the Insert panel, click the Media arrow button, and then click FLV.
- Click the Insert menu, point to Media, and then click FLV.
|
 Click the Video Type list arrow, and then click Progressive Download Video or Streaming Video.
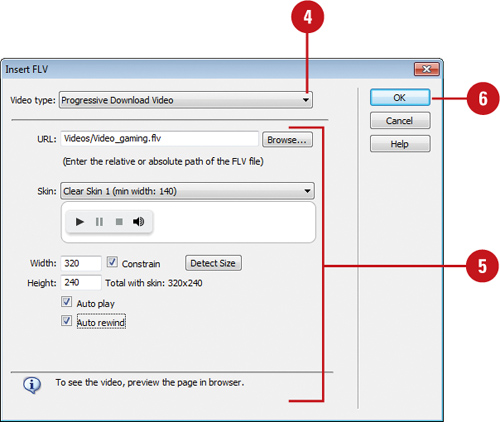 |
 Select from the following Flash video options:
- URL (Progressive). Specifies a relative or absolute path to the FLV file.
- Server URI (Streaming). Specifies the server name, program name, and instance name.
- Stream Name (Streaming). Specifies the name of the FLV file; .flv extension is optional.
- Skin. Click the Skin list arrow, and then select the appearance of the Flash Video component.
- Width and Height. Specifies the width and height of the FLV video (in pixels).
- Constrain. Select to maintain the same aspect ratio between the width and height.
- Live Video Feed (Streaming). Select to play the streaming live video content from the Flash Media Server.
- AutoPlay. Select to play the video when the page opens.
- Auto Rewind. Select to return the playback to the beginning.
- Buffer Time (Streaming). Specifies the time (in seconds) needed to buffer before the video starts to play.
 |
 Click OK.
Did You Know?
You can remove the code that detects the Flash Player version. Click the Commands menu, and then click Remove Flash Video Detection.
You can delete the Flash Video component.
Select the Flash Video component, and then press Delete.
You can edit the Flash Video component.
Select the Flash Video component placeholder, open the Properties panel, and then make your changes.
|
|
