Restoring Files from a
Backup
So far, you have
focused on the process of performing backup operations on a computer. Of
course, the primary purpose of creating backups is to enable restores.
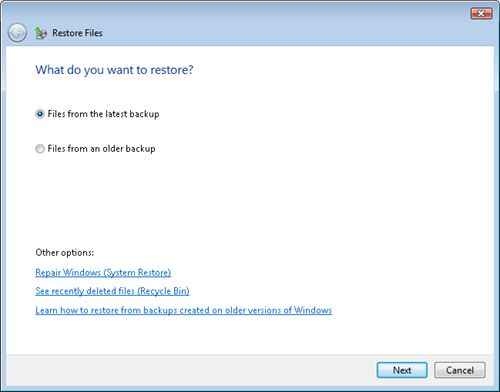
The process of restoring data is most easily started by clicking Restore
Files in the Backup and Restore Center. Figure 10 shows the initial screen of the Restore Files process.
Performing a
Restore Operation
The first step is to
determine whether you want to restore from the latest backup or from an
older backup. Because Windows Vista automatically keeps track of backup
operations on the local computer, there’s no need to provide additional
information. If, however, you want to restore from an earlier backup,
you can choose the date and time of that backup (see Figure 11).
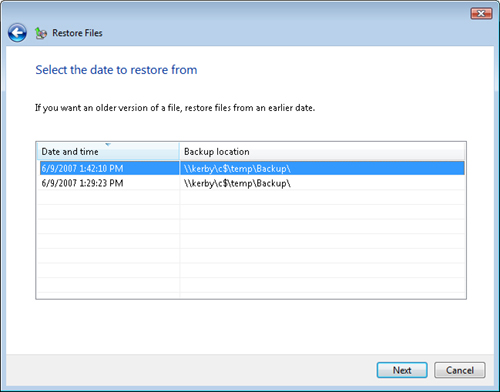
After you choose the
backup from which you want to restore, you’ll need to specify which data
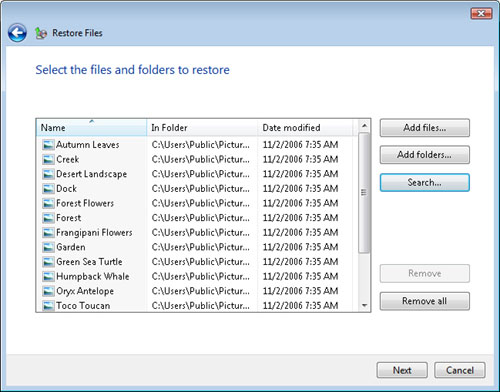
should be copied back to the computer. If you know specifically which
files and folders you want to recover, you can choose to add them using
the Add Files and Add Folders buttons. Another useful option is to use
the Search button to find particular files or types of files. Regardless
of the method you use, the Restore Wizard shows which files will be
restored (see Figure 12).
The next step requires you
to specify the destination for the restore operation (see Figure 13). In many cases, you will want to restore files
over their original copies. For example, if you accidentally delete a
Microsoft Word document, you probably want it to be restored to the same
location.
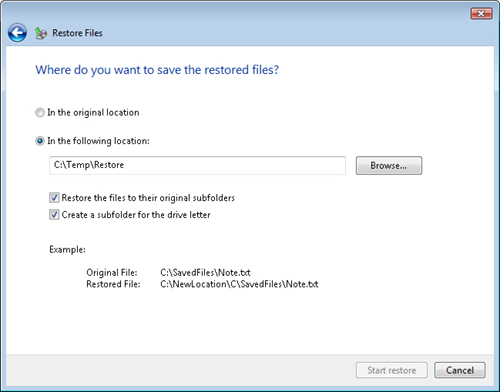
In other cases,
however, you might want to choose an alternate location. This is useful
when you want to compare the backup copy of the file with the current
version, or if you want to reorganize the way in which the files are
stored. The options allow you to specify or browse to the destination
path location. You can also choose whether you want to create
subfolders. Selecting this option re-creates the directory structure of
the original files. Finally, if multiple hard disks were backed up, it
can be helpful to create a separate top-level subfolder for each hard
disk. The Example section provides information about how the resulting
files will appear.
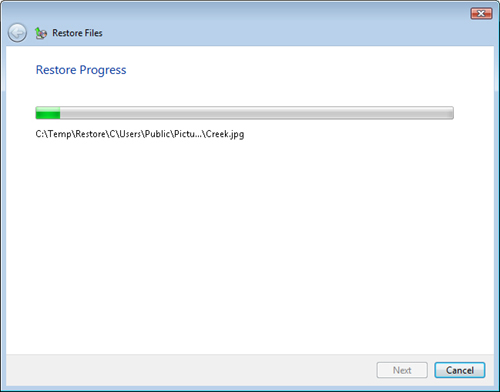
Click Start Restore to
begin copying the files to the destination location. Figure 14 shows the progress display of the restore operation. When the
operation is complete, click Finish. You can then use Windows Explorer
to view the recovered data.
Using Advanced
Restore
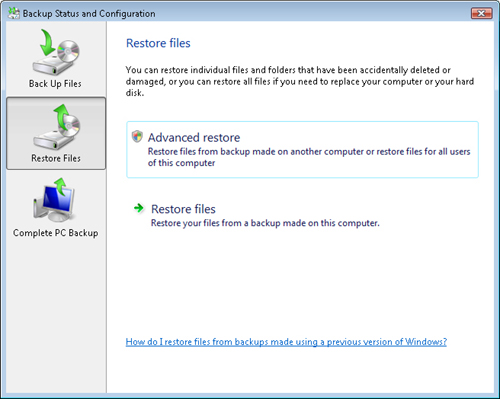
Although the standard
restore process works well for most standard operations, there will be
cases in which you need to perform different actions. For example, you
might need to restore files from a backup that was stored on another
computer. You can access this option by clicking Advanced Restore in the
Backup and Restore Center. This launches the Backup Status and
Configuration window. If necessary, click Restore Files (see Figure 15).
Clicking
Advanced Restore enables you to choose a new option in the first step
of the restore process: Files From A Backup Made On A Different
Computer. When you click Next, you’ll have the option of manually
specifying the location of the backup set from which you want to restore
(see Figure 16). Options include choosing from a local
storage location or specifying the path to a shared folder on the
network.

After you locate a
valid backup set, the restore process identifies dates and times. You
can then carry out the restore process as described in the previous
section.
