2. Mounting an Image
The /Get-WimInfo is useful for viewing
details about images in a WIM file, but it doesn't allow you to work
with an image or view the actual contents. To work with the contents,
you need to mount the image using the /Mount-Wim switch.
For example, you can use the following command to mount an image:
dism /mount-wim /wimfi1e:c:\images\win7.wim /index:1 /MountDir:C:\MountWin7

Deployment Image Servicing and Management tool
Version: 6.1.7600.16385

Mounting image
[==========================100.0%==========================]
The operation completed successfully.
This command uses the familiar /wimfile switch and also the /index and /MountDir switches. These switches, and some additional switches available with /Mount-wim, are explained in Table 1.
Mounting an image will take some time but will show you progress as it
expands the files. The directory where you'll mount the image must
exist before you execute the command. You can create the directory
using Windows Explorer or from the command prompt with this command:
md c:\MountWin7
Table 1. DISM /Mount-Wim options
| Switch | Description | Example |
|---|
| /WimFile | Identifies the path of the image.wim file. | /WimFile:C:\Images\
Install.wim
|
| /Index | Identifies the image index number of the image to mount. | /WimFile:C:\Images\Install.wim
/index:1
|
| /Name: | Identifies the image with the name instead of the index number. If there are spaces in the name, it must be enclosed in quotes. | /WimFile:C:\Images\Install.wim
/name:"Windows 7 Ultimate"
|
| /MountDir | Identifies the location where the image file will be mounted and expanded as individual files. | /MountDir:Path |
| /ReadOnly | Specifies that the image will be in read-only mode and can't be committed. If not used, the command can be committed. | /ReadOnly |
After you mount the image, you can use Windows Explorer to view the contents of the image. Figure 2 shows the mounted image from the earlier example.
At this point, you can copy any files you want to
the mounted image. Additionally, you can use DISM to service drivers
and applications on the image.
3. Servicing Drivers in an Image
DISM includes several commands you can use to view,
add, and remove drivers within an image. These drivers must use the INF
file format. Unfortunately, drivers that are installed as executable
files are not supported using these methods.
You can use the following command to view any third-party drivers that are already included in an image:
dism /image:c:\MountWin7 /get-drivers

Deployment Image Servicing and Management tool
Version: 6.1.7600.16385

Image Version: 6.1.7600.16385

Obtaining list of 3rd party drivers from the driver store...

Driver packages listing:

Published Name : oem0.inf
Original File Name : prnms001.inf
Inbox : No
Class Name : Printer
Provider Name : Microsoft
Date : 6/21/2006
Version : 6.1.7600.16385

The operation completed successfully.
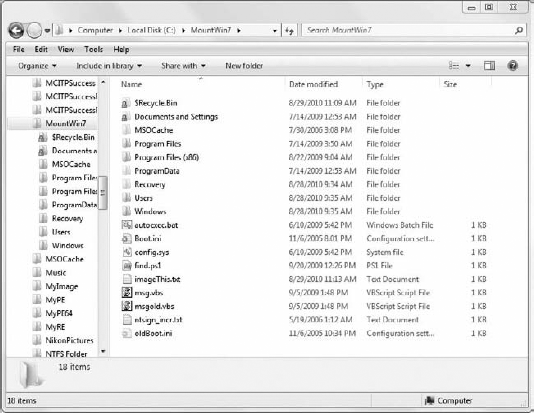
Table 2 shows several other available DISM commands.
Table 2. DISM driver-servicing command-line options
| Switch | Description | Example |
|---|
| /Get-DriverInfo | Displays
detailed information about a specific driver package. The package is
specified using the Published Name obtained from the /get-driverscommand. | dism /image:c:\mountwin7
/get-driverinfo /driver:oem0.
inf
|
| /Add-Driver | Adds
a third-party driver package to an offline image. The example shows how
to add a driver package that has been copied to a folder named Display. DISM scans the folder and installs all the drivers in the folder. | dism /image:c:\mountwin7 /addd-
river /driver:c:\display
|
| /Remove-Driver | Removes a third-party driver from an offline image. You can use the Published Name of the driver displayed with /Get-Drivers. | dism /image:c:\mountwin7
/remove-driver /driver:oem9.inf
|
