Most of the exercises you’ve done in this book so far
have involved using or manipulating individual shapes. Sometimes it’s
more convenient to work with a set of shapes as a single unit.
In this exercise, you will create and work with a group shape.
Note:
Click the File tab, and then click New. In the Template Categories
section, click General, and then double-click the Work Flow Diagram
thumbnail. Save the drawing as Corporate Diagram.
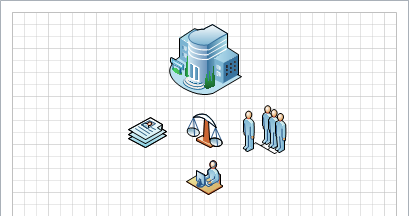
In the Shapes window, click the Department stencil if it is not already selected. Drag a Headquarters shape to the top center of the drawing page. On the status bar, click either the Width or Height button to open the Size & Position window.

In the Size & Position window, double both the Width and Height to 2 in. for U.S. units or 60 mm. for metric. Position the resized shape in the center of the page at the top margin.

Drag the following shapes onto the page and position them in any arrangement below the headquarters icon: Human resources, Legal department, Management, Customer service.
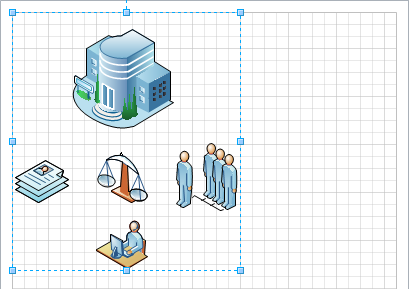
Draw a bounding box around all five shapes.
Group

On the Home tab, in the Arrange group, click the Group button, and then click Group.
Notice that the magenta selection rectangles around the individual
shapes have disappeared, indicating that the group operation was
successful.

Tip:
You can also group shapes by right-clicking on a shape within the selection rectangle and clicking the Group menu entry.
Like the individual shapes
that comprise it, a group is also a shape. You can apply borders or
fills, add fields and text, add shape data—in short, you can do anything
with a group shape that you can with any other shape.
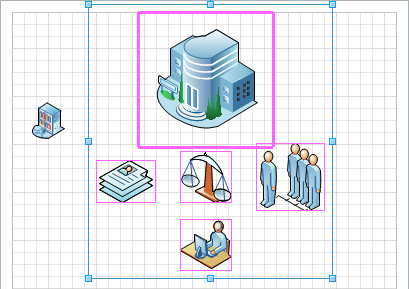
Drag the group to the upper-left corner of the page. All shapes that are part of the group move together. Click anywhere on the page background to deselect the group. Click once on any shape in the group. Notice that the entire group is selected. With the group still selected, click once on the management shape. The
selection rectangle around the group changes from a blue dashed line
with resize handles to a gray dashed line to indicate that the group no
longer has the focus. The management shape, on the other hand, now
displays resize handles and a rotation handle because it is now the
selected shape. The
default behavior for grouped shapes is what you have observed in the
preceding two steps: the first click selects the group; the second click
selects a shape within the group. It is possible to change this
behavior but you won’t do that in this exercise.

Click the dashed line surrounding the group to change the focus back to the group. Drag the lower-right resize handle to enlarge the group. Notice that all shapes within the group resize proportionally.
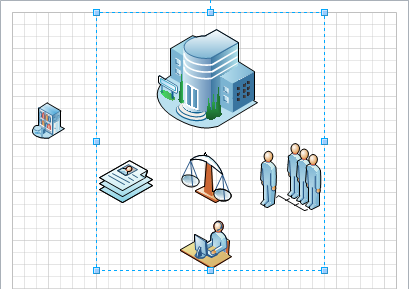
Drag a Cafeteria shape from the Department stencil and drop it somewhere within the boundary of the group. Select
and drag the group back to the center of the page. You can see that
dropping a shape onto a group does not add it to the group.
Tip:
By default, shapes dropped on a
group are not added to the group. However, if you run Visio in
developer mode, you can change the behavior of a group so it will accept
dropped shapes.
On the Home tab, in the Arrange group, click the Group button, and then click Ungroup. The
shapes remain on the page but Visio removes the group. Any styles,
text, or data associated with the group are now gone as well. As you can
see, each shape now shows its own selection rectangle.
Warning:
Important
Ungrouping the shape in this
step is perfectly safe. In general though, ungrouping a shape can be
very destructive unless you know exactly what you’re doing. The reason
is that to Visio, a group is just another shape and it can have its own
data and properties. Compounding the problem, the shapes in many groups
derive some of their own behavior and data from the group. Consequently,
when you ungroup the parent shape, you destroy the shape properties
that were derived from the group.
Tip:
You can also ungroup shapes by right-clicking on a shape within a group and clicking the Group menu entry.
Note:
Save your changes to the Corporate Diagram drawing but leave it open if you are continuing with the next exercise.
|
