Explorer Browser is another in a long line
of controls that Microsoft has provided for making it easier to create
interesting applications using less code. As the name implies, it's a
browser-like control that you can place on a form and use to explore
various resources, including any known folder, non-filesystem
container, or user-defined collection. You could also use it to explore
the filesystem, the Internet, or any other resource desired. As you
might imagine, the actual presentation you see depends on the kind of
resource you explore and the presentation you choose to code as part of
the control. The following sections describe how to work with the
Explorer Browser control.
1. Adding the Explorer Browser to Your Toolbox
Before you can use the Explorer Browser control in
an application, you need to add it to your Toolbox. The following steps
help you get the Explorer Browser control set up for use with the
example application. You can then use it for any application you want
to create.
Open the Toolbox by choosing View  Toolbox or by pressing Ctrl+Alt+X.
Right-click
in any clear area of the Toolbox and choose Add Tab from the Context
menu. You'll see a new tab added to the Toolbox.
Type Explorer Browser as the tab's name.
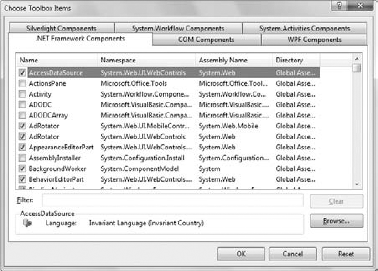
Right-click
within the Explorer Browser tab and select Choose Items from the
Context menu. You'll see the Choose Toolbox Items dialog box, as shown
in Figure 1.
Click Browse. You'll see an Open dialog box.
Locate the Microsoft.WindowsAPICodePack.Shell.DLL file and click Open. Visual Studio automatically selects and highlights two controls for you, CommandLink and ExplorerBrowser, in the Choose Toolbox Items dialog box.
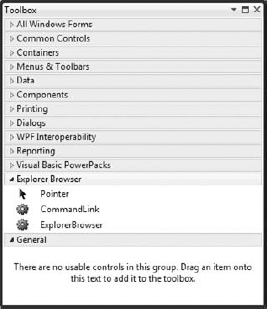
Click OK. You'll see the two controls added to the Explorer Browser tab of the Toolbox, as shown in Figure 2.
2. Configuring the Explorer Browser Example
This example begins with a Windows Forms application. You'll want a larger form, so set the Size.Width property to 700 and Size.Height property to 500. The setup for this example is a little more extensive than for other examples so far. Begin by adding a SplitContainer control. You won't need to rename it. However, set the following properties to make the SplitContainer control provide the containers required for the example:
Dock: Fill
IsSplitterFixed: True
Orientation: Horizontal
SplitterDistance: 21
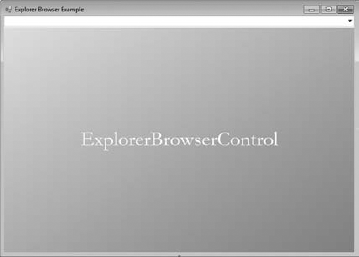
Add a ComboBox control, lstFolders, to the upper split container. Set its Sorted property to True and its Dock property to Fill. Add an ExplorerBrowser control, Browser, to the lower split container and set its Dock property to Fill. Your dialog box should look like the one shown in Figure 3.
Adding the ExplorerBrowser control automatically adds the required references to your application. However, you do need to provide the following using statement:
using Microsoft.WindowsAPICodePack.Shell;
