The Trust Center security system allows you
to set file-related options to check for potentially unsafe content in
your documents (New!). In Trusted Documents (New!),
you can set options to open trusted documents without any security
prompts for macros, ActiveX controls and other types of active content
in the document. For a trusted document, you won’t be prompted the next
time you open the document even if new active content was added to the
document or changes were made to existing active content. You should
only trust documents if you trust the source. Protected view (New!)
provides a place to open potentially dangerous files, without any
security prompts, in a restricted mode to help minimize harm to your
computer. If you disable Protected view, you could expose your computer
to possible harmful threats. In File Block Settings (New!),
you can select the Open and Save check boxes to prevent each file type
from opening, or just opening in Protected view, and from saving.
Set Options for Trusted Documents
- 1. Click the File tab, and then click Options.
- 2. In the left pane, click Trust Center.
- 3. Click Trust Center Settings.
- 4. In the left pane, click Trusted Documents.
- 5. Select or clear the check boxes you do or don’t want.
- Allow documents on a network to be trusted.
- Disable Trusted Documents.
- 6. To clear all trusted documents so they are no longer trusted, click Clear.
- 7. Click OK.
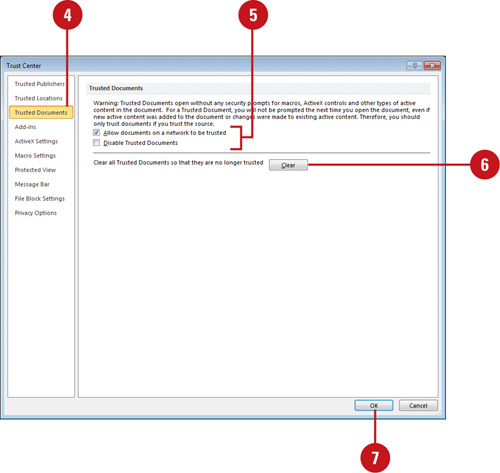 - 8. Click OK.
Set Options for Protected View
- 1. Click the File tab, and then click Options.
- 2. In the left pane, click Trust Center.
- 3. Click Trust Center Settings.
- 4. In the left pane, click Protected View.
- 5. Select or clear the check boxes you do or don’t want.
- Enable Protected View for files originating from the Internet.
- Enable Protected View for files located in potentially unsafe locations.
- Enable Protected View for Outlook attachments.
- 6. Click OK.
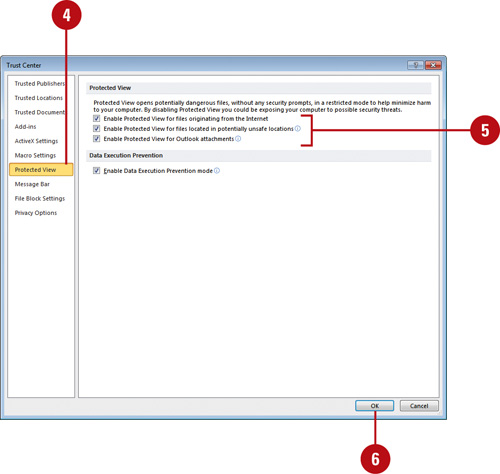 - 7. Click OK.
Set Options for File Block Settings
- 1. Click the File tab, and then click Options.
- 2. In the left pane, click Trust Center.
- 3. Click Trust Center Settings.
- 4. In the left pane, click File Block Settings.
- 5. Select the Open and Save check boxes you want to block for the different file types from opening or saving or clear the ones you don’t want.
- 6. Select the open behavior option you want.
- 7. Click OK.
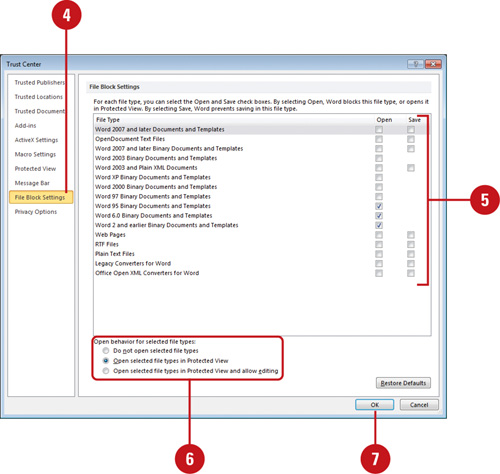 - 8. Click OK.
|
