Connecting a Dynamics NAV client (Classic) to the NAV Classic database server
Open the Dynamics NAV Classic client, also called the C/SIDE client in older versions. Go to File | Database | Open.
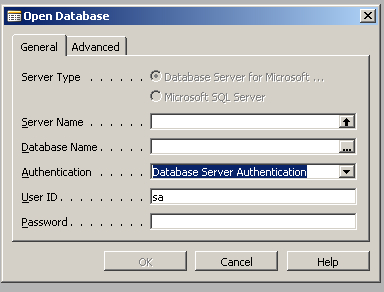
Specify the Dynamics NAV Classic database server name and select the authentication type.
On the Advanced tab, there is an option to select the network connection type that we wish to use for the connection to the server.
Connecting a Dynamics NAV client (Classic) to a Microsoft SQL Server database
Click on the Dynamics NAV Classic client for SQL Server (finsql.exe) from File | Database | Open.
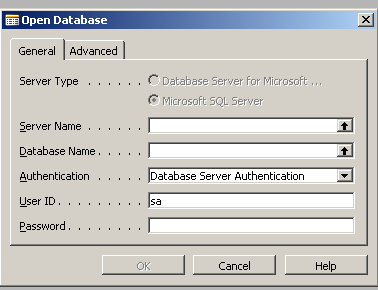
In addition to the SQL Server Name, we also need to specify the Database Name
that we intend to connect to. The next step is to select the
authentication type—Windows or Database Server Authentication.
Installing the RoleTailored client for Dynamics NAV
Microsoft
introduced a revolutionary client for the Dynamics NAV 2009 and
subsequent version called the RoleTailored client for Dynamics NAV. The
concept behind this client release is to give an experience to the user
of Dynamics NAV, to be able to view their routine tasks and making it a
lot easier for them to navigate across the pages and application areas.
This is achieved by allowing Microsoft VAR(s), developers, certified
consultants, and so on to create Role Centers for the Dynamics NAV users
based on their day-to-day tasks. While doing so, an additional layer of
application was introduced as a middle-layer component, called Dynamics
NAV server. This layer essentially provides an additional level of
security for the application and with the use of the Windows
communications framework, opens up the application to Web services.
Let's walk through the
process to install the Dynamics NAV 2009 RoleTailored client and also
the Dynamics NAV server—the middle-tier component.
The setup screen that looks like the following screenshot has different options for different install/configuration types:
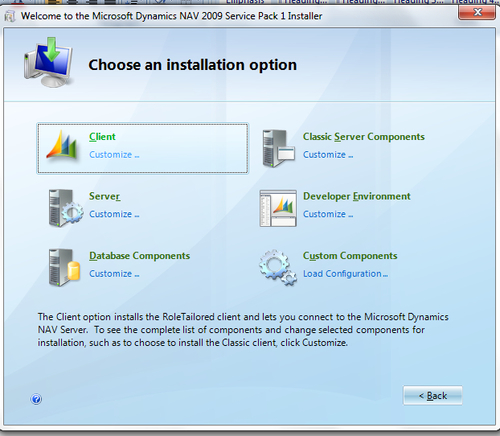
Click on the Client if we are installing the NAV client over the network on a user computer. We may have to select the Developer Environment or Classic Server Components, depending on the type of the planned installation.
If we intend to install additional components, we can choose Customize and the following screen will be displayed, which gives us the option to select additional components.
We have to make sure that we
have the database server and the NAV server to connect to before
installing the NAV RoleTailored client.
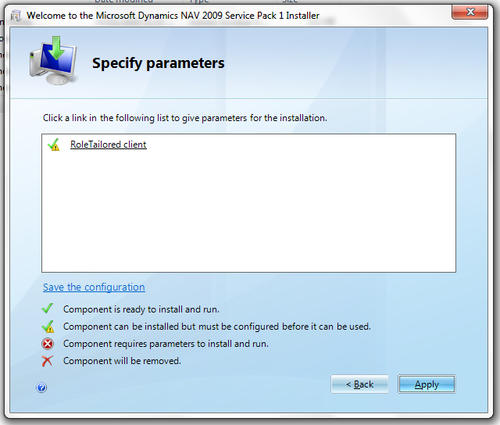
Click on the link and the installation will require us to enter a Server Name and communication port.
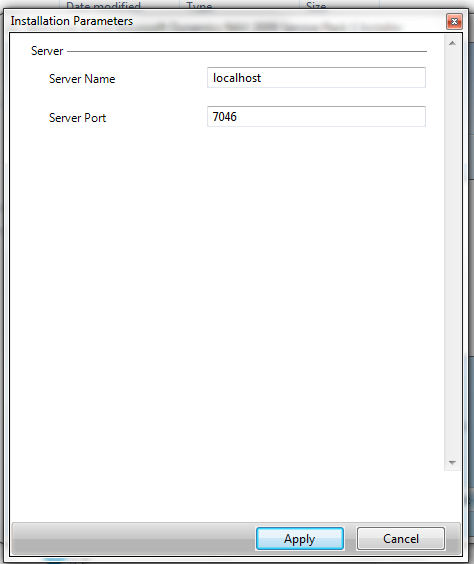
Server Name
in the option of the previous screenshot is the Dynamics NAV server
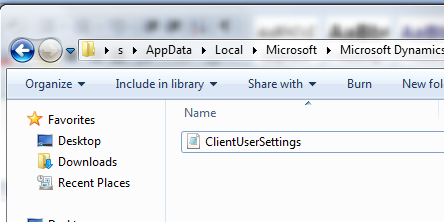
name (middle-tier). If we have to change the properties of this
connection, we will have to look for the clientusersettings.config file and modify the connection details in the file.