If the auto attendant feature of
Exchange UM will be used with Lync Online, each auto attendant number
used must be added to the Exchange UM dial plan, and also must be
configured as an access number within Lync Online. The following
procedure is used to configure a new auto attendant number using the
online portal:
1. Log on to the Office 365 Portal.
2. On the main page,
click the Admin tab at the top, and then select Exchange from the
drop-down menu to open the Exchange Admin Center.
3. On the left side, click Unified messaging, and then click UM dial plans at the top.
4. At the UM dial plans page, select the SIP URI dial plan previously created from the list, and click the Edit icon.
5. At the Dial plan properties page, under UM Auto Attendants, click the plus symbol.
6. The New UM auto attendant page appears, as shown in Figure 1.
Enter a name for the auto attendant in the Name field, and select the
check box for Create this auto attendant as enabled. If desired, also
select the option for Set the auto attendant to respond to voice
commands.
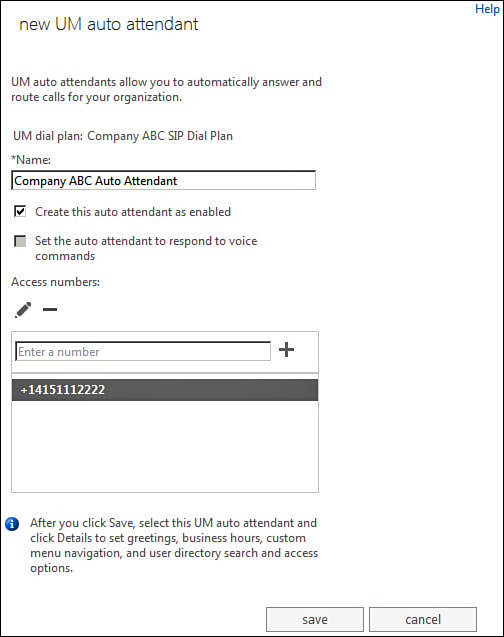
Figure 1. Creating a new Exchange UM auto attendant.
7. Under Access
numbers, enter the phone number that users will dial to reach the UM
auto attendant, using the full E.164 number format (for example,
+14151112222). The number of digits entered should also match the
number of digits associated with the dial plan. After the number is
entered, click the plus symbol to add the number to the list of access
numbers. This step can then be repeated as many times as necessary to
associate additional numbers with this same auto attendant if desired.
8. When finished, click Save to return to the Dial plan properties page.
9.
The new auto attendant now is displayed under the UM Auto Attendants
section of the dial plan properties. If necessary, additional settings
can be configured for the auto attendant by selecting it from the list
and clicking the Edit icon. For example, custom greetings can be
configured, along with business hours, menu navigation settings, and
more. After the configuration of the auto attendant is complete, click
Close at the Dial Plan Properties page to return to the Exchange Admin
Center.
10. Click the Admin tab at the top, and then select Lync from the drop-down menu to open the Lync Admin Center.
11. On the left side, click Lync-to-phone, and then click on access numbers at the top.
12. At the Access numbers page, click on the plus symbol.
13. The Access numbers properties page appears, as shown in Figure 2. Enter the same phone number that was configured for the auto attendant in step 7, again using the full E.164 numbering format.
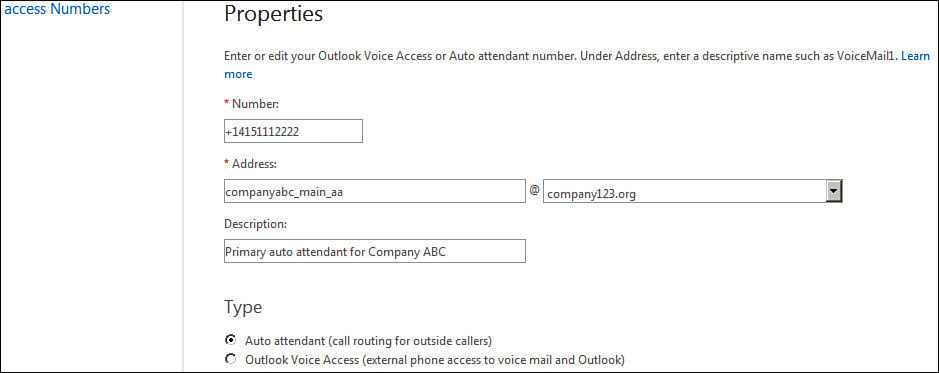
Figure 2. Creating an auto attendant for Lync Online.
14. Under Address, enter a unique prefix for the SIP address that will be associated with the auto attendant, such as CompanyABC_Main_AA, and then use the drop-down menu to select the SIP domain that will be associated with this auto attendant.
15. If desired, enter a description to clarify the purpose of this auto attendant in the Description field.
16.
Under Type, select Auto attendant, and then click Save. The new auto
attendant is now displayed in the list of access numbers configured for
Lync Online.
