The Background layer serves a unique function in
Photoshop. Since some layout programs do not support Photoshop’s
multiple layer and transparency capabilities, a final image must
sometimes be converted into a background layer by a process called flattening.
When an image is flattened, all of the document’s layers are compressed
into a single layer in the Layers panel, named Background. That means
no more layers, no more transparency, and no more control. Background
layers are a necessary evil because Photoshop does not stand alone, and
it’s sometimes necessary to move images from Photoshop into other
applications. However, there are times you may start with an image that
only contains a Background layer (for example, when working with
original images from a digital camera, scanned images, or images from a
photo CD or DVD) and you want to apply transparency, blending modes, or
other adjustments to it that cannot be applied to a Background layer. In
that case, you will need to convert the Background into a traditional
Photoshop layer.
Convert a Background
Convert a Multi-Layered Document into a Background
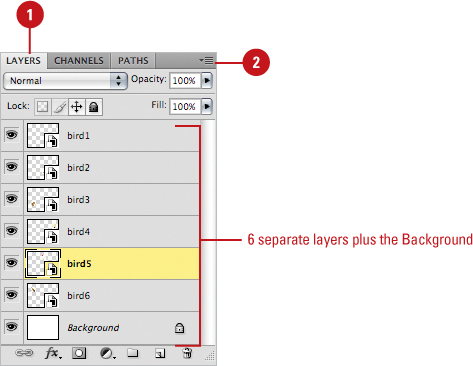
 Select the Layers panel.
|
 Click the Layers Options button, and then click Flatten Image.
The multi-layered document is compressed into a single-layer Background.
Did You Know?
You can create a composite image of a multi-layered document without flattening the image.
Create and select a new layer, and then hold down the Alt (Win) or
Option (Mac) key. Now, go to the Layers panel, click the Layers Options
button, and then click Merge Visible. Photoshop creates a composite of
all the visible layers in the new layer. You now have the control and
flexibility of a multi-layered document, along with a separate composite
layer. Control gives you the confidence to be more creative.
 |
|
