Use the IP Security Management Snap-In to Create a Blocking Policy
You can access IP
security through a GPO, through the Local Security Policy console on
Windows Server 2003, Windows 2000, and Windows XP Professional, and by
loading IP Security Monitor snap-in in a console. To simplify monitoring
of policy activity, in this exercise, you load the tool in the MMC and
save the console for later use. The first policy you create is a blocking policy, which is useful in keeping unwanted traffic from being received on specific computers.
▸ To create a blank console
1. | From the Start menu, select MMC to open an MMC.
| 2. | From the File menu, select Add/Remove Snap-In.
| 3. | Click the Add button.
| 4. | In the Add Standalone Snap-In dialog box (Figure 14), select IP Security Policy Management, and then click Add.
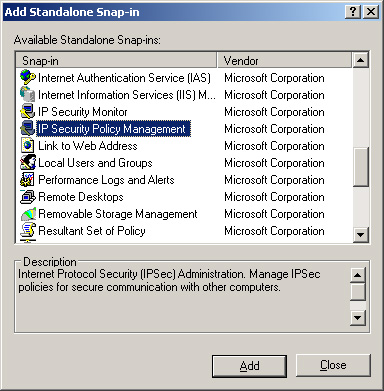
| 5. | In the Select Computer Of Domain dialog box, click Finish to accept the default selection, Local Computer. Then click Close.
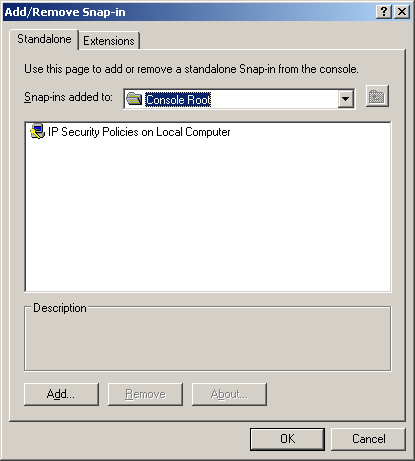
In the Add/Remove Snap-In dialog box, shown in Figure 15,
the IP Security Policies On Local Computer snap-in is listed. This tool
is used for managing policies; the name is just different than the name
displayed in Figure 14.
| 6. | Click OK.
| 7. | From the File menu select Save As, type the filename IP Security Policy Management, and click Save.
|
▸ To create a blocking policy
1. | Open the IP Security Policy Management console just created.
| 2. | Right-click the IP Security Policies On Local Computer node and select Create IP Security Policy.
The IP Security Policy Wizard launches.
| 3. | Click Next on the wizard welcome page that appears.
| 4. | In the Name text box, type block web server access.
| 5. | In the Description text box, type a description, and click Next.
| 6. | Clear Activate The Default Response Rule, and click Next.
The default response rule allows insecure communication. In most
cases, you will not want this so you will need to remove the rule.
However, you can always reenable it from the interface later.
| 7. | At the Default Response Rule Authentication Method, leave the default setting and click Next.
| 8. | Click Finish.
| 9. | In the new policy properties dialog box, shown in Figure 16, clear the Use Add Wizard check box and click Add.
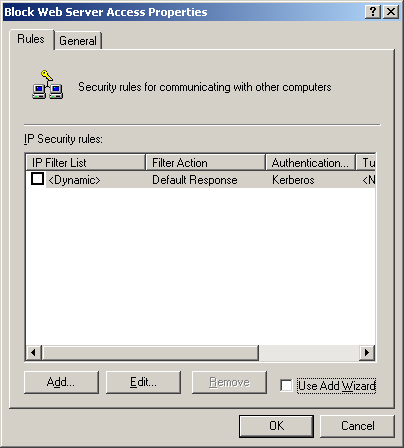
The wizard
steps you through the creation of more complex policies and introduces
confusion and extra work when a simple blocking policy is all you want.
Instead of a wizard, you will get the policy properties dialog boxes
after clicking Add.
| 10. | On the IP Filter List tab, shown in Figure 17, click Add to create the filter list.
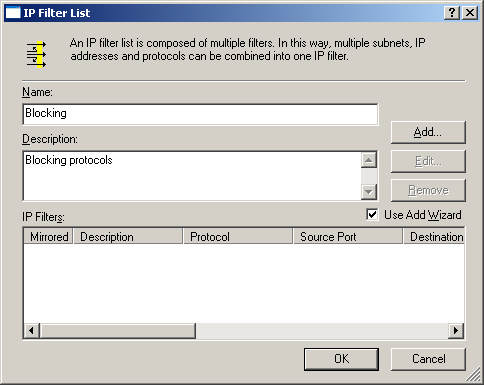
| 11. | In the Name text box, type blocking as the name for the filter list.
| 12. | In the Description text box, typeblocking protocols.
| 13. | Clear the Use Add Wizard check box and click Add to add a filter.
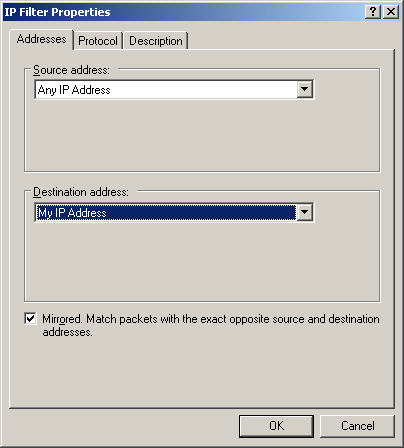
| 14. | In the Source Address drop-down list, select Any IP Address.
| 15. | In the Destination Address drop-down list, select My IP Address, as shown in Figure 18. Then click the Protocol tab.
| 16. | In the Select A Protocol Type drop-down list, select TCP.
| 17. | In the Set The IP Protocol Port box, shown in Figure 19, click To This Port, type 80, and then click OK.

| 18. | Select the Blocking entry in the IP Filter Lists box, and then click the Filter Action tab.
| 19. | Clear the Use Add Wizard check box and click Add to add a filter action.
The filter action determines what happens when the filter is
triggered. In this case, the filter will be set to block any traffic
arriving at this computer for port 80.
| 20. | On the Security Methods tab, shown in Figure 20, select the Block option.
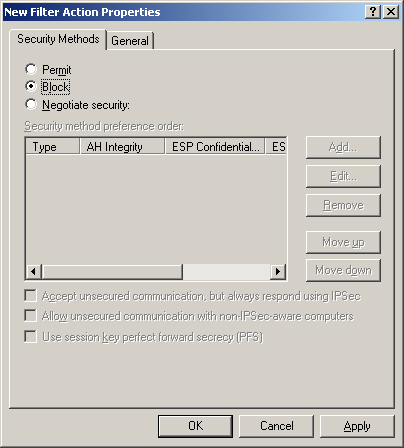
| 21. | Click the General tab and type block for the filter name. Then click OK.
| 22. | Click the Filter Action tab. Select the Block filter action, click Close, and then click OK to finish creating the policy.
|
Creating a policy does
not change network activity on this machine. The policy must be
activated before it will be used. You activate a policy by
right-clicking it and selecting Assign from the context menu. Only one
policy can be active per machine.
|
