One of the keys to working with your drive storage is
being able to manage how your storage is being used and how the data is
being stored on the drives. With Windows Server 2008 R2, you have the
ability to create storage quotas for your drives. The quotas allow you to limit how much space your users can use
Manage Disk Storage Quotas
Managing storage quotas is
simply a matter of enabling quota management on the volumes you want to
have managed. Then, after enabling the management of the volumes, you
can set a quota for everyone using the volume, or you can set individual
entries for users or groups through the quota management utility.
Normally, you will want to enable quotas on the drive before you enable
access to your users. Before you can work with disk quotas, you need to
enable them on the drives. You can enable them by accessing the
properties for the drive or volume you want to manage. You can access
the properties for the drive either through Windows Explorer or through
Disk Management. For the steps you see here, you'll use Disk Management:
Open Server Manager by selecting Start => Administrative Tools => Server Manager.
In the Server Manager tree, click Storage.
In Storage, click Disk Management.
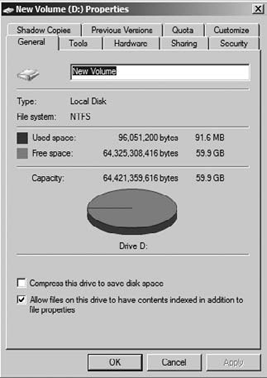
Right-click the volume you want to enable quotas on, and click Properties. You will see a screen similar to Figure 1.
Click Enable Quota Management to turn on quotas.
Click OK to close the properties window; you will see a screen similar to Figure 2, which tells you the drive will be scanned to verify and update current storage statistics.

If you want to turn off quotas, simply reverse the process you used to turn on the quota system.
After you enable quotas, you
can choose the amount of space all the users are limited to on your
server. You can also choose when they receive a warning—when they are
about to have the quotas be enforced or just when they near their quota
limit. You can also enable individual quota entries for your users or
groups. This provides you with a tool to allow exceptions for certain
users or groups. You can create exceptions that are less than your set
default or exceptions exceeding your default. By default, the
Administrators group does not have quotas applied to it.
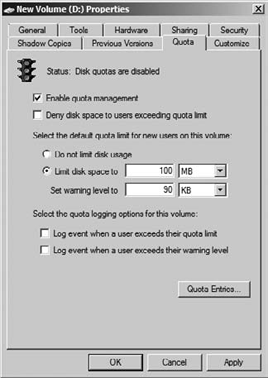
After
you have enabled quotas on the volumes, you then need to set defaults
for all your users. You set the defaults by modifying the select default
disk space and warning levels for your users. Figure 3
shows a quota limit of 100MB with a warning given to the user at 90KB
of usage space. You will always set the warning to be less than the
limit. By default this quota applies to all of your users.
If you want to enable individual entries on the Quota tab, click the Quota Entries button.
Click the New Quota Entry button, which looks like a blank piece of paper.
Type
in your users or groups, or click the Advanced button to search. This
process is similar to working with users and groups. When you're done
adding users, click OK; you will see a screen similar to Figure 4.
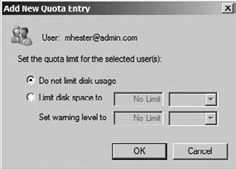
Modify the limits for the user or group, and when you are finished, click OK.
When you are done adding entries, close the window to return to the quota management screen.
Click OK to close the volume's properties when you are finished.
After you have enabled quota management and added your quota entries, you now have a choice to make. By default the quotas are soft,
or unenforced, quotas, which means your users can exceed the limits you
have set. If you want to keep the soft quota, you should also enable
logging by selecting the logging options on the Quota tab, as shown in Figure 5. This will allow you to track events in Event Viewer when your users get warnings or exceed the limits.

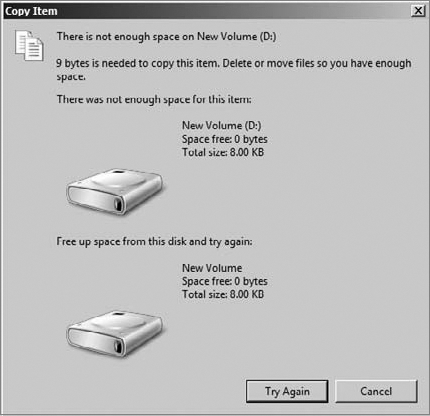
However, if you want to
enforce your quotas, select the Deny Disk Space To Users Exceeding Quota
Limit box on the Quota tab. This will ensure your users will not exceed
the amount of space you have granted them. Also, when you enforce the
quota, your users will then see the visual notifications for warnings
and when they exceed the limit. In Figure 6, you can see an example of a user who has exceeded the limit.