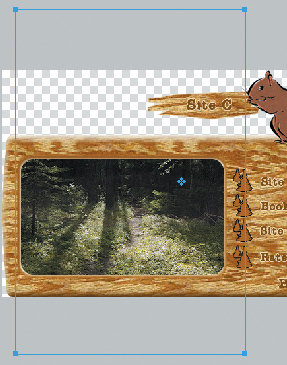
1. | Switch to the Site C page.
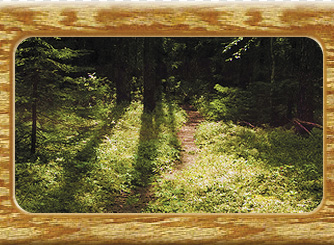
The photo in the console screen lacks color and contrast, due to the sun
shining on the lens. You will use blending modes and Live Filters to
improve the image.
|
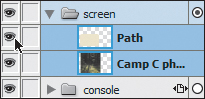
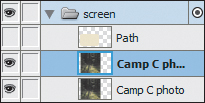
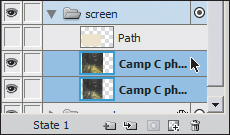
2. | In the Layers panel, expand the screen layer. You see a masked photo.
|
3. | Select
the photo thumbnail in the screen layer. On the canvas, you will see
the telltale blue control handle on the image, indicating this photo has
been masked. The blue outline indicates the true size of the photo.
|
4. | Choose Modify > Ungroup.

This breaks the mask apart into its two original objects.
|
5. | Hide the rounded rectangle by clicking the Show/Hide icon (
 ) in the Layers panel.
|
6. | Drag
the photo to the New Bitmap Image button at the bottom of the Layers
panel, or press Ctrl+Shift+D (Windows) or Command+Shift+D (Mac).
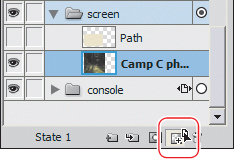
A duplicate of the photo appears in the screen layer.
|
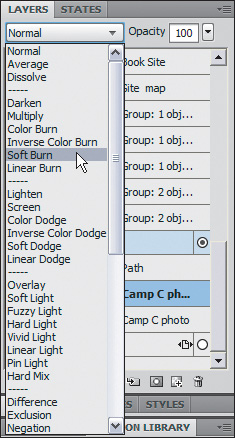
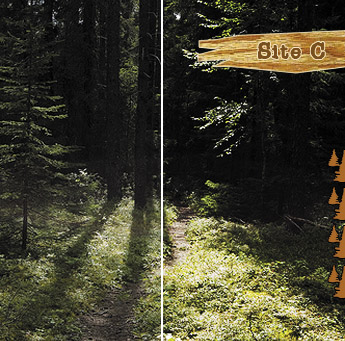
7. | Making sure the topmost of these two images is selected, change the blending mode from Normal to Soft Burn in the Layers panel.
The image darkens noticeably, but not so much that a lot of detail is lost.
Before Soft Burn
After Soft Burn
|
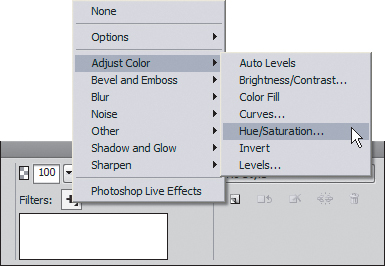
8. | Click
the Add Live Filters (+) button in the Filters section of the
Properties panel, and choose Adjust Color > Hue/Saturation.
|
9. | Set the Saturation to a value of 30, and click OK.
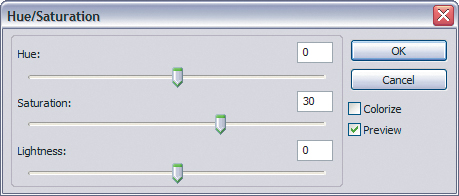
The new image appears much more lush and green. And because the
manipulation was all done using Live Filters and blending modes, the
effects are completely editable in the future.
Original image
Image with Soft Burn blending mode and Hue/Saturation Live Filter applied

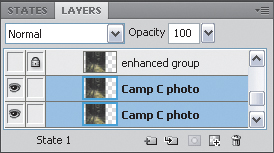
In this case, though, you also need to mask the
image combination, which means you’ve got a decision to make. You can’t
apply a single mask to a stack of objects in the Layers panel. Grouping
the two images together would let you mask the group, but would remove
the blending mode once the mask is applied. If you convert the objects
to a symbol, the blending mode is also removed. Flattening the two
images together (to maintain the appearance of the effects) would
rasterize them, so they will no longer be editable.
The solution is to create a duplicate set, then hide and lock one set
and flatten the other for masking. Doing so means you can always go back
to the images and make changes.
|
10. | Select both image objects in the Layers panel.
|
11. | Press Ctrl+Shift+D (Windows) or Command+Shift+D (Mac) to create backup copies.
|
12. | Press Ctrl+G or Command+G to group the duplicates.
|
13. | In the Layers panel, rename this group to enhanced group.
|
14. | In the Layers panel, hide and lock the group.
|
15. | Hold the Ctrl key (Windows) or the Command key (Mac) to select the remaining two images.
|
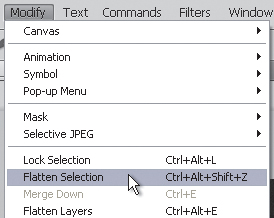
16. | Select Modify > Flatten Selection to merge the two images. The effects are now a permanent part of the new image.
|
17. | Rename the new flattened image enhanced flattened.
|
18. | Reveal
the rounded rectangle path in the Layers panel by clicking the empty
square to the far left of the object name. This will also select the
object.
|
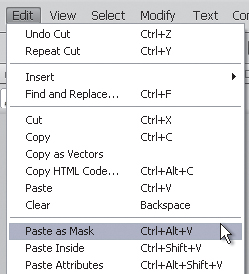
19. | Choose Edit > Cut.
|
20. | Choose the enhanced flattened object, and then select Edit > Paste As Mask.
If you need to edit the
effects later, you can unlock and ungroup the duplicate, make your
changes, and then walk through the same steps to put the new version in
place.
|
21. | Save your file. |
