Windows DVD Maker helps you create videos and complete DVDs
with minimal fuss. That’s why it’s my favorite of the two video makers
available for Windows 7.1. Getting Started with Windows DVD Maker
You can start and use Windows DVD Maker in several ways. When you
are working with Windows Live Photo Gallery , you can select
the initial pictures and videos you want to work with and then click
Burn→Video DVD to open Windows DVD Maker with these items selected.
Otherwise, you can start Windows DVD Maker by clicking Start→All
Programs→Windows DVD Maker.
As Table 1 shows, Windows DVD
Maker works with a wide variety of image, sound, and video formats. This
list is different from the formats supported by Windows Live Photo
Gallery and Windows Media Maker. The most notable changes are that
Windows DVD Maker supports GIF images but does not support the AIFF or
AU sound format. Also of note is that Windows DVD Maker supports the
Microsoft Digital Video Recorder format, allowing you to create video
DVDs with recorded TV.
Table 1. File formats supported by Windows DVD Maker
| File
format/type | File
extensions |
|---|
| Bitmap
image | .bmp |
| DIB image | .dib |
| GIF image | .gif |
| JPEG image | .jpg, .jpe, .jpeg, .jfif |
| PNG image | .png |
| TIFF image | .tif, .tiff |
| WordPerfect
image | .wdp |
| Windows Meta
File | .wmf, .emf |
| Sound formats | |
| MP3 audio | .mp2, .mp3 |
| WAV audio | .wav |
| Windows Media
Audio | .wma |
| Video formats | |
| AVI video | .avi |
| DVD video | .mpa, .m1v, .mp2v, .mpv2 |
| MPEG 1 and MPEG 2
video | .mpe, .mpeg, .mpg |
| Audio/Video format | |
| Windows Media Audio/Video
Professional | .asf, .wm, .wmv |
| Recorded TV format | |
| Microsoft Digital Video
Recorder | .dvr-ms, .wtv |
When working with digital pictures, digital videos, and sounds, it
is also important to note that Windows DVD Maker works with files that
are already in the proper formats, and doesn’t include features for
converting formats. Additionally, all the files you want to use must be
on your computer’s disk drive, on a data disc you’ve inserted into your
CD/DVD drive, or on a device with removable storage connected to your
computer. Although Windows DVD Maker can read music and other sound
files from a data disc, it doesn’t include features for ripping raw CD
audio files from audio discs.
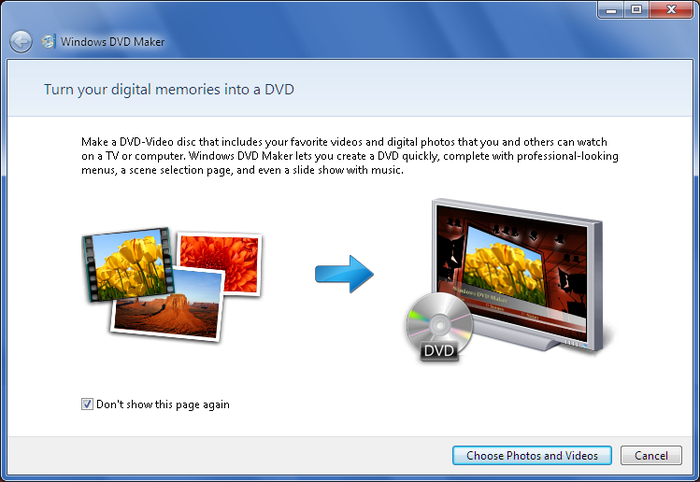
When you start working with Windows DVD Maker, you may notice that
the program works more like an extended wizard than a standalone
program, and that’s because it’s designed to help you through the steps
involved in video production. The first time you start Windows DVD
Maker, you’ll see the page shown in Figure 1. This page introduces
Windows DVD Maker. If you clear the checkbox before you click “Choose
Photos and Videos” to continue, you won’t see this page again unless you
are using a new user account.

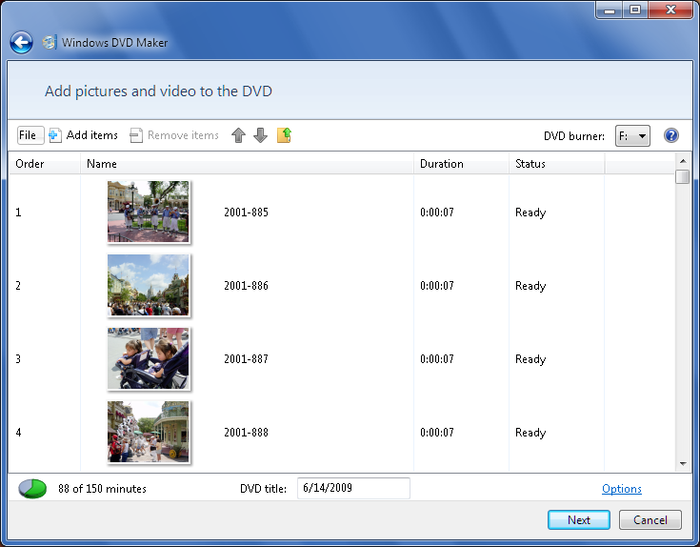
Windows DVD Maker has two main pages. The first page you see in
Windows DVD Maker is the “Add pictures and video to the DVD” page shown
in Figure 2. You’ll
use this page to add items, set the play order, and configure the DVD
burning and playback options.

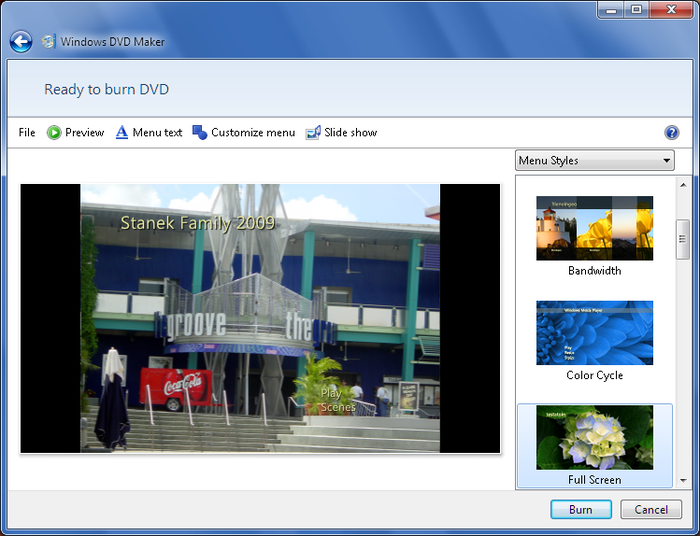
When you click Next, you’ll see the “Ready to burn disc” page,
which is shown in Figure 3. On this page, you can
customize the DVD menu style and text, as well as set up your picture
slideshow and add an audio soundtrack. You can also preview and burn
your video from this page.

Using the options provided on these two pages, you create video
DVDs by following a series of prescribed steps. The basic steps are as
follows:
Add your pictures and videos, and then set the play
order.
Set the DVD burning and playback options.
Customize the DVD menu style and text.
Set up your picture slideshow and add an audio
soundtrack.
Preview and save your video project.