A watermark
is a background effect—some text or a graphic, that prints in a light
shade behind your text on your document. You can use a washed out
version of your company logo, or you can add text such as SAMPLE, DRAFT,
PROPOSAL, or CONFIDENTIAL. If you can’t find the watermark you need,
check out Office.com (New!). If you decide to change your watermark, it’s as easy as typing in some new text.
Add or Remove a Watermark
- 1. Click the Print Layout View button.
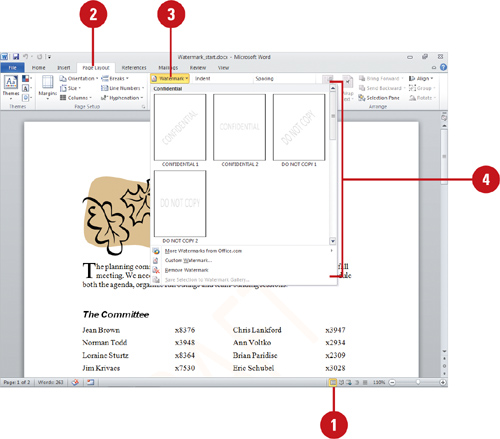 - 2. Click the Page Layout tab.
- 3. Click the Watermark button.
- 4. Do one of the following:
- Add. Click the border you want to add.
- Add from Office.com. Click More Watermarks from Office.com (New!).
- Remove. Click Remove Page Border.
Did You Know?
You can save a selection to the Watermark gallery.
Select the image you want to add to the Watermark gallery, click the
Page Layout tab, click the Watermark button, and then click Save
Selection To Watermark Gallery. In the Create New Building Block dialog
box, enter a name, select a category, enter a description, specify a
Save in document, specify an option where you insert the content, and
then click OK.
Customize or Remove a Watermark
- 1. Click the Print Layout View button.
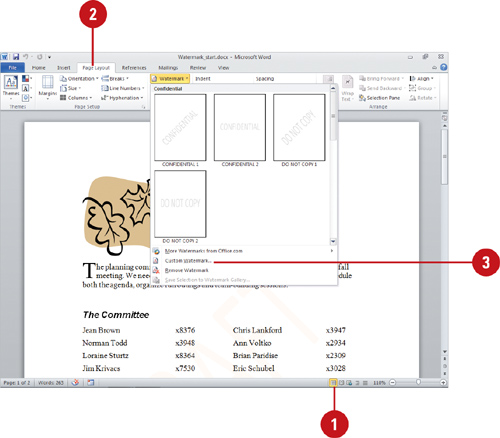 - 2. Click the Page Layout tab.
- 3. Click the Watermark button, and then click Custom Watermark.
- 4. To remove a watermark, click the No watermark option.
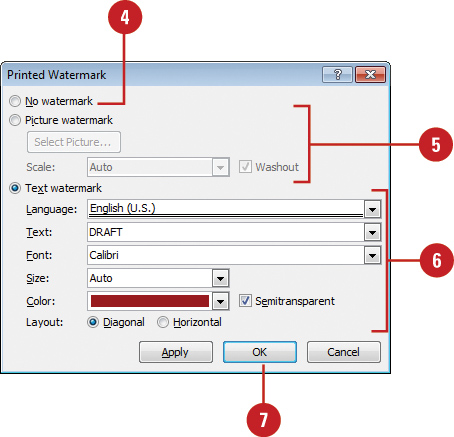
- 5. To insert a picture as a watermark, click the Picture watermark option, click Select Picture, select a picture, and then click OK.
- 6. To customize watermark text, click the Text watermark option, and then select the settings you want.
- 7. Click OK.
|
