1. Problem
A message fails at some point
in your BizTalk solution (such as a receive port, map, or
orchestration) and ends up as a suspended message on the BizTalk
MessageBox. You want to be able to subscribe to these suspended messages
and route them to a file drop.
2. Solution
This solution will
introduce the method needed to subscribe to suspended messages by
demonstrating how to use a receive port/filtered send port combination.
The receive port will listen for messages of a certain type to arrive on
the MessageBox. The send port will subscribe to all error messages
generated by the receive port. All messages that are picked up by the
receive port will fail because of not having a subscriber, and an error
message will be written to the MessageBox. These messages will then be
immediately routed to the send port, and a file will be written out to a
specified file location.
The following steps walk
through the steps necessary for creating the receive port:
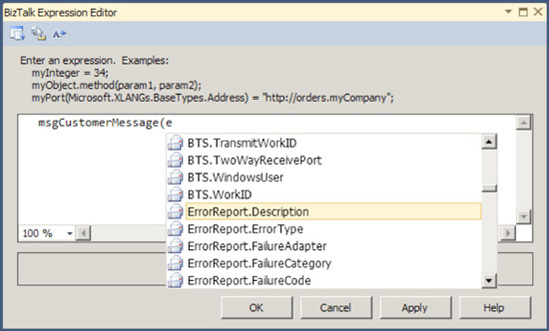
Creating
a new one-way receive port in the BizTalk Administration Console. Enter
the name of this port as SampleSubscribeToSuspended.
On the General Tab,
click the Enable Routing for Failed Messages box, as shown in Figure 1.
On the Receive Locations tab, add a
receive location to the port. Give a valid file path for the address of
this location (such as C:\drop).
Click OK. The receive port has been successfully
configured and created.
Right-click the
receive location, and enable it.
The following steps walk
through the steps necessary for the send port. You can set up additional
subscribers—for instance, an orchestration—to allow for more complex
processing. In this solution, the send port will simply write the
suspended message out to a file drop. For any properties not listed in
the following steps, keep the default values.
Create a new one-way send port in the BizTalk
Administration Console. Enter the name of this port as SampleSuspendedToFile.
On
the General tab, set Transport Type to File, and enter a valid file
path to which to write outgoing files. Set Send Pipeline to PassThruTransmit.
On
the Filters tab, click the Property drop-down list, and select ErrorReport.ReceivePortName. Set the value equal to the name of the receive
port created in the earlier steps (SampleSubscribeToSuspended).
Do not use quotes.
Click OK. You have successfully configured and created the send
port.
Do not enlist or start the send
port at this time. At this point, the solution is complete—aside from
the enlistment of the send port. Dropping a file on the receive location
will cause the receive port to throw an exception and log to the Event
Viewer—there is no subscriber. The error message has been routed to the
MessageBox, but there is no subscriber for it either.
Now,
enlist and start the send port. The receive location will fail to find a
subscriber. This time, however, the error will be routed to the send
port, and the message will be written out to the send port file
location.
3. How It Works
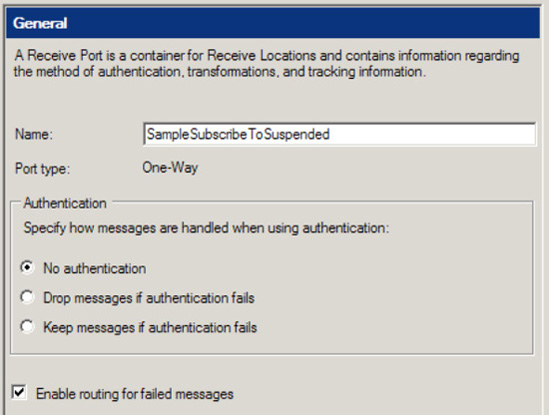
A number of properties are
available on the ErrorReport object.
This solution worked with one of these, ReceivePortName. Building a more complex solution using an
orchestration will allow access to all the remaining properties. For
example, assume that instead of a send port subscribing to the ErrorReport as shown in this solution, you have an
orchestration with a receive port. The orchestration will receive the
message, and you can then access the ErrorReport properties in the send port filter, receive
filter of an orchestration, or within an Expression shape, as shown in Figure 2.