Sales order posting is also done in a very similar
way to posting a purchase order. The posting function can be executed
from code and can be integrated into various customizations.
In this recipe, we will use
a standard Dynamics AX API to post and print a sales packing slip
document from code. As an example, we will post and print a packing slip
for the sales order created in the previous recipe.
How to do it...
1. In AOT, create a new class called SalesOrderPost with the following code (replace SO-100160 with your number):
class SalesOrderPost

{
}
public static void main(Args _args)

{
SalesFormLetter salesFormLetter;
salesTable salesTable;
;
salesTable = SalesTable::find('SO-100160');
salesFormLetter = SalesFormLetter::construct(
DocumentStatus::PackingSlip);
salesFormLetter.update(
salesTable,
systemdateget(),
SalesUpdate::All,
AccountOrder::None,
NoYes::No,
NoYes::Yes);
}
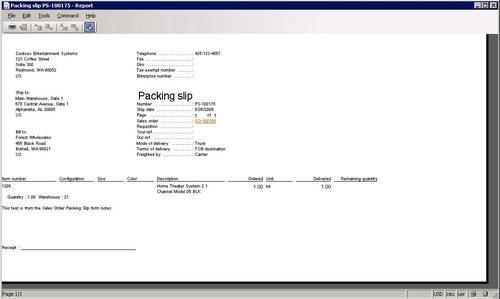
2. Run the class to create a packing slip for the specified sales order and display the Packing slip document on the screen:

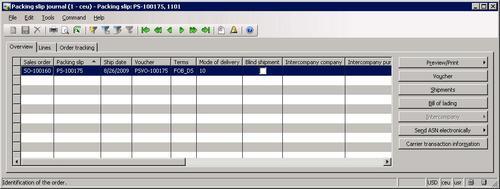
3. Open Accounts receivable | Sales Order Details, select the previously specified sales order, the click Inquiries button, and choose Packing slip to view results:

How it works...
First, we create a new class named SalesOrderPost with a main() method.
The method starts with finding sales order SO-100160,
which we created in the previous recipe. Here, we would normally
replace this code with user input or an output from another source.
Next, we call construct() on the SalesFormLetter class to create a new salesFormLetter instance. The method accepts an argument of type DocumentStatus, which defines the type of posting. Here, we use DocumentStatus::PackingSlip for sales packing slip posting. construct() also accepts a second optional boolean argument, which controls whether a new SalesParmUpdate record, used for sales order posting grouping, should be created. The default is true.
And finally, we call update() on salesFormLetter, which does actual posting. It accepts a number of arguments:
The sales order header record, i.e. SalesTable.
The transaction date. The default is system date.
The quantity to be posted. The default is SalesUpdate::All.
This argument is not used. The default is AccountOrder::None.
A boolean value defining should preview or actual posting be done.
A boolean value defining should document be printed.
A boolean value specifying should printing management be used. The default is false.
Keep the remaining quantity on order; otherwise it is set to zero. This argument is used when posting credit notes.
A container of a number of TmpFrmVirtual records. This argument is optional and is used only when posting sales invoices.
There's more...
SalesFormLetter
could also do other types of posting, like order confirmation, picking
list, or invoice. For example, to invoice for the sales order, replace
the code:
salesFormLetter = SalesFormLetter::construct(
DocumentStatus::PackingSlip);
with:
salesFormLetter = SalesFormLetter::construct(
DocumentStatus::Invoice);
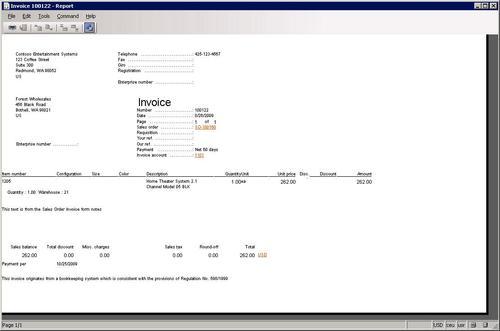
Run the class and notice that now the sales order was invoiced:

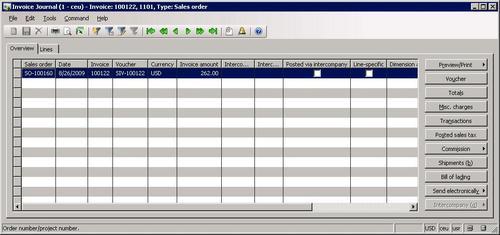
Open Accounts receivable | Sales Order Details, select the previously specified sales order, click the Inquiries button, and choose Invoice to view the results:
