The eService accelerator is all about extending
Microsoft Dynamics CRM customer service functionality and making it
available to the Internet. However, this functionality can also be
applied to almost any CRM entity within CRM with only a small number of
configuration changes by adjusting the ASP.NET user control to point to a
different entity. In addition, this accelerator allows for attachments
of files to CRM cases and handles all login processes by utilizing the
ASP.NET membership provider.
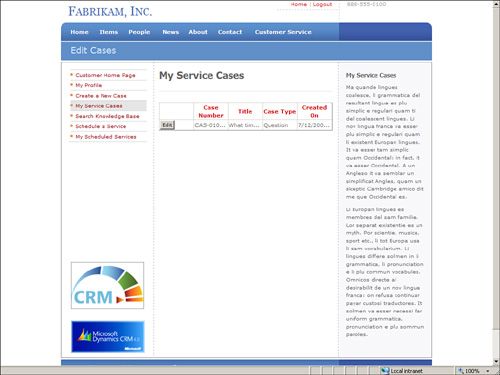
Figure 1 is an example of the eService accelerator’s portal.
Prerequisites and Modifications
The following prerequisites exist for the eService accelerator:
A website running
the .NET Framework. If you are running CRM On-Premise, you can use your
existing CRM web server for this website.
The
standard implementation is designed to work with Active Directory
authentication; however, because source code is provided, an
Internet-facing deployment (IFD) implementation is possible.
This accelerator has not been road-tested within 64-bit environments.
Secure
Sockets Layer (SSL) is highly recommended because this accelerator
allows users to access potentially sensitive customer data.
Note
The Microsoft Dynamics CRM External Connector license is required if the portal is exposed on the Internet.
This accelerator modifies the following CRM entities:
Adds new CRM case attributes
Case form changes
New case relationship
Contact form changes
Contact relationships
Account relationships
eService audit configuration
eService audits for account, case, and contact
eService workflows for account, case, and contact
For
a detailed breakdown of the changes made, review the “Microsoft
Dynamics CRM eService Installation Guide.doc” that’s included in the
\Documentation folder included with the download files.
Note
The eService
accelerator installation merges new customizations with existing
customizations; however, be sure to back up your customizations before
performing an implementation.
Once the eService accelerator is downloaded and unzipped, you’ll find the following materials in the Source folder:
Documentation for installation, configuration, administration, and end-user training
All required customization files
Sample HTML, CSS, and images for a sample website
Visual Studio source code for all examples
eService Accelerator Installation
There are four main components to the installation:
CRM entity customizations
ASP.NET user controls
Custom CRM workflow assembly
Interface for configuring the eService user controls
The steps for performing a standard installation are listed in the following subsections.
Create an eService Accelerator User
1. | You
will need to assign a user that the eService accelerator will use for
authentication. This user can be used for other accelerators or other
CRM purposes if desired, although it’s recommended that you don’t use a
person’s existing login; explicitly create this user for the purpose of
handling CRM requests.
|
2. | Within Active Directory, create a user whose logon name is crmwebuser
or similar. This can be done by right-clicking an administrative user
and selecting Copy (to inherit all the administrator’s permissions).
|
3. | If
your user does not exist within CRM, add it. Within CRM, create the
crmwebuser and assign the appropriate email address if necessary.
|
4. | Assign
the appropriate role to this user (for example, System Administrator).
Alternatively, a new role could be created that allows only this user to
modify entities relating to the accelerator (for example, case and
note).
|
Prepare the Installation
1. | Run the installation executable that was downloaded from Codeplex. At the time of this writing, this is eService_v1.0_RTW.exe.
|
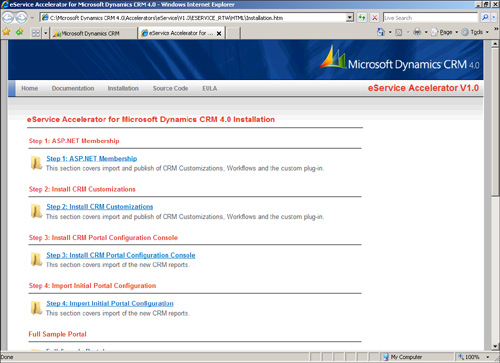
2. | Once you’ve extracted the files, the wizard can be used to configure most of the necessary components (see Figure 2).
|
Configuring ASP.NET Membership
1. | Within
the Installation Wizard, click Step 1: ASP.NET Membership. This is the
same as navigating to the \Installation\Step 1 - ASP.NET Membership\
folder and then running the aspnet_regsql.exe application. This will
guide you through configuring ASP.NET membership for the eService
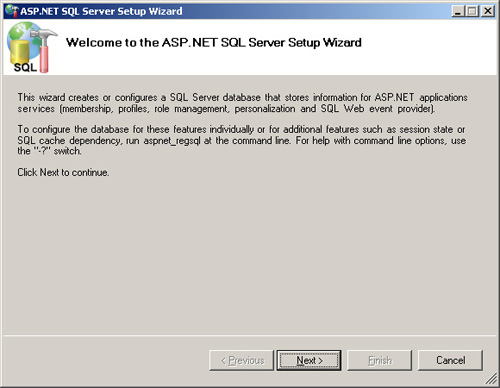
accelerator. Figure 3 is an example of the ASP.NET SQL Server Setup Wizard.
|
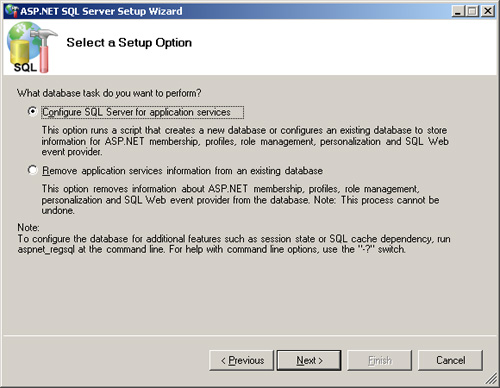
2. | Click Next to begin and Figure 4 will display.
|
3. | Select Configure SQL Server for Application Services, and then click Next.
|
4. | Select the server and database to use with this configuration (see Figure 5).
Select
Windows Authentication to utilize an Active Directory account to
authenticate to the SQL Server. You’ll need to ensure that the user that
this website’s application pool runs as (normally NT AUTHORITY\NETWORK
SERVICE) also has privileges to write and read to the database that gets
created.
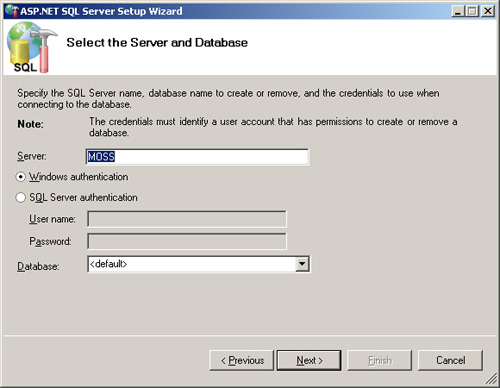
Select SQL Server Authentication to use a SQL Server user for which to authenticate.
|
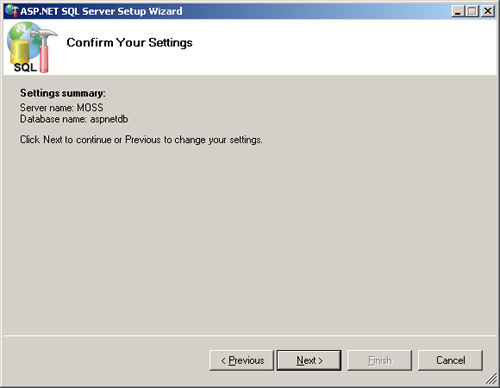
5. | Click Next to continue with the installation (Figure 6).
|
6. | You’ll be prompted to review your settings. Click Next to continue.
|
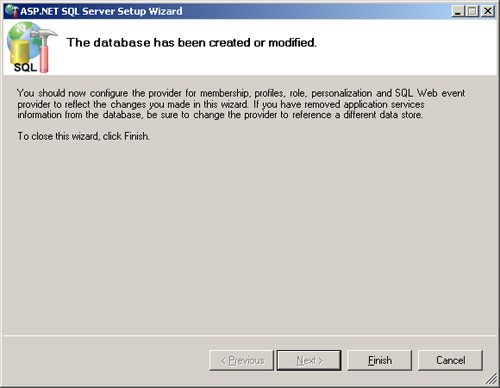
7. | Once the installation has completed, you’ll be prompted to finish (see Figure 7). This completes the step 1 part of installation.
|