Courier Sender
As
mentioned, the Courier Sender enables you to create and send package
information to another SMS site through non-network channels, such as
regular postal service or a package delivery service if you have a slow
or unreliable link between a site and its parent. It can also be used to
send packages that are so large that an existing address might not
provide adequate performance levels. It’s not, however, meant to be used
as a consistent alternative to existing network communication
mechanisms, nor can it be used to transmit data packages generated
internally by SMS.
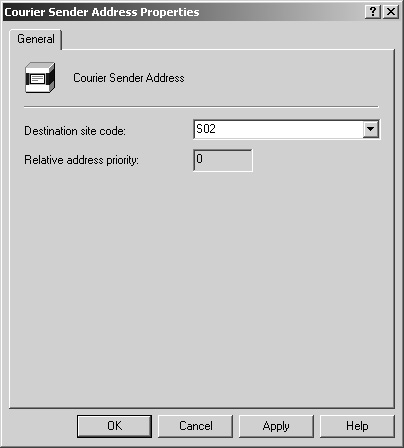
As with other
senders, to use the Courier Sender as an alternative means of sending
packages, you must create an address to the target site using the
Courier Sender as the sender type, as shown in Figure 6. In the SMS Administrator Console,
navigate to the Site Settings folder and expand it. Right-click the
Addresses object and choose New and then Courier Sender Address from the
context menu, which will bring you to the Properties dialog box shown
in Figure 4-42.
When you create the
package, you can also identify the Courier Sender as the preferred
sender type for that package, as shown in Figure 7.
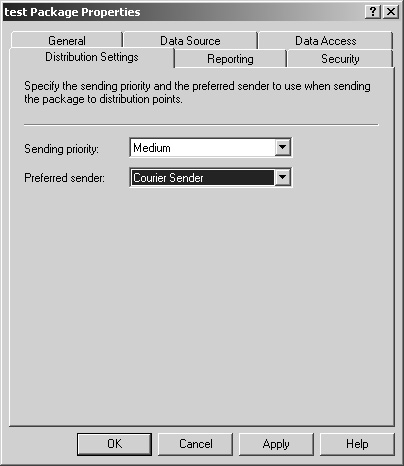
You’ll also need to identify the target site as a distribution point for the package.
Tip
If
you have more than one address to a target site and you want to send a
package using the Courier Sender, choose Courier Sender as the preferred
sender type when you create the package. |
When you use the
Courier Sender as the sending mechanism to transfer a package, the
package files are compressed into a single package (.PCK) and placed in
the SMS\Smspkg directory. A send request file is also created and placed
in the Courier Sender’s outbox. Because no automatic connection needs
to be made to the target site, you must next launch Courier Sender
Manager from the Systems Management Server program group. To create
outgoing parcels, follow these steps:
1. | In Courier Sender Manager, choose Create Outgoing Parcel from the File menu.
|
2. | Select your package from the list and click Next.
|
3. | In
the Parcel Properties section, enter the name of the package, a
tracking name, the method you’re using to send the parcel (for example,
UPS or Federal Express), and a descriptive comment. Click Next.
|
4. | Enter the path where you want to save the parcel. The default is SMS\Inboxes\Coursend.box\Out. Click Next.
|
5. | Click Finish to create the parcel (.PCL) file.
|
You
can now copy this parcel to some other medium, such as CD-ROM, and then
send it on using some non-network method, such as the U.S. Postal
Service. The SMS administrator at the target site will in turn copy this
parcel to a directory on the target site server. (The default used by
Courier Sender Manager is SMS\Inboxes\Coursend.box\In.) The SMS
administrator will then launch Courier Sender Manager on the target site
server, essentially reversing the sending process by following these
steps:
1. | In
Courier Sender Manager, choose Receive Incoming Parcel from the File
menu to display the Courier Sender Wizard’s Receive An Incoming Parcel
page.
|
2. | Click Browse, select the package from the list, and click Open.
|
3. | Click Next and then Finish to complete the package receiving process.
|
Courier Sender
Manager will process this parcel as though a package had been sent using
one of the other senders. If necessary, a SMSPkgx$
directory will be created (where x stands for the drive letter) and the
package files will be uncompressed and copied to a subfolder below the
directory. When the process has been completed, you can check the
parcel’s status by choosing Parcel Status from the Courier Sender
Manager’s File menu at the sending site. Since the nature of Courier
Sender is that the package is being sent by some non-network method,
parcel status is also updated by a non-network method—that is, you need
to manually update the status.
When you first create
the parcel, the parcel status will be displayed as “created.” After you
send the parcel to the target site, you can change the status to either
“sent” or “confirmed.” After you change the status to “sent,” your only
other option can be “confirmed,” which you might select, for example,
when the administrator from the target site notifies you that the parcel
was received and processed.
Change the status of a parcel by following these steps:
1. | In
the Courier Sender Manager, right-click the parcel whose status you
want to change and select Properties from the Action menu.
|
2. | In the Parcel Properties dialog box, click Change Status.
|
3. | In the Change Status dialog box, select the option that reflects the parcel’s new status. |
