The Dynamics NAV security system provides extensive
security and access control options to specify direct and indirect
permissions for up to object-level (table-level) security and also
record level security in the Dynamics NAV for SQL Server option. This
layer of security, consisting of roles and permissions, is a very
discreet layer of security on top of the SQL database security system
and Windows security system.
There are no default
users when we first start the database, either a new database or the
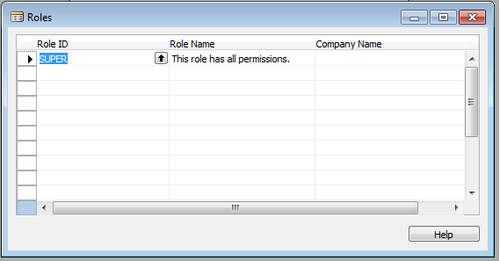
demo database. The first login that we create—Windows or
database login—must be a SUPER user, with access to the SUPER
role in Dynamics NAV. This role has all the permissions for the
application. We can add the SUPER user by adding a new user and
assigning the SUPER role by clicking the Roles button at the bottom of the screen.
The SUPER user defined earlier can now create other logins and assign them roles according to the functions that users perform.
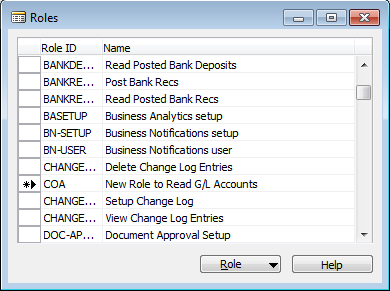
A role
in Dynamics NAV is a set of permissions for various
objects—tables, forms, Codeunits, reports or dataports, and so
on.
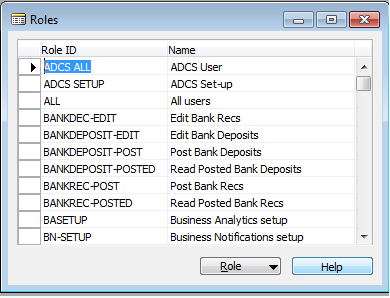
It is highly recommended
that before starting to assign and create new roles, we must take into
account the standard Dynamics NAV roles that come along with the demo
database. These are standard roles that provide a wide range of access
control based on business functions.
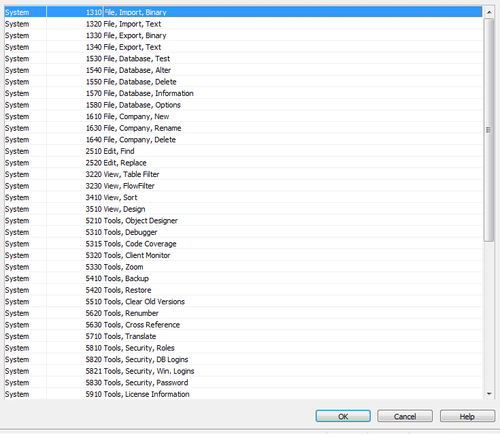
Roles can be accessed from Tools | Security | Roles.
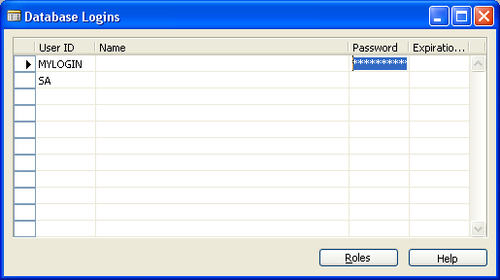
A database or Windows login can have multiple roles assigned to it. Let's assign roles to Windows or database logins as follows:
1. Open the Database Logins or Windows Logins window from Tools | Security.
2. Highlight or make sure our cursor is on the login that we want to assign roles to.
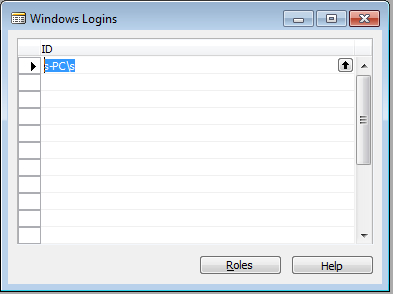
3. Click on the Roles button in the bottom.
4. Assign one or multiple roles in the screen that appears next. We can create a role by using F3 and then looking up the list of roles by clicking Assist Edit (or press F6).
5. There is also an option to specify the Company Name on the right most column; this is used if we want to restrict a user to a particular company only.
Assigning permissions
Every role is a cluster of a set of permissions for various objects, which are as follows:
Table Data
Table
Form
Report
Codeunit
XMLport
MenuSuite
System
Page
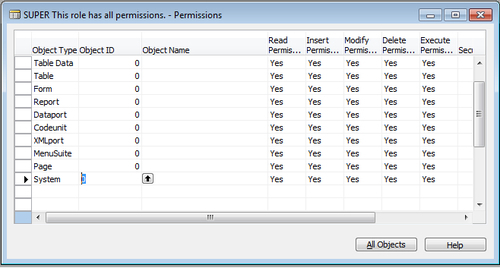
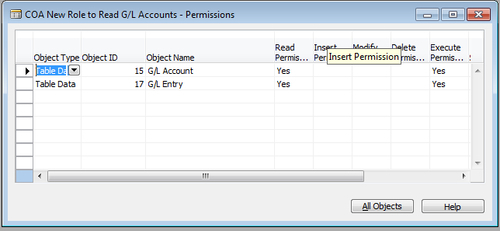
The previous screenshot shows the permissions assigned to the SUPER role in the Dynamics NAV demo database. The value 0 assigned to the Object ID
field, indicates all objects of that object type will get included in
the role, depending on the read, modify, execute, insert, and delete
permissions.
While most of the previously
given access to the respective objects in the database, the system
object type is used to define a set of functions, which are not executed
by the objects in the database, for example, importing and exporting
object files.
The Permissions field has three different options, as follows:
• Blank: No permissions are associated with this permission type (such as read, insert, modify, delete, or execute).
• Yes: The role has full permissions associated with this object.
• Indirect:
This option gives access to the object through another object. For
example, access to a table may be needed by a Codeunit that uses the
table to either read from, write into, or modify the records. A lot of
tables are modified by the Codeunit 12 Gen. Jnl.-Post Line and one of them is Table 81- Gen. Jnl line. Therefore, the user who has to perform posting, needs indirect access to the table (through Codeunit 12).
Creating a new user from scratch
Let's do a walkthrough of
the process of creating a new user that needs access to read G/L
Accounts. We will create from scratch the role(s) and the associated
permissions with the role as follows:
1. Create a new database login (or could also be a Windows login) as shown in the next screen from Tools | Security | Database/Windows Login.
2. Go to Tools | Security | Roles.
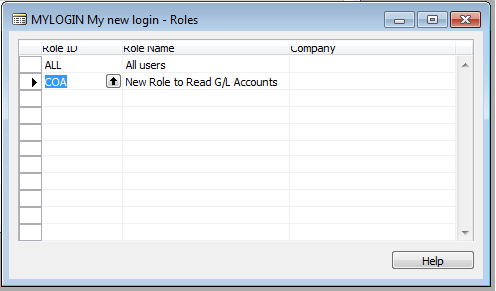
3. Create a new role by using F3, named COA (Chart of Accounts) from General Ledger.
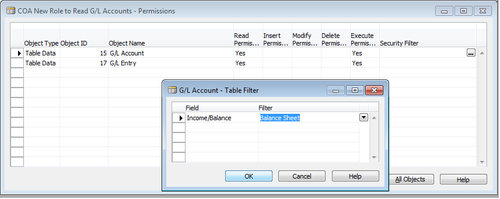
4. Click on the Permissions button from the Role menu button in the bottom of the form.
5. Assign appropriate permissions to the Table Data-15 G/L Accounts; in this case, we only need Read Permission.
6. We also need permissions for G/L Entry table, as there are flow fields in the G/L Account table that read from the G/L Entry table.
7. Let's go back to our Database Logins
window and assign the appropriate roles to our new user. In addition to
the new role we previously created, we also need to add an ALL role to the user's list of roles. This role is kind of a prerequisite for any other roles (except SUPER).
This contains access to basic tables, forms, and other objects that are
needed for proper functioning and start up of the Dynamics NAV
application.
8. The next process is to synchronize our new user (if we are using SQL database); we could either use Tools | Security | Synchronize one Login or Synchronize All Logins to synchronize the new user and associated roles.
Security filter—record-level security
Security filters—record level security/access control can be explained by extending the previously described example for accessing G/L Accounts. Let's take an example where we want the user to view only balance sheet G/L Accounts.
To accomplish the record-level security, we use security filters from the Permissions window. Click on the Assist Edit button in the Security Filters field in the Permissions window and select the field on which we want to apply filters.
Record-level security is available only if we are using the SQL database.
