Internet
Explorer is, as you would expect, a highly customizable tool. In the
following sections, we'll consider some of the many ways in which you
can make the browser your own.
1. Adding, Removing, and Managing Search Providers
Internet Explorer
provides two ways to search for information on the internet without
actually visiting a website. The more obvious of the two is to enter
search terms in the search box in the top right corner of the browser
window and click the Search button. If you have more than one search
provider installed, you can use the search box drop-down menu to choose a
provider before you search. Alternatively, to search the default
provider, you can simply enter search terms in the address bar and click Go. Internet Explorer attempts to parse whatever you type in the address bar into a URL. If it cannot do so, it hands your entry off to the default search provider.
On a clean install of Windows 7, the default search provider is set to Bing Search. But you can change the default search provider and add other search providers to the list of available search engines.
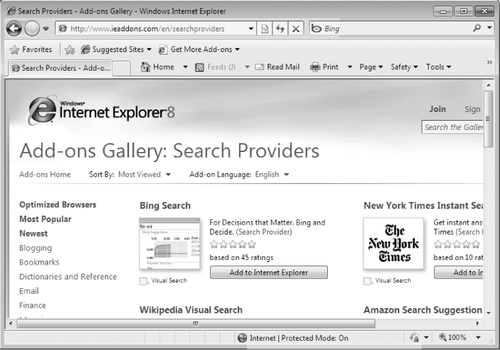
To customize the list of
available search providers, open the search box drop-down menu and
choose Find More Providers. This leads to the Search Providers page of
the Internet Explorer 8 Add-ons Gallery, shown in Figure 1, where you can choose from a long list of providers.
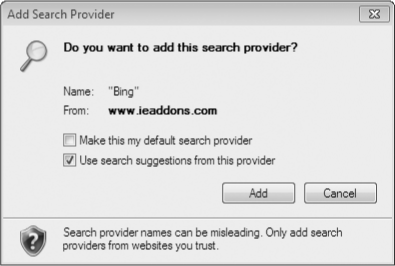
When you click Add To Internet Explorer to add a search provider, a dialog box like the one shown on the next page appears.
If you select Use Search Suggestions From This Provider, the search box provides AutoComplete functionality, potentially helping you to define your search more clearly before you get to the actual search page—and, at any rate, saving you keystrokes:
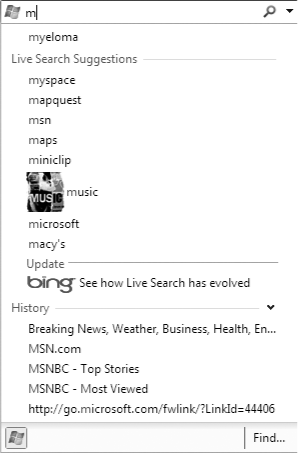
If you're concerned about letting others peruse your search history, you might want to clear this check box. If not, you'll probably find suggestions welcome.
Certain search providers are identified on the Search Providers page as offering Visual Search. These providers add graphic thumbnails to their search suggestions when those thumbnails are available.
1.1. Creating Custom Search Providers
If a site isn't listed at Microsoft's index of search providers, you can still add it to your list of search providers.
If the site owner has added the correct XML code to make the site aware
of the search box in Internet Explorer 8, you'll see an orange glow on
the down arrow next to the search box. When you click the down arrow,
you'll see two additional items: a new menu item (identified by an
orange star to its left) and a fly-out Add Search Providers menu option.
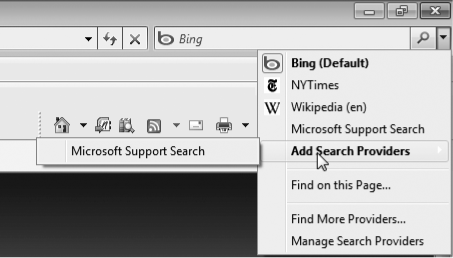
If you want to
search just the current site, type a search term and click the temporary
menu option for that site. When you navigate away from the site, both
menu items disappear. If you want the custom search option to be
available any time, click Add Search Providers, click the provider name,
and click OK in the Add Search Provider dialog box.
If the site owner hasn't
made this easy option available, you can still add the site to the list
of available search providers. Find the site search box and type the
term TEST (in
all capital letters). Copy the URL for the search results page to the
Clipboard. Next, click Find More Providers on the Search menu, click
Create Your Own Search Provider (at the bottom of the Search Providers
page), paste the URL into the form, specify a name for the menu item,
and click Install Search Provider.
1.2. Managing Search Providers
You can change your
default search provider, change the order in which providers appear in
the Search menu, or remove a search provider. Open the Search menu and
choose Manage Search Providers. In addition to the options just
mentioned, the Search Providers pane of the Manage Add-Ons dialog box
includes a check box that prevents programs from suggesting changes to
your default search provider.
2. Configuring Accelerators
Accelerators
are an Internet Explorer 8 innovation designed to save you keystrokes,
mouse clicks, and context switching. When you select text on a webpage,
the browser assumes you want to do something with that text and comes to
your aid. In response to any selection, a blue button with an arrow
pointing northeast appears:

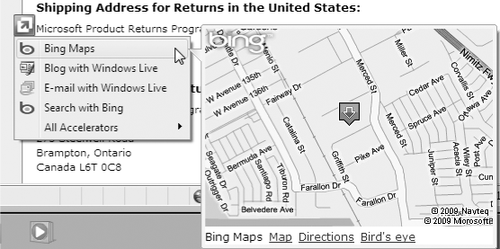
If you click the blue
arrow, Internet Explorer displays a list of default accelerators for
each of several categories. You might, for example, see an accelerator
that will transfer your text directly to an e-mail program, another that
will offer to translate the text, and so on. As Figure 2 shows, some accelerators offer preview capability, allowing you to use your selected text without leaving the current webpage.
Other accelerators, such
as those in the Search Providers category, open a new tab with your
selected text already pasted and ready to go.
The menu that pops up when
you click the Accelerators button lists only default accelerators. If
you have others, you can choose All Accelerators to see and use them:
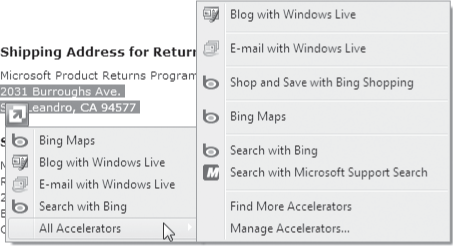
You can also click Manage Accelerators to change category defaults or to remove or disable accelerators.
The All Accelerators
fly-out menu shown in the preceding illustration also includes a Find
More Accelerators command, which transports you to the Accelerators page
of the Internet Explorer 8 Add-ons Gallery. Here you will find an ever-growing assortment of accelerating options.
