In Windows 7, using the system's integrated Tablet PC
functionality is virtually identical to the way it worked in Windows XP
Tablet PC Edition and in Windows Vista, but naturally with a few
enhancements. Windows Journal, Sticky Notes, and the Tablet PC Input
Panel (TIP) all make it over with some functional improvements, as does
the Snipping Tool, a favorite Tablet PC download that Microsoft used to
provide separately. This section examines how the Tablet PC
functionality has improved in Windows 7.
1. Configuring Tablet PC Features
Before using your Tablet PC
or tablet-equipped PC with a stylus or other pointing device, you should
probably take the time to configure the Tablet PC functionality that's
built into Windows 7. If you have Tablet hardware, you'll see a few
items in the shell that aren't available on non-Tablet hardware,
including a handy way to select multiple items with a pen, a few new
tray notification icons that appear over time, and the same reordering
of Control Panel items that one sees when using Windows 7 with a
notebook computer.
Tablet PC features are configured via the Control Panel, through two separate locations, Tablet PC Settings and Pen and Touch, both of which are available in Hardware and Sound.
|
If you're used to how these
features are configured in Windows Vista, you'll need to get reoriented
because Microsoft has moved items around fairly dramatically.
|
|
1.1. Using Tablet PC Settings
We are going to take a look at Tablet PC Settings first. (You can also access the settings directly by typing tablet pc settings in Start Menu Search.) This window, shown in Figure 1, includes two tabs that help you configure the system for tablet use.
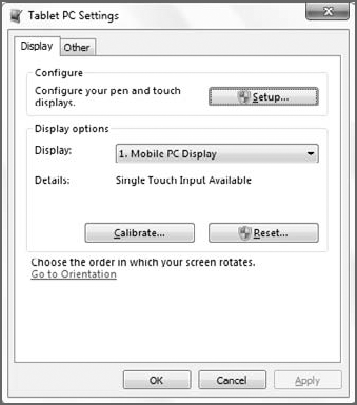
In the Display tab, you
configure which screen is used for both pen (stylus) and touch controls.
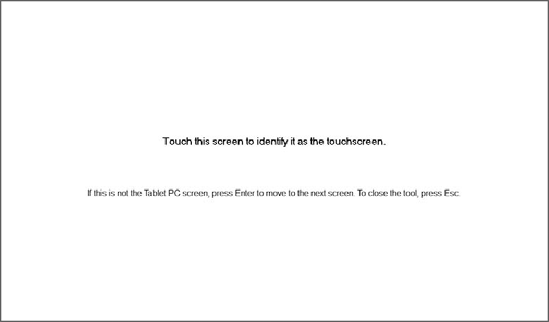
This interface is extremely simple: just click the Setup button and
then tap the screen that will be used for these functions. (You'll see a
display like the one shown in Figure 2 in each connected display.)
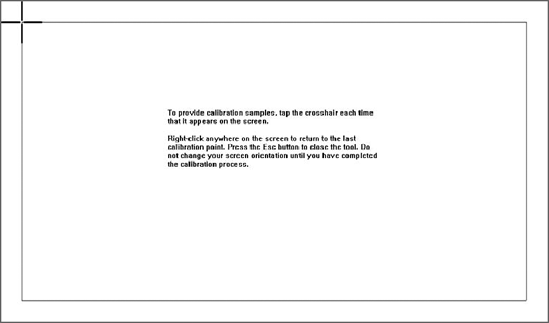
You can also configure
the Tablet PC display's calibration, which lines up pen pushes with
onscreen objects, ensuring that the pen hits the screen on target.
Anyone who's used a Pocket PC will recognize this tool, shown in Figure 3. You launch the tool by clicking the Calibrate button.
NOTE
This Digitizer Calibration
Tool only supports calibrating integrated digitizers. It will not work
with an external digitizer. If you're using an external digitizer, it
should have come with software to help you calibrate the pen.
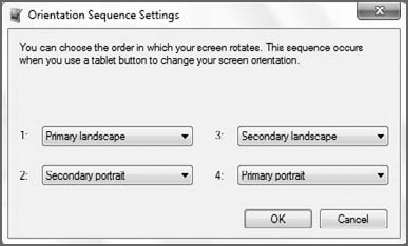
At the bottom of the Display tab is an innocuous little link titled Go to orientation. Clicking this reveals the window shown in Figure 4,
where you change the order in which the screen orientation changes
(primary landscape, secondary portrait, secondary landscape, and primary
portrait) when you press the hardware-based screen orientation button
that is found on many Tablet PCs.
Consider a typical
slate-style Tablet PC device, on which the display takes up most of the
surface of the front of the device. On such a machine, you could
conceivably view the screen in any of the four configuration options,
depending on how you're holding it. The primary landscape and primary
portrait modes are the two modes that you'll use most often, based on
the button layout on the device, your left- or right-handedness, and the
ways that feel most comfortable to you. The secondary portrait and
secondary landscape modes are less frequently used modes.
Most users will likely just
need two screen orientation types, especially if they're using a
convertible laptop-style Tablet PC. In normal laptop mode on such a
device, when the user is accessing the system through the keyboard and
mouse, the screen would be in a horizontal view. This would be primary
landscape. But when the screen is rotated so that the system is accessed
like a tablet, using the stylus, this would be primary portrait (or
perhaps secondary portrait depending on the user and the layout of the
device's hardware controls). In this case, you might want to configure
primary landscape for the first and third locations in the orientation
sequence and primary portrait for positions two and four.
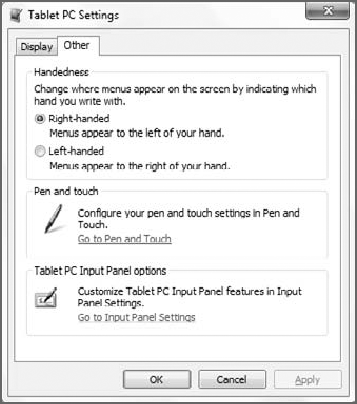
In the Other tab, shown in Figure 5,
you configure the Tablet PC for right- or left-handed use, and
configure Pen and touch and Tablet PC Input Panel (TIP) options.