7. Best Practices Analyzer
The Best Practices Analyzer (BPA)
is a useful tool to run against your SBS server regardless of whether
you’re planning on migrating to SBS 2011 immediately or later on. The BPA
can identify all kinds of problems in an SBS environment with over 200
errors, warnings, and informational messages about the health of your
SBS network.
You can download the BPA from http://go.microsoft.com/fwlink/?LinkId=113752
and then install it on your SBS 2003 server. The Knowledge Base article
for the BPA is 940439. After you’ve downloaded the BPA, execute the
SBS2003SP1-KB940439-x86-enu.exe file to install it. (The actual file
name varies depending on the language.)
You can then run the BPA using the following steps:
Click Start, click All Programs, and select SBS Best Practices Analyzer Tool.
The
first time you run the BPA, you’ll be asked if you want to check for
new versions every time you start it, and you’ll be offered an
opportunity to check now. Click Yes to receive automatic updates, and
choose to check now—even with a fresh download, we still got a newer
version after the check.
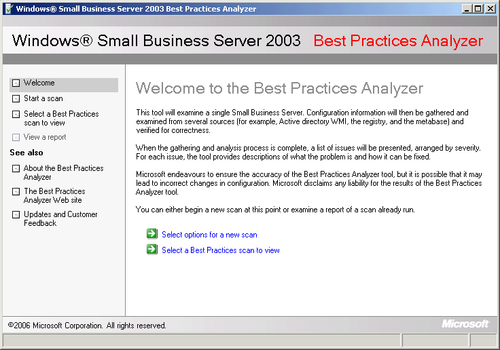
From the Welcome screen shown in Figure 19, you can select the options to use for a scan or view a previous scan.
Click Select Options For A New Scan to open the Start A Scan page shown in Figure 20.
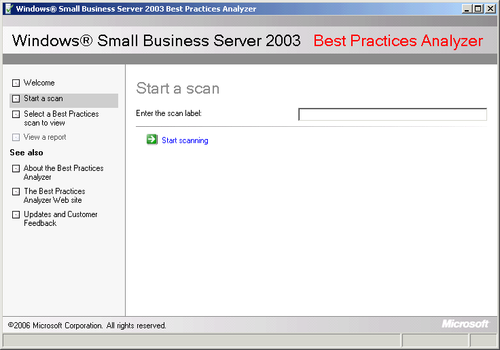
Type
in a label for the scan, and click Start Scanning. When the scan
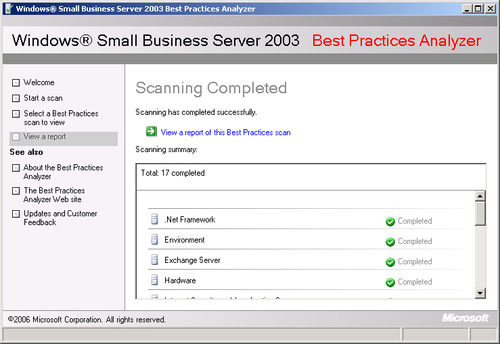
completes, you’ll see a summary of the results as shown in Figure 21.
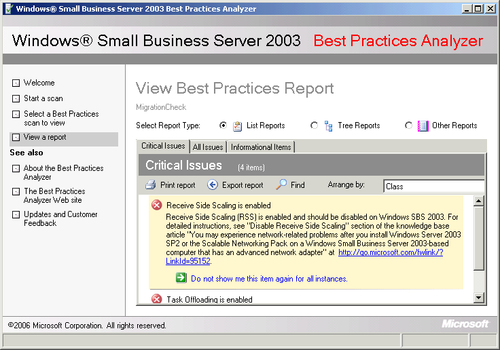
To view the results of the scan, click View A Report Of This Best Practices Scan. A typical report is shown in Figure 22.
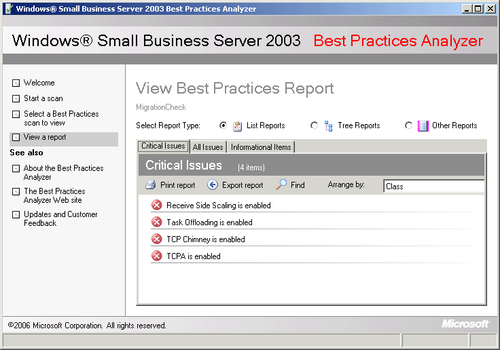
Click
any listed issue to see more details on the issue, including links to
Knowledge Base articles on how to correct the issue. The detail screen
for the Receive Side Scaling issue shown in Figure 22 is shown in Figure 23.
After you’ve corrected the issues that could prevent a successful migration, run the BPA
again by repeating steps 4 through 7 to verify that all the problems
are corrected. At a minimum, you should correct all critical issues, and
you should carefully evaluate the issues listed on the All Issues tab
and correct any that are possible problems for your migration.
Warning:
IMPORTANT
Do not proceed with your migration until all critical issues identified
by the BPA have been resolved. Seriously. The migration will fail if
you do. You should also carefully evaluate any additional issues shown
on the All Issues tab and resolve as many as possible.
8. Optimize Exchange Mailboxes
You should have your users optimize their Microsoft Exchange
mailboxes to reduce the time it takes to migrate them to Exchange 2010.
If you’ve been enforcing strict mailbox limits, this likely isn’t a
major issue. However, if you’ve got a couple of users who are special
and have seriously large mailboxes, now is a good time to try to get
this under control. Anything that removes excess mail from the mailboxes
is a good thing, but the most obvious steps are.
Ask all users to empty their Deleted Items folders.
Ask all users to empty their Junk E-mail folders.
Ask all users to archive all mail items older than some reasonable date.
Carefully
inspect Public Folders, and remove or archive any out-of-date or unused
contents to reduce the overall size of the Public Folder database.
Make a separate archive (PST) of all active Public Folders as a backup.
When users have had a reasonable
amount of time to clean up their mailboxes, it’s usually useful to
examine the mailbox store in Exchange
to see whether any outstandingly large mailboxes remain. This allows
you to have a more direct discussion with the owner of the mailbox to
help reduce its size. You can check the size of mailboxes by opening the
Exchange System Manager and navigating to Servers, then servername, then First Storage Group, then Mailbox Store, and then Mailboxes, as shown in Figure 24.
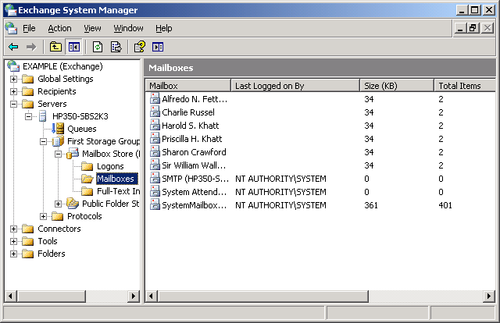
Note:
The mailboxes listed in Figure 24 are not typical of a working system but reflect what you would see on a brand-new system.
