5. Customizing Your Picture Slideshow and Adding an Audio
Soundtrack
After you configure the DVD menu for the video, the next
step is to customize the slideshow and add an audio soundtrack by
completing these steps:
Only video DVDs that have digital pictures have slideshows. If
your DVD has pictures, click the “Slide show” button on the “Ready
to burn” page. This displays the “Change your slide show settings”
page shown in Figure 13.
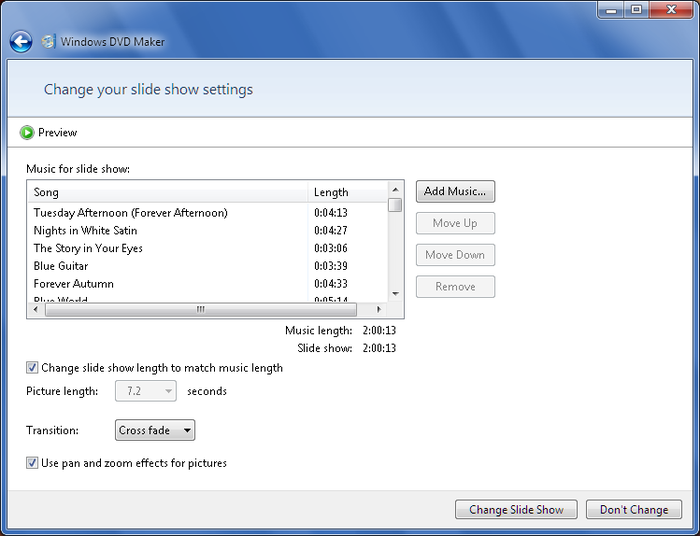
By default, each picture is set to display for seven seconds.
Use the “Picture length” list to select the desired display time,
such as five seconds. When you make changes to the picture length,
note the corresponding change in the running time for the
slideshow.
Use the Transition list to specify whether and how
transitions are used to move from one picture to the next in the
slideshow. After you select a transition, click Preview and then
play the video to see what the transition will look like.
To give your pictures the effect of live motion, select the
“Use pan and zoom effects for pictures” checkbox. Some
of the transitions work best when panning and zooming is turned off.
Others work best when panning and zooming is turned on. As an
example, cross-fade works well with pan and zoom turned on, while
inset works best with pan and zoom turned off.
If you want your slideshow to have a soundtrack, click Add Music. This displays the Add
Music to Slide Show dialog box shown in Figure 14.
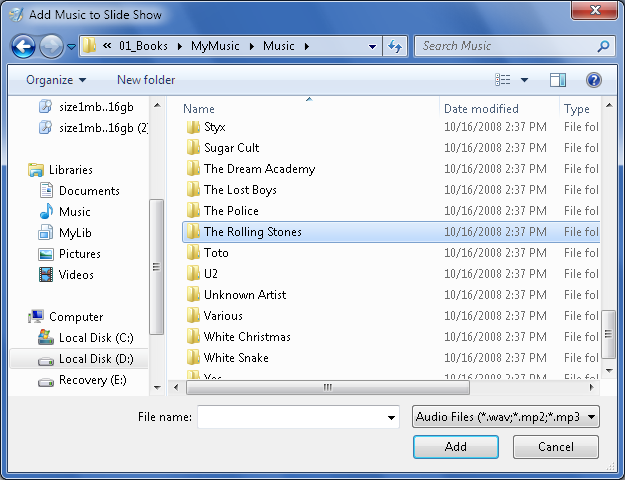
Because your Music library is the default location for your
music, the Add Music to Slide Show dialog box accesses this folder
by default. In your Music
folder or any other default folder for music, you’ll see your music
organized by artist. If you double-click the folder for an artist,
you’ll find either the related album or subfolders for each album when
multiple albums by one artist are stored on your computer.
Once you’ve worked your way through the folders and subfolders
for artists and albums, you’ll see a list of songs. You can select
songs to add to the DVD using any of the following
techniques:
Select an individual song by clicking it.
Select a series of songs by clicking the first song,
pressing and holding the Shift key, clicking the last song, and
then releasing Shift.
Select multiple songs individually by clicking the first
song, pressing and holding the Ctrl key, clicking each
additional song in turn, and then releasing Ctrl.
Click Add to close the Add Music to Slide Show dialog box and
add your selected songs to the “Music for slide show” list. You can
repeat steps 5–7 to add songs by other artists or from other albums.
Each time you add songs, note the music length and the slideshow
running time. When the music length is within a few minutes of the
slideshow running time, you can select the “Change slide show length
to match music length” checkbox to sync the soundtrack and the
slideshow running times.
When you are finished customizing the slideshow, click Change
Slide Show to save your changes and return to the “Ready to burn”
page.
6. Previewing and Finishing Your Video Project
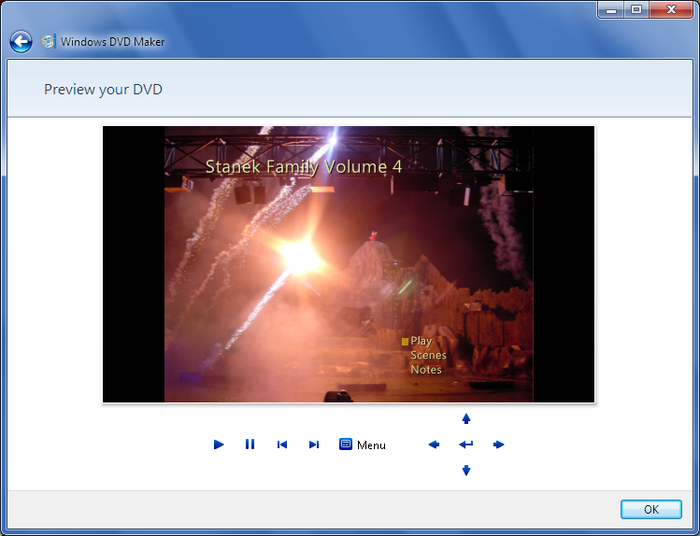
After you’ve customized the DVD menu and slideshow, you
can click Preview to get a preview of what the finished DVD will look
like (see Figure 15). You can always choose
a different menu style and different customization options if you aren’t
pleased with the results. Keep in mind, however, that the way the DVD
looks on your screen probably won’t match what the DVD will look like
when it’s finished. This is because processing and fully encoding a DVD requires a great deal of processing
power, and Windows DVD Maker doesn’t fully process or encode the DVD to
generate the preview.
When you are ready to continue, you can save your video as a
Windows DVD Maker Project. Project files are saved with the file extension .msdvd. Unlike your video, which may be
multiple gigabytes in size, project files are relatively small. They
contain the settings for the DVD menu, menu text, and slideshow. They
also contain a file manifest that has the file paths to all the items
included in the video.
You can save as a project file and then
burn your DVD by following these steps:
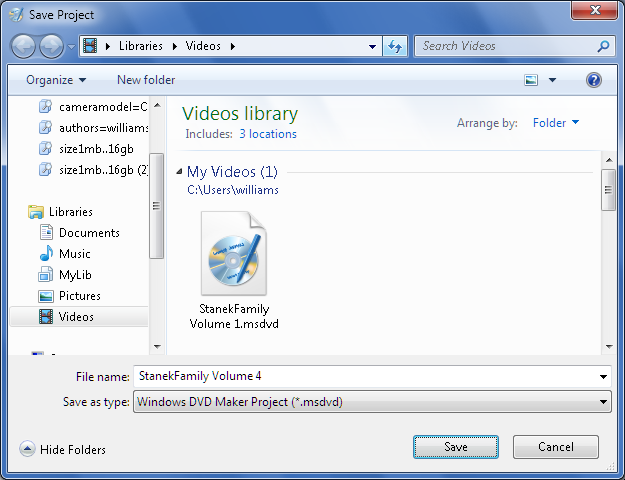
Click File and then select Save As.
In the Save Project dialog box, shown in Figure 16, type a descriptive name for
your video and then click Save.
NOTE
By default, your project is saved in your personal Videos
folder. If you don’t want to use this folder, click the Browse for
Folders button to expand the dialog box and include additional folder
browsing features. You can then select a folder in which to save your
project.
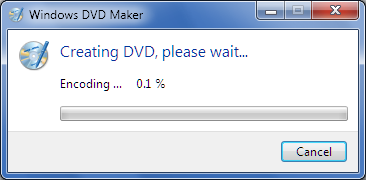
Click Burn. If you haven’t already done so, insert a blank
disc into your DVD player when prompted. Windows DVD Maker will
begin to encode your DVD. As shown in Figure 17, you’ll see a Burning dialog
box that tracks the progress of the encoding process. Encoding and
burning your DVD can take several hours. During this time, you
shouldn’t perform other tasks on the computer that might cause burn
problems, such as trying to rip or play a CD or DVD on a different
drive.
NOTE
The total time required to burn a DVD will depend on the speed
of your DVD burner as well as the speed of your computer’s CPU and the
amount of RAM on your computer. If you haven’t already used ReadyBoost with a USB flash device, you may want
to configure it before you burn the DVD because it may give your
computer a needed boost. On a computer with a 2.66 GHz dual-core
processor, 3 GB of RAM, and a 8x DVD burner, I found that burning a
DVD took about one minute per gigabyte of data.
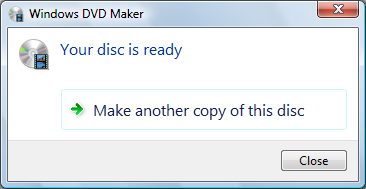
When encoding is complete, Windows DVD Maker will eject the
DVD and display the “Your disc is ready” message, as shown in Figure 18. To make
another copy, insert a blank DVD and then click “Make another copy
of this disc.” Otherwise, click Close to return to the Windows DVD
Maker main window.
7. Opening and Burning Saved Projects
You can open saved projects using the Search box on the
Start menu. Click Start and then type video into the Search box to see a list of all
videos and related video project files. Double-click the .msdvd project file
you want to open. Windows 7 will then start Windows DVD Maker and open
the selected project file for editing.
In Windows DVD Maker, you can open saved projects by completing
the following steps:
On the “Add pictures and video to the DVD” page, click File
and then click Open Project File. This displays the Open Project
dialog box.
In the Open Project dialog box, the last folder location you
used for saving project files is opened by default. If this isn’t
the folder you want to use, browse to the folder containing the
saved project file.
Click the project file and click Open. Windows DVD Maker will
then read the project file and begin adding the items it references.
As shown in Figure 19, the progress
of this import process is tracked in the Add Items dialog
box.
When Windows DVD Maker finishes adding items, review the order
of videos and pictures, check to make sure the DVD burner you want
to use is selected, and then click Next.
On the “Ready to burn” page, you’ll see a preview of the DVD
menu. You can make any necessary changes and then click Burn to
start burning the DVD.
If you haven’t already inserted a DVD, you’ll be prompted to
insert one. As before, the DVD burning process may take several
hours.

