2. Controlling How Notifications Appear
In previous versions of Windows, the notification area(also
sometimes called the system tray or the status area) often becomes
crowded with tiny icons—many of which don't "notify" you of anything. To
deal with notification-area congestion, Windows 7, by default, keeps a
few icons visible at all times but hides the icons that you aren't
actually using. And unlike previous Windows versions, the notification area doesn't consume an increasingly large chunk of the taskbar; new
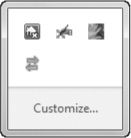
icons are corralled in a box that appears only when you click the arrow
at the left end of the notification area to display the hidden items.

You can
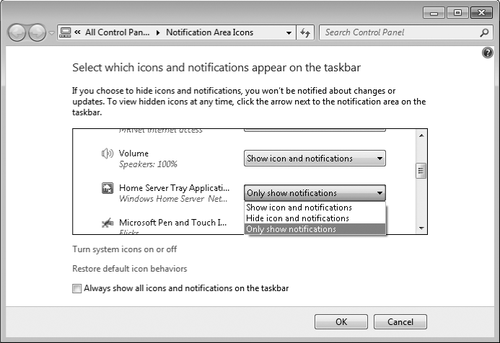
personalize this behavior in the Notification Area Icons control panel.
To get there, display the hidden notification area icons and click
Customize. Alternatively, begin typing notification in the Start menu search box or the Control Panel search box, and then click Notification Area Icons.

For each notification area icon, you can select one of three options:
Show Icon And Notifications Selecting this option displays the icon on the taskbar at all times.
Hide Icon And Notifications
With this option, the icon appears only when you click the arrow at the
left end of the notification area. Notifications from the program are
squelched.
Only Show Notifications Like the previous option, this one hides the icon, but it allows its program to pop up notification messages.
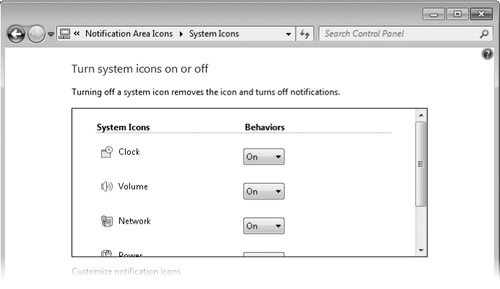
The system
icons (Clock, Volume, Network, Power, and Action Center) can be
remanded to the box of hidden icons by selecting either of the last two
options. But if you'd rather banish one or more of them altogether,
click Turn System Icons On Or Off. The dialog box shown in Figure 3 appears.

One final option can come
in handy if you don't like having to click the arrow to display hidden
icons (and you don't mind having a string of notification area icons as
long as your arm). If you want to see all your notification area icons
at all times, select Always Show All Icons And Notifications On The
Taskbar. This is an all-or-nothing proposition, but remember that you
can turn off any of the system icons you don't use. Also, some
well-behaved programs have an option (usually accessible by clicking the
notification area icon and choosing Options) to not display their
icons.
|
Perhaps the easiest way to specify the appearance option for a notification
area icon is to simply drag the icon—a technique you can apply to
system icons (except Clock) as well as to other notification area icons.
Dragging an icon to the hidden area sets it to Only Show Notifications,
whereas dragging to the taskbar is equivalent to selecting Show Icon
And Notifications. Dragging also lets you specify the order of icons in
each area.
|
If you're one of
those users whose fingers never leave the keyboard, you can press
Windows logo key+B to move the focus to the notification area. Use the
arrow keys to highlight different icons on the taskbar or, when the
arrow is highlighted, press Spacebar to display the hidden icons. You
can then use arrow keys to select an icon, and the Menu or Shift+F10
keys to display the icon's menu.