A local testing server is a Web server installed on
your personal computer that you can use to simulate live connections
with the database. While there are quite a few steps involved with
downloading, installing and configuring the server, the process is
fairly simple and will enable you to test your pages and further develop
your applications as needed.
1. Download and install ColdFusion
Adobe ColdFusion provides a
set of powerful, easy-to-learn and easy-to-use tools for developing
data-driven Web applications. As a commercial product, it does need to
be purchased by your company or Web host in order for it to be deployed
on a live, production Web server. However, Adobe makes a Developer
Edition available, free of charge, to be installed and used in testing
environments.
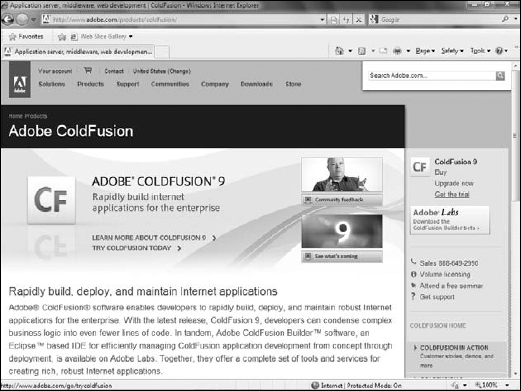
Click Get the Free Trial (see Figure 1). A login screen appears.
NOTE
The most recent release
of ColdFusion as of this writing is version 9, released in October of
2009. The process shown in these steps will work with ColdFusion MX7,
ColdFusion 8, or ColdFusion 9, so if you have already installed one of
those earlier versions, you need not re-download and reinstall
ColdFusion 9.
Log into Adobe's Web site in order to download software.
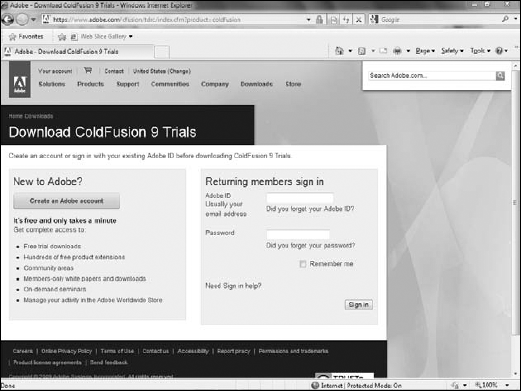
If you have an Adobe account, type your username and password. If you
do not have an account, you can click the link on the page and create a
free account, and then return to this page and log in (see Figure 2).
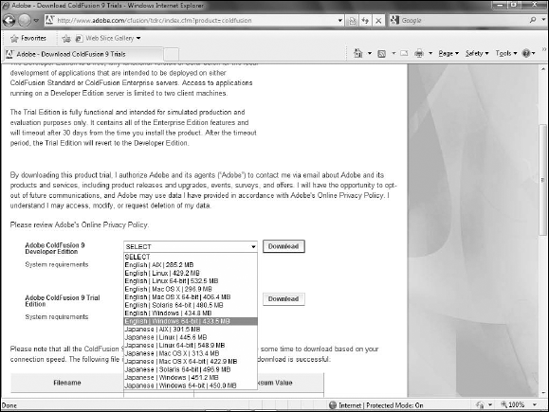
Select the version of ColdFusion that is appropriate for your operating system and click Download (see Figure 3). The File Download dialog box appears.
Navigate to a directory on your computer into which you want to download the file and click Save.
When
the download completes, navigate to the directory into which you
downloaded the file and double-click it to launch the installer. The first step of the installer informs you that ColdFusion is going to be installed.
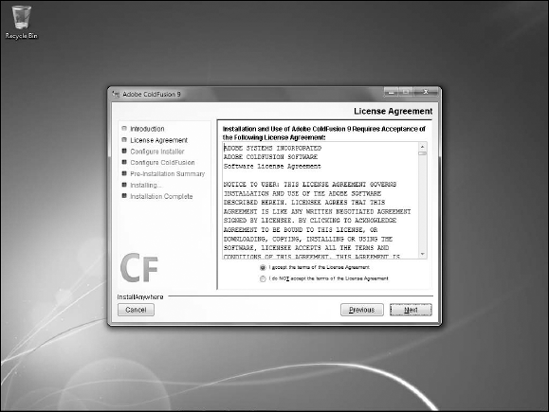
After reviewing the license agreement, click Next (see Figure 6).
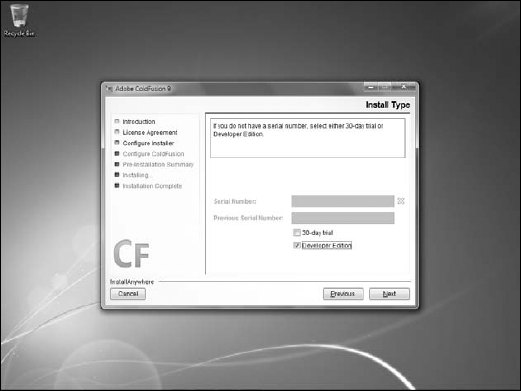
Click the option to install the Developer Edition.
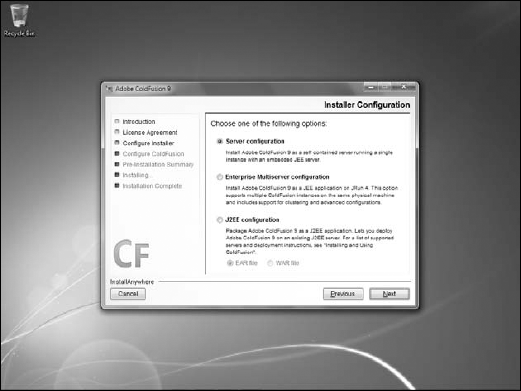
Select a configuration for ColdFusion. For a local testing server, Server configuration option, which is the default option, works best.
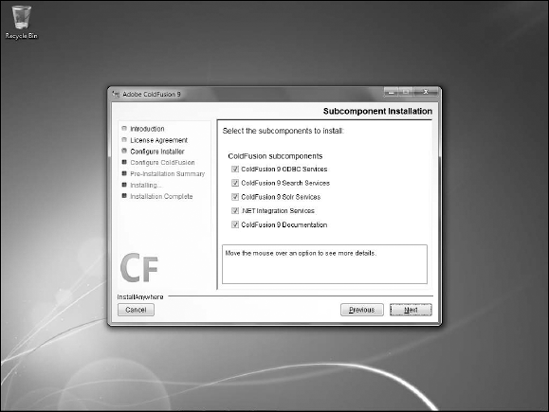
Click Next (see Figure 8). The next screen displays a list of subcomponents to install with ColdFusion.
Leave the default selections and click Next (see Figure 9).
Select the directory into which you want to install ColdFusion. Unless you have a particular reason to choose something else, leave it at the default.
Click Next (see Figure 10). The next screen allows you to specify that you will be using the stand-alone version of ColdFusion.
Select the Built-in web server (Development use only) option.
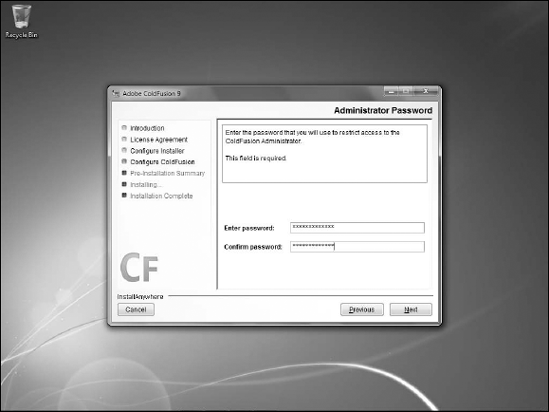
Enter a password and type it again to confirm.
This password will be used by you when you need to log into the
ColdFusion administrator to configure your server, so be sure to use a
password that you will remember (see Figure 12).
ColdFusion
uses the Remote Development Service to allow external editors such as
Adobe Dreamweaver and Adobe ColdFusion Builder to have access to the
server to simplify development. On a development or testing machine such
as the one you are setting up, you should enable RDS and set up a
password to control access. You should not enable RDS on a live
production server.
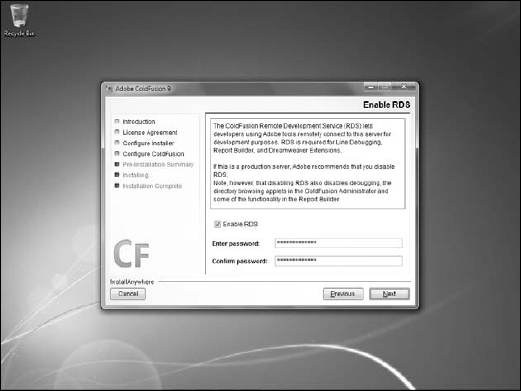
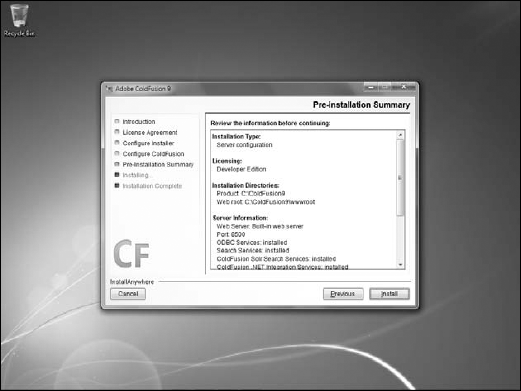
In this case, select the Enable RDS option and type, then confirm, a password (see Figure 13). The installation wizard offers a summary of the settings.
When you are ready, click Install (see Figure 14). The installer will likely take several minutes.
Once the installation is complete, launch the ColdFusion administrator to complete the configuration (see Figure 15).
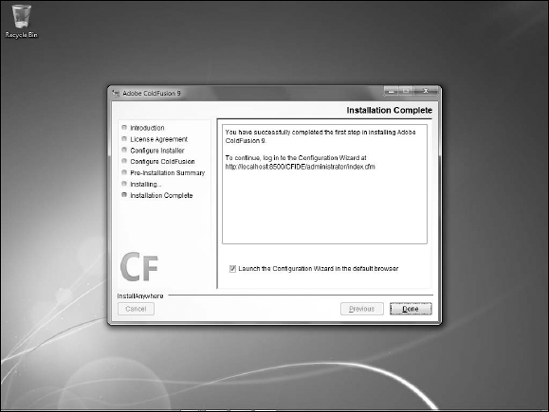
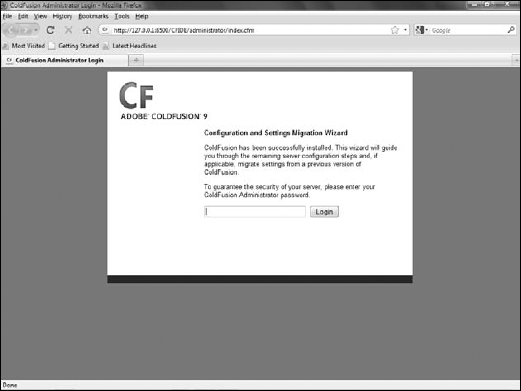
Click the link provided to launch your Web browser. After a few minutes, the installer will complete and display the ColdFusion administrator login screen (see Figure 16).
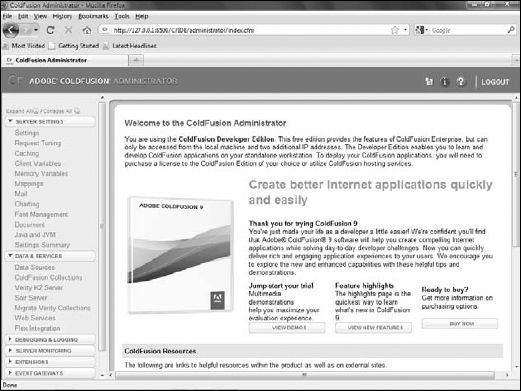
Log in and explore the administrator if you wish, using the password you created during the installation process (see Figure 17).
You have now
installed ColdFusion on your computer, and are ready to begin using it
as a back-end resource to connect your project to live data.
2. Configuring the database
After ColdFusion is installed,
you need to set up and configure a database to use for your
application. Many relational database systems exist, from desktop
applications such as Microsoft Access to enterprise-level solutions
offered by Oracle. One of ColdFusion's strengths is its ability to work
with almost any database system.
Derby offers many of the
features found in expensive, enterprise-grade systems such as Microsoft
SQL Server, but as an open-source solution, it is available free of
charge. However, it does entirely lack a user interface. Therefore, it
is necessary to create your own front end to the database. In this case,
you can use ColdFusion to create that front end.
Once the files are downloaded, unzip them into the ColdFusion Web root. If you used a default installation on Windows, the root will be at c:\ColdFusion9\wwwroot, while on the Mac it will be at Applications/ColdFusion9/wwwroot.
Enter the ColdFusion administrator password you set up while installing ColdFusion.
Click Set Up Database.
The ColdFusion page will create the necessary settings to configure the
database, as well as creating the tables needed for the remainder of
the examples here and populate the database with sample data.
Once complete, a confirmation page will be displayed.
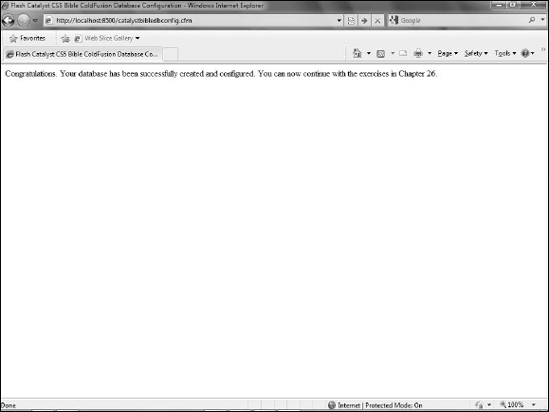
When you get the confirmation page, you can close the browser (see Figure 18).
