If you have to deal with a
backlit subject (and we all do at one time or another, either
intentionally or by accident), then you’re going to love the Fill Light
slider. Unlike the Shadow/Highlight adjustment in Photoshop (which
requires you to jump through a few hoops and tweak a number of sliders,
so it doesn’t look fake and “milky”), the Fill Light slider not only
looks more natural, but because of that, it lets you apply more Fill
Light and still have your image look good. However, there is one little
tweak you’ll need to know, but it couldn’t be easier.
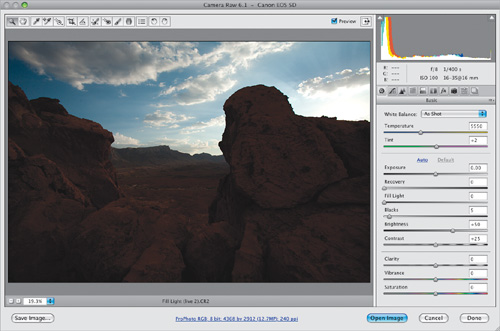
Step One. | Here’s
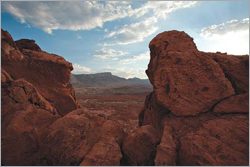
a pretty typical image where the subject, shot near sunset, is backlit
with the setting sun, and while you can see some detail, the detail
areas of the subject are mostly in the shadows.
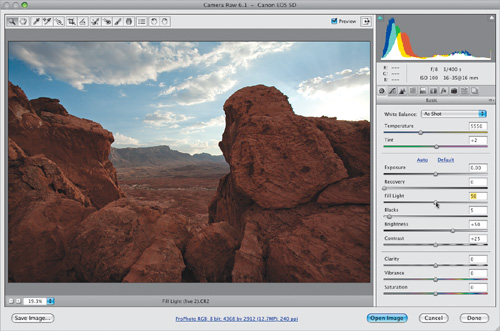
 | Step Two. | Dragging
the Fill Light slider to the right opens up those lower mid-shadow
areas, and lets detail that was once hidden in the shadows be revealed
(as seen here).
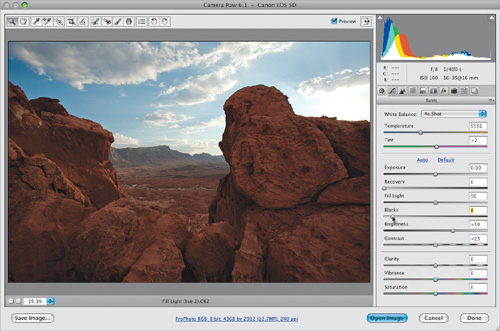
 | Step Three. | If
you have to drag the Fill Light slider quite a bit to the right (as I
did here), you’re going to run into a little problem in that your deeper
shadows might start to look a bit washed out. So when I have to push
things as far as I did here, I generally drag the Blacks slider over to
the right just a little to bring back some of the richness and color
saturation in the deep shadow areas. Now, there is a difference if
you’re working with RAW or JPEG/TIFF images. With RAW images, the
default setting for the Blacks will be 5, and generally all you’ll need
to do is move them over to 7 or 8 (as shown here). However, on JPEG or
TIFF images, your default is 0, and I tend to drag them a little
farther. Of course, every image is different, but either way, you
shouldn’t have to move the Blacks slider too far (just remember—the
farther you move your Fill Light slider to the right, the more you’ll
have to compensate by adding more Blacks).
 | Step Four. | Here’s
a before/after with only two edits applied to this photo: (1) I dragged
the Fill Light slider over to 50, and (2) I dragged the Blacks slider
to 8.
|
Tip: Multiple Undos
This is one of those little
hidden features that not many users know about, but Camera Raw has its
own built-in multiple undo feature. To use it, just press Command-Option-Z (PC: Ctrl-Alt-Z)
and it undoes your edits (including moving sliders) one by one. Also,
unlike Photoshop’s History undos it’s not just limited to 20 undos.
Before: The subject is in the shadows
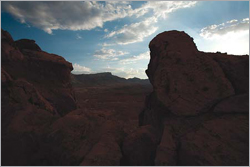
After: Using Fill Light and adding Blacks
|