Creating and Opening OneNotes
Microsoft
OneNote is a digital notebook program you can use to gather, manage,
and share notes and information. In PowerPoint and Word, you can create
and open notes directly from the Review tab (New!)
by using the Linked Notes button. OneNote auto-links notes to the
Office document you’re viewing, which you can disable or change in the
Advanced section of OneNote Options. You can open a OneNote note by
clicking the Linked Notes button. The Linked Notes button is not
available on the Review tab until you start the program and create an
initial account, which is quick and easy.
Create and Open OneNotes
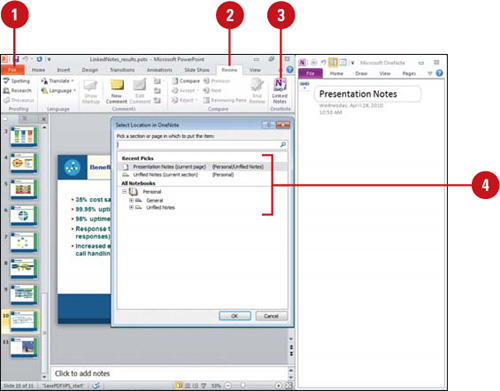
 In PowerPoint or Word, open a document.
 Click the Review tab.
 Click the Linked Notes button.
 On first document use, select a section or page in which to put the notes, and then click OK.
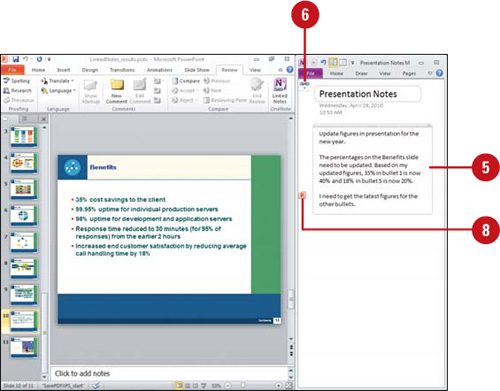
 In OneNote, enter the notes you want for the page.
 To work with notes in OneNote, click the Linked Note icon, and then click an option:
- Linked File(s). Use to select a linked Office document to view.
- Delete Link(s) on This Page. Use to delete links on the current page.
- Linked Notes Options. Select to open OneNote Options.
 When you’re done, click the Linked Note icon in OneNote, and then click Stop Taking Linked Notes. To restart it, click Start Taking Linked Notes on the file tab.
 To view linked notes, click the Linked Notes button to open OneNotes if needed, point to a note, and then click the Office program icon.
Inspecting Documents
While
you work on your presentation, PowerPoint automatically saves and
manages personal information and hidden data to enable you to
collaborate on creating and developing a presentation with other people.
The personal information and hidden data includes comments, revision
marks, versions, ink annotations, document properties, invisible
content, off-slide content, presentation notes, document server
properties, and custom XML data. The Document Inspector
uses inspector modules to find and remove any hidden data and personal
information specific to each of these modules that you might not want to
share with others. If you remove hidden content from your presentation,
you might not be able to restore it by using the Undo command, so it’s
important to make a copy of your presentation before you remove any
information.
Inspect a Document
- Click the File tab, click Save As, type a name to save a copy of the original, specify a folder location, and then click Save.
- Click the File tab, and then click Info.
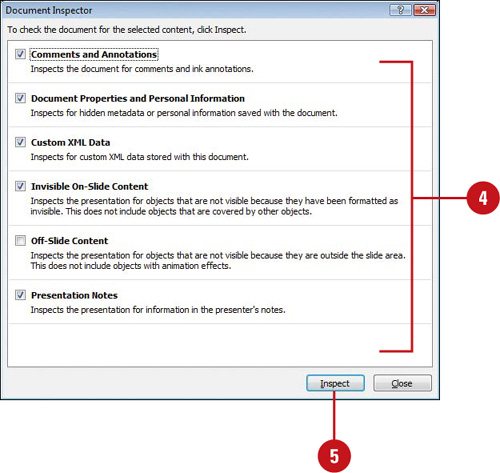
- Click the Check for Issues button, and then click Inspect Document.
- Select the check boxes with the content you want to find and remove:
- Comments and Annotations. Includes comments and ink annotations.
Did You Know?
What is metadata? Metadata is
data that describes other data. For example, text in a presentation is
data, while the number of slides is metadata.
- Document Properties and Personal Information. Includes
metadata document Properties (Summary, Statistics, and Custom tabs),
the file path for publishing Web pages, document server properties, and
content type information.
- Custom XML Data. Includes any custom XML data.
- Invisible On-Slide Content. Includes objects formatted as invisible. Doesn’t include objects covered by other objects.
- Off-Slide Content. Includes objects (such as clip art, text boxes, graphics, and table) off the slide area.
- Presentation Notes. Includes text entered in the Notes section. Doesn’t include pictures in the Notes section.
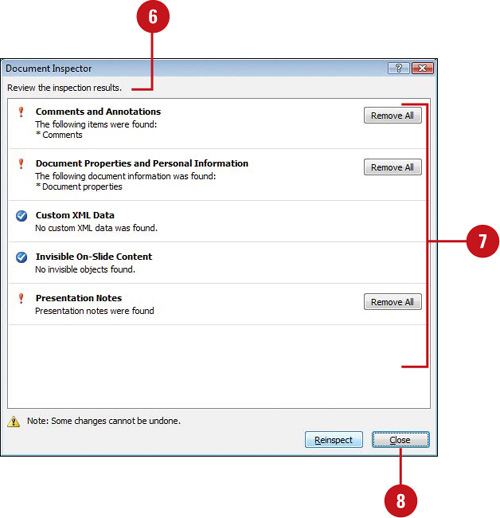
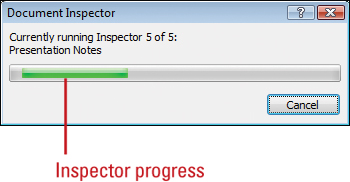
- Click Inspect.
- Review the results of the inspection.
- Click Remove All for each inspector module in which you want to remove hidden data and personal information.
Trouble?
Before you click Remove All, be sure you want to remove the information. You might not be able to restore it.
- Click Close.