Speaker notes are like
handouts, but for you. Only one printout format is available for them:
the Notes Pages layout. It consists of the slide on the top half (the
same size as in the two-slides-per-page handout) with the blank space
below it for your notes to yourself.
Speaker notes printed in
PowerPoint are better than traditional note cards for several reasons.
For one thing, you can type your notes right into the computer and print
them out on regular paper. There's no need to jam a note card into a
typewriter and use messy correction fluid or erasers to make changes.
The other benefit is that each note page contains a picture of the
slide, so it's not as easy to lose your place while speaking.
1. Typing Speaker Notes
You can type your notes for a
slide in Normal view (in the notes pane), or in Notes Page view. The
latter shows the page more or less as it will look when you print your
notes pages; this can help if you need to gauge how much text will fit
on the printed page.
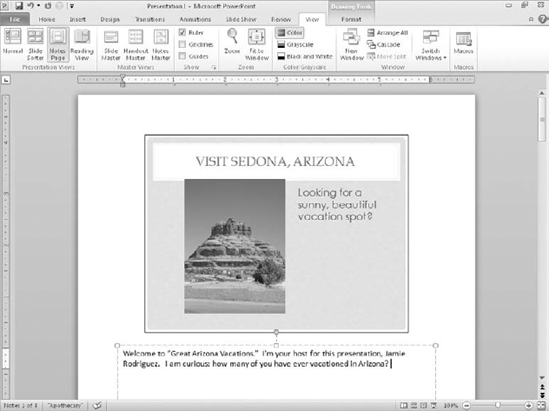
To switch to Notes Page view, on the View tab click Notes Page as shown in Figure 1.
Unlike some of the other views, there is no shortcut button for this
view in the bottom-right corner of the PowerPoint window. Once you're in
Notes Page view, you can zoom and scroll just like in any other view to
see more or less of the page at once. You can scroll further to move
from slide to slide, or you can move from slide to slide in the
traditional ways (the Page Up and Page Down keys on the keyboard or the
Next Slide or Previous Slide buttons on-screen).
NOTE
Use the Zoom control to
zoom in or out until you find the optimal view so that the text you type
is large enough to be clear, but small enough so that you can see
across the entire width of the note area. I find that 100 percent works
well on my screen at 1024 × 768 resolution, but yours may vary.
Just type your notes in the
Notes area, the same as you would type any text box in PowerPoint. The
lines in the paragraph wrap automatically. Press Enter to start a new
paragraph. When you're done, move to the next slide.
2. Changing the Notes Page Layout
Just as you can edit your
handout layouts, you can also edit your notes page layout. Just switch
to its Master and make your changes. Follow these steps:
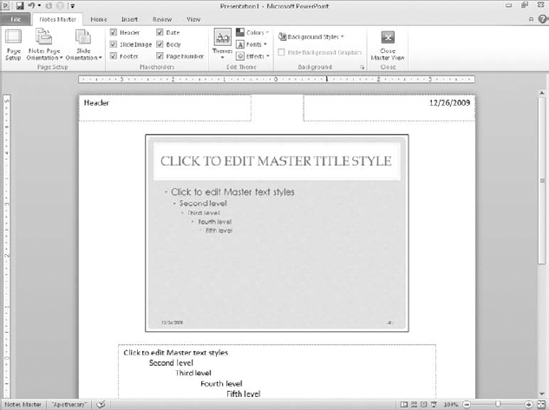
On the View tab, click Notes Master.
Edit the layout, as you have learned to edit other masters. See Figure 2. This can include:
Moving placeholders for the slide, the notes, or any of the header or footer elements.
Changing the font used for the text in any of those areas.
Resizing the placeholder for the slide graphic.
Resizing the Notes pane.
Adding clip art or other graphics to the background.
Adding a colored, textured, or patterned background to the notes page.
When you are finished, click the Close Master View button to return to Normal view.
3. Printing Notes Pages
When you're ready to print your notes pages, follow these steps:
Choose File => Print. The Print controls appear.
Click the button immediately below the Slides text box, and choose Handouts as the type of layout to print.
Set
any other options. There are no special options for notes pages.
Click OK. The notes pages print.
NOTE
If
you print notes pages for hidden slides, you may want to arrange your
stack after they're printed so that the hidden slides are at the bottom.
That way you won't get confused when giving the presentation.
