Now that you have added color and fills to shapes,
you can explore line formatting options. Although not quite as exciting
visually, line styles can also add value and meaning to your drawings.
In this exercise, you will alter the types and patterns used for shape borders and connectors. You will also apply line colors.
Note:
You need the HR Flowchart with colors and styles drawing that you created in the preceding exercise. Open the drawing in Visio if it is not already open.
Line

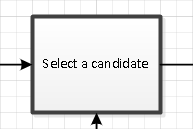
Right-click the Select a candidate shape, click the arrow to the right of the Line button on the Mini Toolbar, point to Weight, and then click 2¼ pt on the submenu. The selected shape now shows a bold border.
Tip:
In
this exercise, you will be selecting line colors and patterns by using
the Mini Toolbar that is available when you right-click a shape. You can
access all of the same functions by clicking the Line button in the
Shape group on the Home tab.
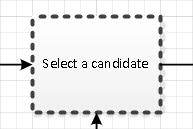
Right-click the same shape again and click the arrow to the right of the Line button on the Mini Toolbar, but this time point to Dashes and click the fourth line pattern from the top.
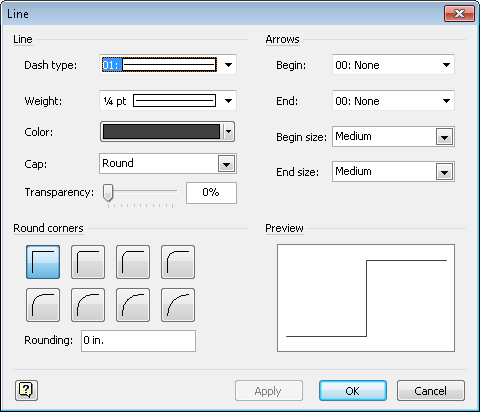
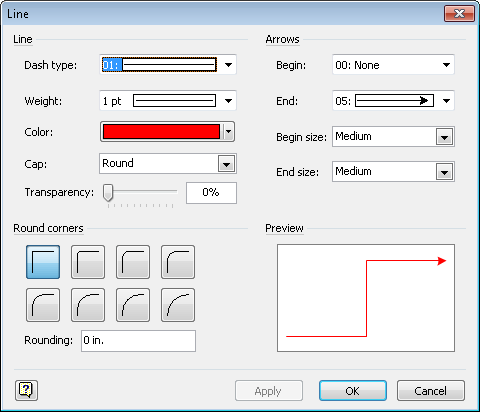
Right-click the Make job offer shape, click the arrow to the right of the Line button on the Mini Toolbar, and then click Line Options to open the Line dialog box. In
the preceding steps, you changed exactly one attribute at a time. With
the Line dialog box, you can change multiple attributes at once. In
addition, using this dialog box, you can change the rounding of the
corners on a shape or the arrows at the ends of a line.
Tip:
You can also open this dialog box by right-clicking a shape, selecting Format, and then clicking Line.
Tip:
If you’ve used previous
versions of Visio, you may recognize this dialog box because it has been
brought into Visio 2010 unchanged.
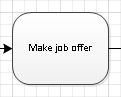
In the Round corners section of the dialog box, click the upper-right button, and then click OK.
Tip:
Although
this dialog box does not provide Live Preview, the Preview section in
the lower-right corner of the dialog box shows the results of your
choices.
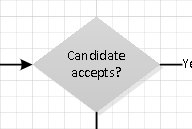
Right-click the Candidate accepts? shape, click the arrow to the right of the Line button on the Mini Toolbar, and then click No line. Because it no longer has a border, apply a light gray fill color to the Candidate accepts? shape to make it more visible.
Right-click the line labeled No, click the arrow to the right of the Line button on the Mini Toolbar, and then click Red in the Standard Colors section. Notice that the line has turned red but the color of the text label has not changed.

Font Color

Right-click the line labeled No, click the arrow to the right of the Font Color button on the Mini Toolbar, and then click Red in the Standard Colors section. Both the line and the text are now red. In the remaining steps of this exercise, you will change the format of the arrowhead.

Right-click the line labeled No, and then click the arrow to the right of the Arrows button on the Mini Toolbar. You
can select any of the arrows in this list, but the choices are fairly
standard. In the next step, you will see a much wider variety of
choices. Click More Arrows, which opens the same Line dialog box you used in Step 3. Notice
that you see the current arrow type, number 05, in the End box in the
Arrows section of the dialog box. You also see the current line color,
rounding style, and other line attributes.
Click the arrow to the right of the End box, and click arrow style 14. Notice the amazing selection of arrow styles both before and after number 14. Your line now has an open-headed arrow, and the bottom row of your flowchart looks like the following figure.

Note:
Save your changes to the HR Flowchart with colors and styles drawing and continue with the next exercise.
|
