Adding a Digital Signature to a Macro Project
If
you want to add a digital signature to a document with a macro, you
need to add it using the Visual Basic editor. If you open a document
that contains a signed macro project with a problem, the macro is
disabled by default and the Message Bar appears to notify you of the
potential problem. You can click Options or Enable Content in the
Message Bar to view or use it. For more details, you can click Show
Signature Details to view certificate. If a digital signature has
problems—it’s expired, not issued by a trusted publisher, or the
document has been altered—the certificate information image contains a
red X. When there’s a problem, contact the signer to have them fix it,
or save the document to a trusted location, where you can run the macro
without security checks.
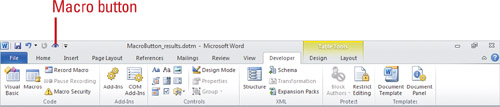
Sign a Macro Project
 Open the document that contains the macro project, and then click the Developer tab.
 Click the Visual Basic button to open the Visual Basic window.
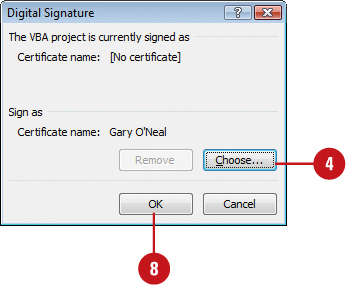
 Click the Tools menu, and then click Digital Signature.
 Click Choose.
 Select a certificate in the list.
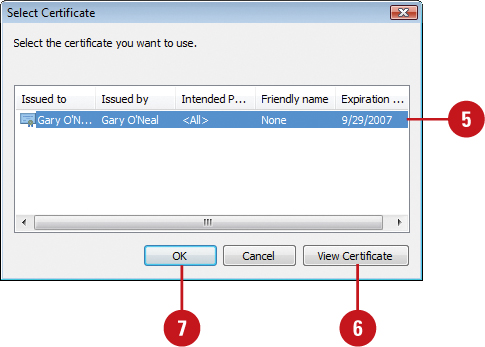
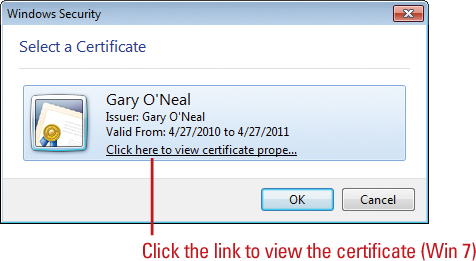
 To view a certificate, click View Certificate or a link, and then click OK.
 Click OK.
 Click OK again.
 Click the Save button, click the File menu, and then click Close and Return to Microsoft Word.
You can create a self-signing certificate for a macro project.
Click the Start button, point to All Programs, click Microsoft Office,
click Microsoft Office Tools, click Digital Certificate For VBA
Projects, enter a name, and then click OK. Office programs trust a
self-signed certificate only on the computer that created it.
Assigning a Macro to a Toolbar
After
you create a macro, you can add the macro to the Quick Access Toolbar
for easy access. When you create a macro, the macro name appears in the
list of available commands when you customize the Quick Access Toolbar
in Word Options. When you point to a macro button on the Quick Access
Toolbar, a ScreenTip appears, displaying Macro: document name!macro name.
Assign a Macro to a Toolbar
- Click the Customize Quick Access Toolbar list arrow, and then click More Commands.
- You can also click the File tab, click Options, and then click Quick Access Toolbar.
- Click the Choose command from list arrow, and then click Macros.
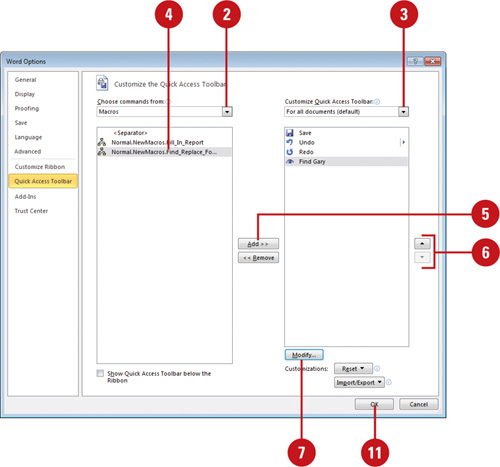
- Click the Customize Quick Access Toolbar list arrow, and then click For all documents (default).
- Click the macro you want to add (left column).
- Click Add.
- Click the Move Up and Move Down arrow buttons to arrange the commands in the order you want them to appear.
- Click Modify.
- Type a name for the button.
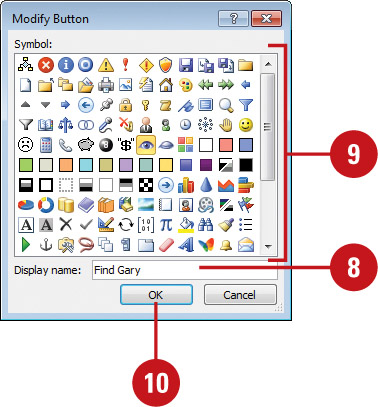
- Click an icon in the symbol list.
 Click OK.
 Click OK.