So far, this article has been focused on the
“behind-the-scenes” components of My Sites, which are of course
important to IT and the farm administrators, but end users will want to
get hands-on experience with the tools. As the previous sections have
shown, it is not a trivial process to fully configure the My Site
environment and make sure that the correct users can create My Site
sites while restricting some users, customizing the behavior of search
in My Site sites, creating customized links along the top navigation
bar, and enabling the My Newsfeed function. So, the preceding sections
should be reviewed before setting the end users loose with My Site
sites.
That said, once the
farm administrators are comfortable that the different moving parts are
functioning properly and have customized the My Site to meet their
needs, end users should be invited to start testing them and give
feedback on what they like, what they don’t like or don’t understand,
and what they can’t figure out.
Creating and Exploring a My Site
Once the environment is ready
to support My Site, new users should be instructed to create their
personal site and perform some basic configuration steps as follows:
1. | From
the Portal home page, click the drop-down arrow next to the username in
the upper-right corner and click My Site; the My Site home page will
open, which is also the My Newsfeed page. The URL shows the location of
this page, which is a default.aspx page. Note that the URL does not
include the user’s name or any personal information, as shown in Figure 1.

| 2. | From
here, the user (TestUser1 in this example) can click My Colleagues, My
Interests, or Newsfeed settings in the body of the page, and start
configuring that information, or he can click one of the links along the
top: My Content, My Profile, or any other links that the farm
administrator has decided to add from Central Administration. Figure 23.10
shows an additional link CCO Site that was added by the farm
administrator. Ideally, users will immediately configure their profile,
so click My Profile.
| 3. | From
the My Profile page (note that the URL is still generic, and the page
is Person.aspx), click Edit My Profile under the placeholder for the
picture.
| 4. | As shown in Figure 2,
this page allows the user to enter information in the About Me field,
choose a picture, and populate information in a number of other areas,
which by default include Ask Me About, Phone Numbers, Office Location,
Time Zone, Assistant, Past Projects, Skills, Schools, Birthday,
Interests, choose which activities will generate email notifications,
and which activities the user wants to see about their colleagues. For
this example, upload a photo and enter some information into each of the
fields.
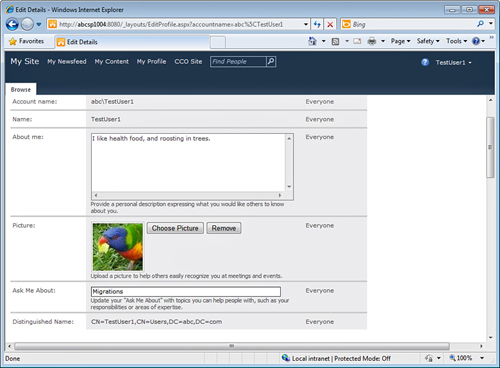
| 5. | To upload the photo, just click Choose Picture, browse for a photo, and then click OK.
| 6. | Entering
information into the other fields should be simple, and some provide
the ability to determine which users will be able to see the information
based on the options Everyone, Only Me, My Manager, My Team, and My
Colleagues. Click Save and Close once the desired information is
entered. The resulting view will look like Figure 3.
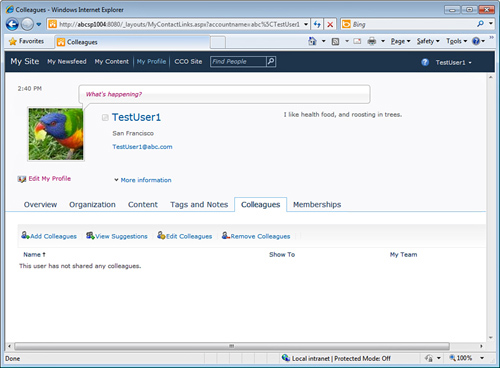
| 7. | Click the Colleagues tab, and then click Add Colleagues.
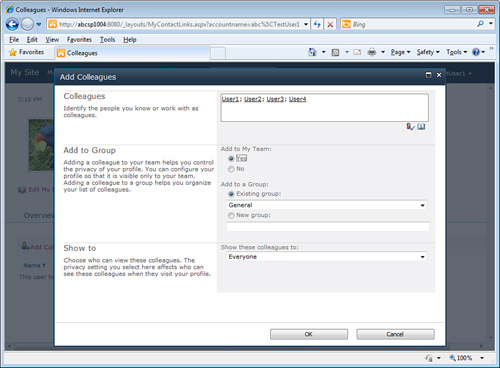
| 8. | Enter in the names of users who can be considered colleagues (in this example, User1, User2, User3, User4), as shown in Figure 4.
Click Yes under the Add to My Team option, use the General Existing
Group, and leave Everyone selected under Show These Colleagues To. Click
OK.
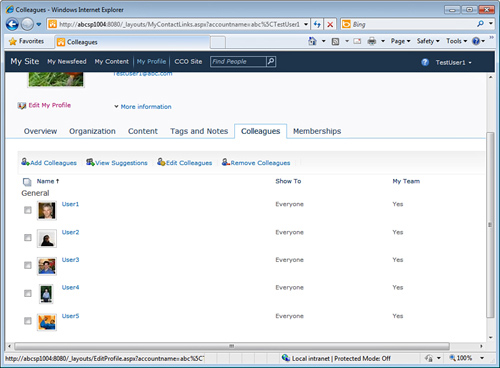
| 9. | The
Suggested Colleagues window will then open, which will suggest other
colleagues based on email and IM communications patterns. Check the box
next to one or more of these suggestions, or click the X to remove the
suggestion. Click Yes under Add to My Team, use the General Group, and
click Add. Figure 5 shows the results on the Colleagues tab, where the new users are displayed as colleagues.
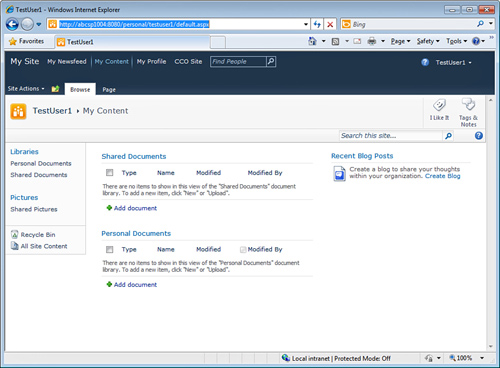
| 10. | Next
click My Content, and now the My Site site collection for the user will
be created and a message to that extent will display while the site is
created. A message will then display that states “Microsoft Office can
remember your My Site to synchronize documents stored here in Outlook
and to show it when opening and saving files. Do you want Office to
remember this site...?” Click Yes for this sample user.
| 11. | Note that the URL, as shown in Figure 6,
now contains the user’s name, based on how the settings are configured
for the User Profile service application in the Setup My Sites tool, as
covered previously in this chapter. The user also now has access
to a site actions drop-down menu, making this a good training ground
for tools the user wouldn’t normally have access to in a production site
collection.
| 12. | Click Site Actions, and then Site Settings, and review the tools available.
|
Note
The user can delete
this site, and all the content contained within it will be deleted.
Then, the next time the user clicks My Content, a new site collection
will be created.
|
