Macros provide a way to automate processes within
Dynamics GP. These are actually very easy to create and use. Macros are
perfect for moderately complex but repetitive processes. For example, a
cash transfer between bank accounts is a common repetitive task but
there is some complexity to it because the amount is usually different.
This example provides a practical lesson in Macros so we'll look at it
in this recipe.
How to do it...
To create a macro for a bank transfer follow these steps:
1. Select Financial on the Navigation Pane and select Bank Transfers from the Financial Area Page under Transactions.
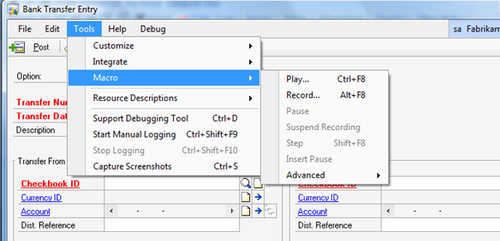
2. In the Bank Transfer Entry window select Tools | Macro | Record.
3. Note where the macro is being saved and name the macro Bank Xfer. Click on Save:

4. Tab to the Description field and type Bank Transfer.
5.
Use the lookup button (indicated by a magnifying glass) to select a
Checkbook ID to transfer from. Leave the amount set to zero ($0.00).
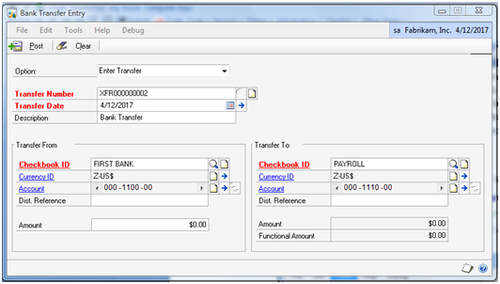
6. Use the lookup button to select a CheckBook ID to transfer to:

7. From the Tools menu select Macro | Stop Record. Click on Clear and close the Bank Transfer Entry window.
8. Now, select the Microsoft Dynamics GP menu item and then select Tools | Macro | Play.
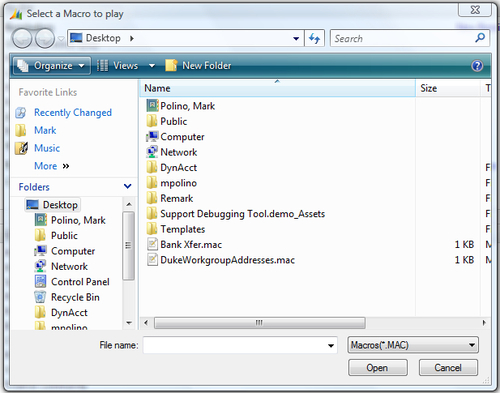
9. Find and select the Bank Xfer macro saved earlier and click on Open:

10. The macro will run. As the macro runs, the Bank Transfer Entry window will open and the Description, Transfer To, and Transfer From accounts will fill in automatically. The window will then be left open for a user to add the transfer amount. Click on Post when finished to complete the transfer.
How it works...
Recording a macro is easy.
Macros can be recorded by any user with proper security and because
these are stored as a file they can be shared among users. There are an
infinite number of uses for macros. These can be reused or built only
for a specific scenario. Learning to create and run macros provides a
terrific opportunity to automate any number of functions in Dynamics GP.
There's more...
Macros can be attached to the
Shortcut Bar and run from there. They can also be run with a keystroke
combination. Finally, users can insert pauses in Macros or string these
together into a set of steps.
Macros and the Shortcut Bar
Macros can be added to the
Shortcut Bar making them easy to run with a single click. A
Running macros with a keystroke combination
Once a macro has been added to
the Shortcut Bar, a keystroke combination can be added allowing it to
be run from the keyboard.
Macro pauses
Pauses can be inserted into Macros to allow for data entry in the middle of a macro. To insert a pause click on Tools | Macro | Insert Pause
while recording a macro. A window will open allowing the creation of
instructions for the user. The problem with pausing macros is that the
process to restart a macro is not intuitive. When a user executes a
macro, the macro pauses at the selected point and waits for user input.
After user input, the user must select Tools | Macro | Continue to resume the macro.
This set of steps is not
obvious to a user. Also, there is not enough room to reasonably enter
instructions and restart steps in the instruction box. Nor is there a
keystroke combination to resume a macro after a pause.
Sequential Macros
An alternative to
pausing macros is to create more than one macro. Create the first macro
up to the point where a pause would be inserted. Then create a second
macro for the next portion of the process. Add the macros to the
Shortcut Bar in a folder in the order these should be executed. After
the first macro finishes the user simply needs to insert any data
required and click on the second macro to continue the process.