In today's business world, you need access to
information from many different locations. You aren't always connected
to the network that hosts your folders and file shares. If you take your
laptop with you when you leave your network, why not take the essential
files that you need with you too? With offline file caching, you can do
just that.
Working with offline file
caching is really pretty simple. You choose the files and folders that
you want to make available offline. Windows Server will automatically
create a copy of each file or folder as you connect to it and store it
on your computer. These files are called offline files.
The files can be opened, modified, and saved the same way as if you
were connected to your network. This means that the caching is
completely transparent to the user accessing the files. If the user
accessed the files by going to \\fileserver\share
when connected to the network, they could also type the same path when
off the network and the files would still be accessible. When you are
offline, any changes that are made to these files will be stored on your
local computer and then will be synchronized the next time you connect
to your network.
Before you can use
offline files on your server, you will need to enable Desktop Experience
under Features in Server Manager. Without this feature enabled, offline
files will not be an available option for you to enable. Offline files
must be enabled before they can be used. To enable offline files, follow
these steps:
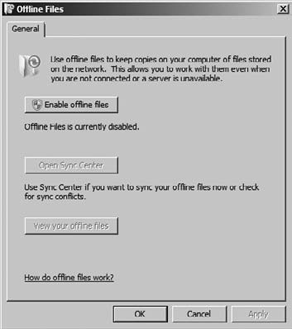
Type manage offline files in the search box.
Click Enable Offline Files, as shown in Figure 1.
Once offline files have been
enabled, you can right-click any file or folder and select the option to
make the files always available. These files will be copied to your
local machine for use offline. In the case of a shared folder, you can
click the Caching button to enable offline files for the share. It is
also possible to make offline files available through the use of Group
Policy objects (GPOs). If you had implemented folder redirection using
GPOs, for example, those redirected folders would be made available
using offline files.
When you use offline files,
there is a potential for multiple versions of the same file. If you
have a file and are working with it offline and another user in your
network makes changes to the file in its online version, there is going
to be a conflict. You can resolve these conflicts using a tool called
the Sync Center. You can find the Sync Center in the Control Panel. The
Sync Center is responsible for more than managing conflicts. It is
responsible for keeping offline files synchronized with their online
counterparts each time you connect to the network.
You can also access the Sync
Center through the Manage Offline Files tool. The Manage Offline Files
tool has a component that will allow you to view all your offline files.
This allows you to see folders, mapped network drives, and shares that
you are caching for offline access.
