1. Using the Export Command
Adobe Illustrator
allows you to export to several file formats. Most of the export formats
are bitmap formats such as TIFF and JPEG. You can also export in PDF so
that you can read Illustrator documents with Adobe Reader. When you
choose the Export option, these formats are available:
AutoCAD Drawing (dwg). This is the standard format for vector drawings created in AutoCAD.
AutoCAD Interchange File (dxf). This is the tagged data of the information in an AutoCAD file.
BMP (bmp).
This is the standard Windows format. In BMP format, you choose the
color model, Resolution, Anti-alias (jaggy edges), File format, Depth
(number of colors or gray), and Compression.
Enhanced Metafile (emf). Windows users use this format for exporting vector data.
JPEG (jpg). You use this format mainly to show photographs on the Web.
Macintosh PICT (pct). You use this format with Macintosh graphics and page-layout programs for transferring files.
SWF. Adobe Flash uses this format for animated Web graphics.
PCX (pcx). This is an older bitmap format that's not used very often because better options, such as JPEG, exist.
Photoshop (psd). You use this format for taking the file into Photoshop by saving it as a raster image in the Photoshop format.
Pixar (pxr). This is an older format developed by Pixar.
PNG (png). This is the alternative to GIF and JPEG. Use this for lossless compression. However, not all older Web browsers support PNG.
Targa (tga). You use this format for systems that use the Truevision video board.
Text Format (txt). Use this format to export text into a plain text format.
TIFF (tif). You use this format to move files between different programs and different computer platforms.
Windows Metafile (wmf).
You mainly use this on Windows applications for 16-bit color. WMF is
supported by most Windows layout and drawing applications.
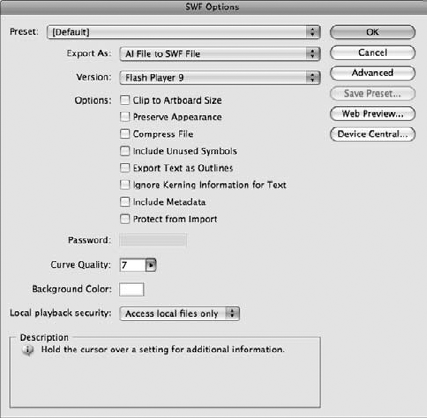
When you choose a format type, a specific dialog box that relates to that particular format appears. For example, Figure 1 shows the SWF Options dialog box that opens when you export an Illustrator document as an SWF file.
2. Placing Art
It's not necessary to
create your entire Illustrator document from scratch if you already have
some existing artwork that you want to use. You can use most types of
image files in an Illustrator document, including both bitmap and
vector-based images.
To place files into an Illustrator document, follow these steps:
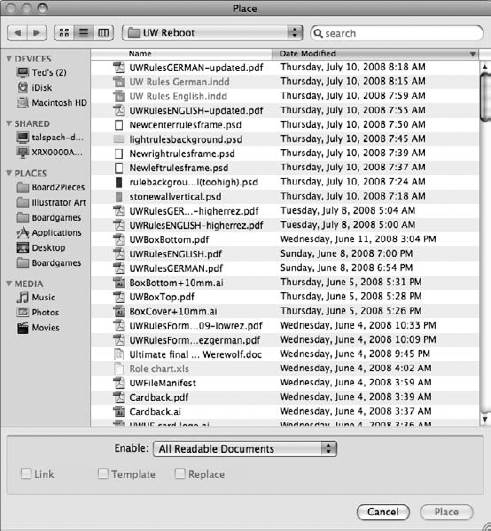
Choose File => Place. The Place dialog box, as shown in Figure 2, opens.
Navigate to the folder containing the file. You can click the drop-down arrows on the popup menu to navigate to your file.
Select the files that you want to place.
Only files that you can place appear in the file window. Because you
can also place text files, be sure that the file you select is indeed an
image document.
Choose how you want to place the art. You have three options:
Link.
Normally, the option is unselected. Illustrator places the art within
the Illustrator file. You generally don't want to select this option
because it prevents the two files from being separated; if you have one
but not the other, you're out of luck. However, there are several good
reasons to link the file. First, placed art can be huge and may make
your Illustrator file too large. Second, if you need to make changes to a
placed art file included in an Illustrator file that you've saved with a
preview, you must replace the placed art in the preview file with the
new version. Preview shows the actual placed image, and Outline shows a
box with an X through it. If you link the placed art instead of
including it, the art is automatically updated when you make changes.
And, finally, you can share placed art that you've linked across
multiple files. For example, you can place a business letterhead or logo
in all your company files.
Template.
The template option makes your placed file a template. When you make a
placed file a template, it automatically locks in on a template layer in
the Layers panel and dims the image so that you can use it to trace
over.
Replace.
You may want to replace placed art with new versions or completely
different artwork. Illustrator has made this process painless. If you
select placed artwork, a dialog box appears asking if you want to
replace current artwork or place new artwork, not changing the selected
artwork. Use this to keep a certain size or transformation that you used
in another placed image. Simply select Replace, and the selected image
replaces the existing one, transformation and all.
Click Place at the bottom of the Place dialog box. After you place art into Illustrator, you can transform it (move, scale, rotate, reflect, and shear it) in any way.
|
The really cool part
about changing placed art this way is that if you've placed transformed
artwork, the artwork you exchange with it via the Place command has the
exact same transformation attributes. For example, if you scale down
placed artwork to 50% and rotate it 45 degrees, artwork that you
exchange also scales down 50% and rotates 45 degrees.
|
|
|
Be
careful when importing artwork other than EPS images into Illustrator
because TIFF and most other bitmap formats increase the size of your
document dramatically. |
