Understanding Tables
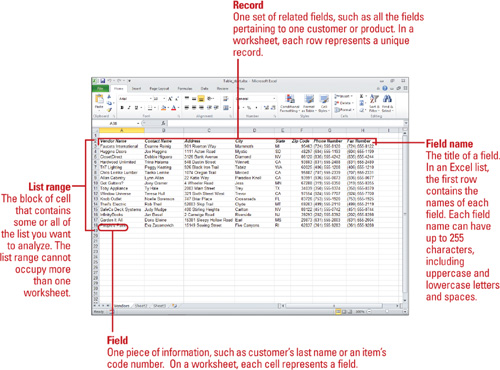
A table
is a series of rows and columns with data you manage separately from
other data in a worksheet. Examples of tables are an address book, a
list of customers or products, and a telephone directory. In Excel 2007,
you can turn a range of cells into a table (previously referred to as
an Excel list) to make it easier to manage and analyze a group of data.
You can create more than one table in the same worksheet. However, you
cannot create a table in a shared workbook.
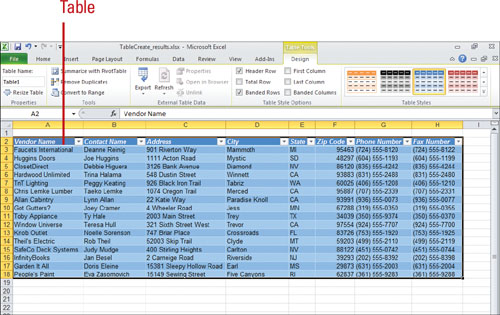
When you create a table, Excel
adds filtering in the header row where you can sort data by order or
color, and filter data by criteria. After you create a table, you can
easily format table data using Quick Styles. Additionally, you can
insert and delete table rows and columns, create a calculation column,
display and calculate data totals, reference the table by name instead
of by cells, use built-in data validation to ensure data integrity, and
export a table to a SharePoint list.
Creating a Table
To
create a table in Excel, you can enter data on worksheet cells, just as
you do on any other worksheet data, but the placement of the field
names and range must follow these rules: (1) Enter field names in a
single row that is the first row in the list (2) Enter each record in a
single row (3) Do not include any blank rows within the range (4) Do not
use more than one worksheet for a single range. You can enter data
directly in the table. Don’t worry about entering records in any
particular order; Excel tools can organize an existing list
alphabetically, by date, or in almost any order you can imagine.
Create a Table
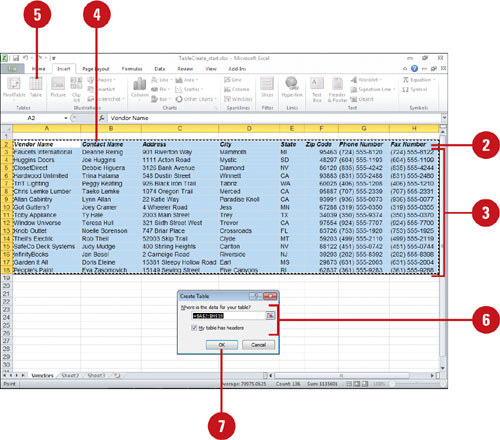
 Open a blank worksheet, or use a worksheet that has enough empty columns and rows for your table.
 Enter a label for each field in adjacent columns across the first row of the table.
 Enter field information for each record in its own row; start with the row directly below the field names.
 Select the range of cells for the table, including labels.
 Do any of the following:
- Click the Insert tab, and then click the Table button.
- Click the Home tab, click the Format as Table button, and then select a table style.
 If necessary, adjust the table size, and select the My table has headers check box.
 Click OK.
You can delete or clear a data table.
Select the table, and then press Delete to delete the entire table.
Select the table, click the Home tab, click the Clear button, and then
click Clear Contents.
Formatting a Table
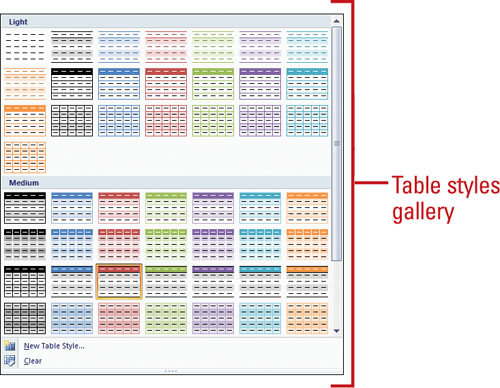
Formatting
worksheet table data can be quick and easy with Table Quick Styles. To
make formatting data more efficient, Excel has a gallery of table styles
based on the current theme. A table style includes preset combinations
of fill colors and patterns, font attributes, borders, and font colors
that are professionally designed to enhance your worksheets. You can
apply a Table Quick Style using the Home or Design tab under Table
Tools.
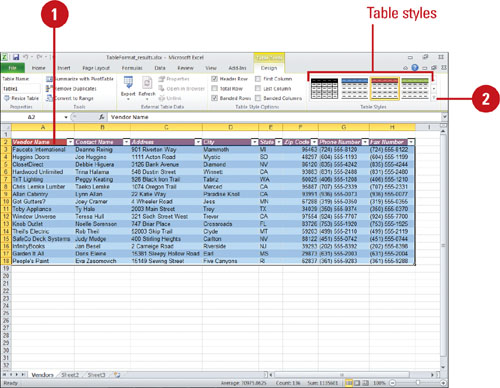
Apply a Quick Style to a Table
- Select a cell or range in the table to which you want to apply a Quick Style.
- Do any of the following:
- Click the Design tab under Table Tools, click the More arrow under Table Styles, and then select a table style.
- Click the Home tab, click the Format as Table button, and then select a table style.
You can copy cell formats with Format Painter.
Select the cell or range whose formatting you want to copy,
double-click the Format Painter button on the Home tab, select the cells
you want to format, and then click the Format Painter button.
You can remove or clear a table style.
Click a cell in the table, click the Design tab under Table Tools,
click the More arrow under Table Styles, and then click Clear.
You can print an Excel table.
Click a cell within the table, click the File tab, click Print, click
the Print What list arrow, click Print Selected Table, and then click
Print.
