Creating or Modifying a Table Style
Excel
Table Quick Styles give any worksheet a professional look, but you may
need to modify a Quick Style to better suit the needs of a particular
project. For example, the Quick Style you applied might be perfect
except that the font or color used should be different—to match the rest
of your report. You can modify an existing Table Quick Style or create a
new one from scratch. When you create or modify a Table Quick Style,
you have the option to set the table style as the default when you
create a new table.
Create or Modify a Table Style
 Click the Home tab.
 Click the Format as Table button.
 Do any of the following:
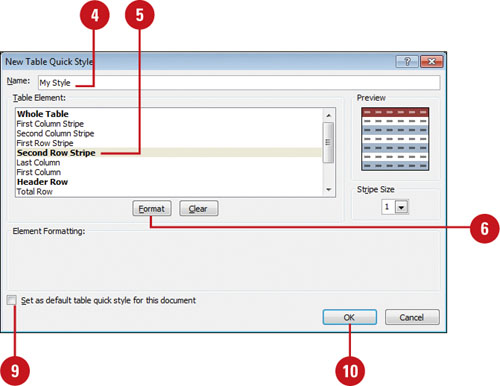
- Create. Click New Table Style.
- Modify. Right-click the style you want to change, and then click Modify.
 Type a name for the Quick Style.
 Select a table element.
 Click Format.
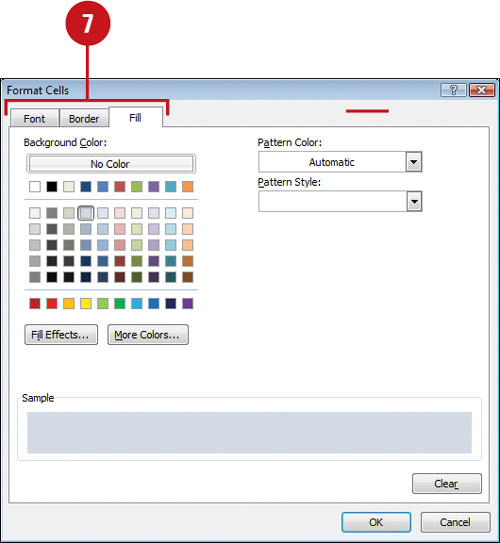
 Use the Font, Border, and Fill tabs to set formatting options you want, and then click OK.
 Repeat steps 5 through 7 to complete the formatting you want.
 Select or clear the Set as default table quick style for this document check box.
 When you’re done, click OK.
You can delete a custom table style. Click the Home tab, click the Format As Table button, right-click the custom style you want to delete, and then click Delete.
Formatting Table Elements
When
you create a table in a worksheet, Excel displays a standard set of
elements, including headings, columns, and rows. You can select options
on the Design tab under Table Tools to quickly format a table. These
options allow you to format the header row, and first and last column as
special. You can also format even columns or rows differently than odd
columns or rows. If you want to total numbers in a column, you can
format the bottom row of a table for column totals. If you no longer
want these formatting elements, you can hide them. If you hide the
header row, the table header AutoFilters and any applied filters are
removed from the table.
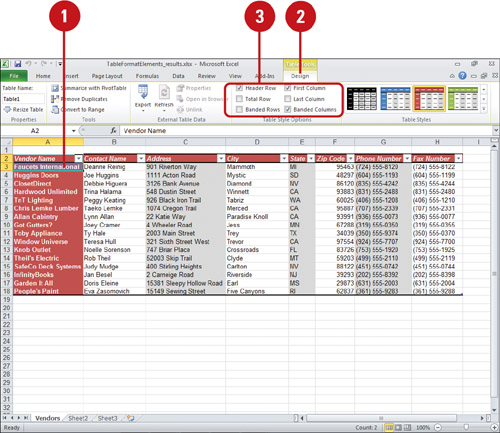
Show or Hide Table Formatting Elements
- Select a cell or range in the table you want to modify.
- Click the Design tab under Table Tools.
- Select or clear the check box for the element you want to show or hide:
- Header Row to format the top row of the table as special.
- Total Row to format the bottom row of the table for column totals.
- First Column to format the first column of the table as special.
- Last Column to format the last column of the table as special.
- Banded Columns to format even columns differently than odd columns.
- Banded Rows to format even rows differently than odd rows.