For the majority of Visio users, the background grid
is invaluable for aligning and positioning shapes on the page. However,
just because it’s vital for creating and editing Visio drawings, don’t
assume that people looking at your drawings also need to see it.
In
fact, turning the grid off can be a surprisingly effective way to make
your drawings more attractive even if you’re just showing someone a work
in progress. Consider these two points when debating whether the grid
is relevant for your audience:
The full-screen viewing mode in Visio, which was designed for presenting Visio drawings, automatically removes the grid.
The default behavior for printing is to remove the grid.
The designers of Visio clearly think of the grid as a design-time device, and you should too.
In this exercise, you
will remove the grid and maximize screen real estate to show your Visio
drawing more effectively, while still retaining the ability to edit the
drawing.
Grid

On the View tab, in the Show group, clear the Grid check box.
Selecting or clearing the grid check box turns the grid on and off.

Tip:
It’s useful to realize that
you haven’t deactivated the grid or the snap-to-grid function just by
making the lines invisible. You can tell this quite easily by dragging a
shape across the page. For example, slowly drag the Kamil Amireh
shape from the center of the page toward the lower-right corner. It
will look like the shape is bumping down stairs as it snaps to
successive vertical and horizontal grid lines.
You can make your drawing even more visible with a few additional steps.
Click the Minimize the Ribbon button located in the upper-right corner of the Visio window, as shown in the graphic after Step 1.
Click the Minimize the Shapes window button located in the upper-left corner of the Shapes window, as shown in the graphic after Step 1.
Page Breaks

On the View tab, in the Show group, select the Page Breaks check box. This option removes the page boundary line around the edges of the drawing.
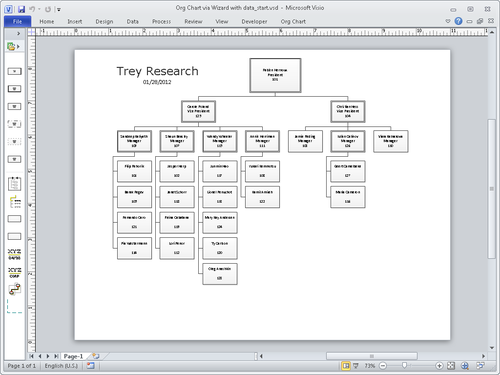
As
the following graphic shows, you now have a clean view of the drawing
page: the ribbon is hidden; the shapes window has been minimized; the
grid is gone. However, even though you’ve minimized everything
surrounding the drawing page, this is not a presentation view—you can
still edit the drawing.
Tip:
The Show group on the View tab also includes an option to turn off the rulers.
Note:
Close the Org Chart via Wizard with data_start drawing. It is not necessary to save it because you’ve only changed the view of the chart and not the chart itself.
