Working with Page Spreads
Most
documents are either one or two page spreads. A single-page spread
displays pages one at a time (top to bottom), while a two-page spread
displays pages as facing pages (left and right). If you want to create a
larger spread for a magazine foldout or a brochure, you can add more
pages to a one or two page spread. These multiple-page spreads are also
called island spreads. When you no longer want a larger spread, you can remove pages from the spread.
Add and Remove Pages from a Spread
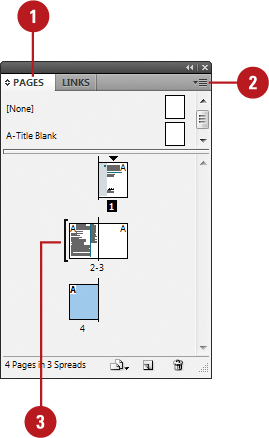
 Select the Pages panel.
 Click the Options menu on the panel, and then click Allow Document Pages to Shuffle to deselect it.
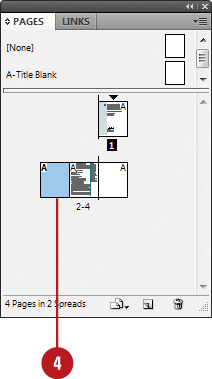
 To add pages, drag a page from the pages area, or a master page next to the spread where you want to add the page.

 To remove pages, drag a page from the spread to outside of the spread, and then click No, if necessary.

Did You Know?
You can keep pages in a spread together.
Select the Pages panel, select the spread you want to protect, click
the Options menu, and then click Allow Selected Spread To Shuffle to
deselect it.
Rotating Page Spreads
If you
need to work on non-horizontal design elements, such as a calendar, you
can rotate the current spread in 90 degree increments to make it easier
to work on. When you rotate the current spread view, you have full
editing capabilities. When you’re done, you can quickly clear the
rotation to return to a normal view.
Rotate Page Spreads
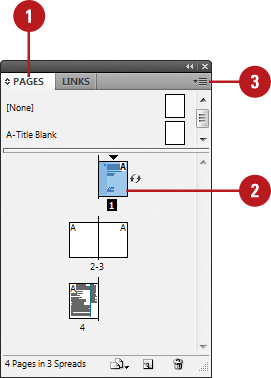
 Select the Pages panel.
 Double-click the page numbers of the page spread you want to rotate.
 Click the Options menu on the panel, point to Rotate Spread View, and then click 90° CW, 90° CCW, or 180°.
- You can also click the View menu, point to Rotate Spread, and then click 90° CW, 90° CCW, or 180°.
A rotation icon appears next to the page indicating the spread is rotated.

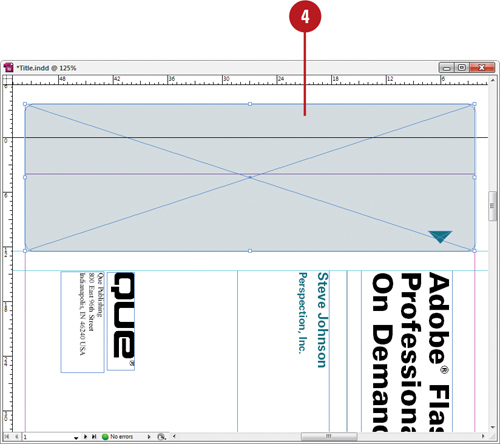
 Edit and modify the page spread the way you want.

 Click the Options menu on the panel, point to Rotate Spread View, and then click Clear Rotation.
- You can also right-click (Win) or Control-click (Mac) the rotation icon to select a rotation spread command.