3.1. Creating an Account
Accounts represent businesses or organizations in Microsoft Dynamics CRM. You can access account information from the Sales, Marketing, and Service areas. The Account form consists of multiple sections, each of which contains data fields.
In accounts, contacts, or any other type of record in Microsoft Dynamics CRM, required attributes are marked with a red
asterisk (*) to the right of the field name. The red asterisk indicates
that you must enter a value in that field before you can create or save
the record. If you try to create or save a record in which a required
field does not contain data, Microsoft Dynamics CRM will prompt you to
enter data in the field, and it will not save your changes.
A blue
plus (+) symbol to the right of a field’s name indicates that the field
is recommended. You can still create or edit records without entering
data in a recommended field.
In this exercise, you will create a new account record.
Note:
SET UP
Use the Windows Internet Explorer web browser to navigate to your
Microsoft Dynamics CRM website before beginning this exercise.
In the Sales area, click Accounts.
 In the ribbon, click the New button to launch the New Account form.
In the Account Name field, enter Sonoma Partners.
If your system includes additional required fields (as indicated by a
red asterisk), you will need to enter values into those fields as well.
In the Street 1 field, enter 525 W. Monroe St.
In the City field, enter Chicago.
In the State/Province field, enter IL.
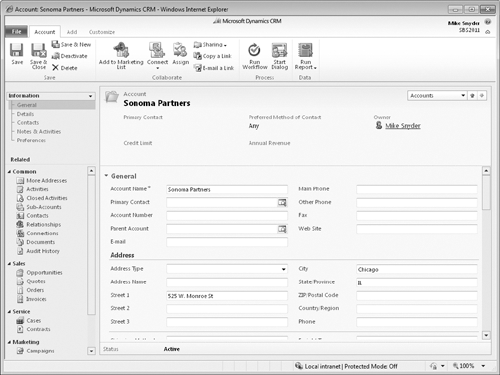
 Click the Save button to create the account.
Tip:
You can also create an
account by clicking the File tab on the ribbon and then clicking the New
Record menu and clicking Account.
2. Using Parent Accounts and Sub-Accounts
You
created a new account named Sonoma Partners. Now let’s assume that
Sonoma Partners is a division of a much larger organization named
Contoso. Knowing that a relationship exists between
Sonoma Partners and Contoso might be beneficial when you’re working
with either company. Microsoft Dynamics CRM allows you to capture and
record this type of relationship by using parent accounts and
sub-accounts. In this example, you would specify Contoso as the parent
account of Sonoma Partners. When you do so, Microsoft Dynamics CRM
automatically denotes that Sonoma Partners is a sub-account of Contoso.
Note:
You can use parent
accounts and sub-accounts to record a link between two organizations.
Specifying one account as the parent account automatically makes the
other a sub-account. Each account can have only one parent account, but
you can specify as many sub-accounts as necessary.
Most companies that
use Microsoft Dynamics CRM use parent accounts and sub-accounts to
denote a legal or ownership relationship between two accounts. When one
or more sub-accounts are related to a parent account, all activities and
history for the sub-accounts are rolled up to the parent account.
Therefore, when you’re looking at the history of the Contoso account,
Microsoft Dynamics CRM also displays the history of records attached to
the Sonoma Partners account. This provides a complete picture of the
interactions between the various records in your system, allowing your
organization to understand your customers and tailor your sales,
marketing, and customer service efforts accordingly.
In this exercise, you will
create a new Contoso account and link it to the Sonoma Partners account
created in the previous example.
Note:
SET UP
Use the Internet Explorer web browser to navigate to your Microsoft
Dynamics CRM website, if necessary, before beginning this exercise. You
need the Sonoma Partners account record you created in the previous
exercise.
On the ribbon, click the File tab, and then select the New Record menu and click Account. A new, blank account form opens.
In the Account Name field, enter Contoso.
 Enter values in any other required fields marked by a red asterisk, and then click the Save & Close button.
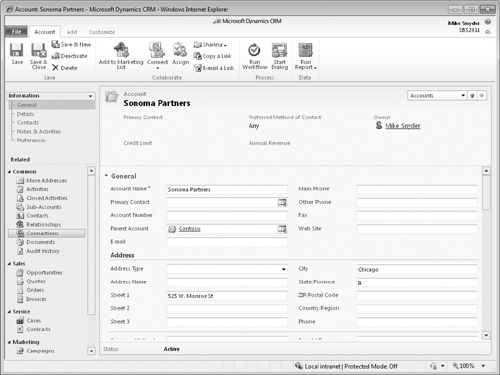
In the application navigation pane, click Accounts, and then double-click the Sonoma Partners record.
In the Parent Account text field, enter Contoso, and then press the Tab key.
Microsoft
Dynamics CRM automatically resolves the text you entered to the Contoso
record, indicated by the underline and blue text color of the parent
account name.
Tip:
Alternatively, you also
could have selected Contoso as the parent account by using the Lookup
button located on the right side of the Parent Account text box.
