An in-place upgrade is an easier upgrade from
SharePoint Server 2007 to SharePoint 2010, because the farm
configuration data and the content in the existing farm are all upgraded
at one time on your existing hardware, and in a fixed order. This
upgrade process
does not allow your users to access SharePoint during the upgrade
process, however. In fact, when you start the in-place upgrade process,
Setup takes the Web server offline, making the websites unavailable
until the upgrade is finished, when it brings them back online. After
you begin an in-place upgrade, you cannot roll back to your previous
SharePoint version or even pause the upgrade process.
Note:
Prior to performing an in-place
upgrade, you can disconnect all the users from your server farm by
stopping the World Wide Web Publishing Service (W3SVC) on all of your
Web front-end (WFE) servers.
Similar to the database
attach upgrade process, the in-place upgrade process uses the following
five sequential steps in a two-phase approach to ensure a successful
upgrade to SharePoint 2010. However, the major difference is that
instead of performing these five steps in your new farm, you will run
them on the servers in your existing farm.
Run the prerequisite installer on ALL servers in your server farm.
Install
SharePoint 2010 on ALL servers in your server farm using Setup.exe. Run
it on the server hosting Central Administration first, and then on all
other servers in any order.
Install any required language packs for SharePoint 2010 (optional).
Run
the SharePoint Products Configuration Wizard on your SharePoint 2010
Central Administration website, which upgrades this server, the
configuration database, the services, and the content databases
sequentially.
This process
then creates a timer job that upgrades each site collection, and after
each site collection has been upgraded, the upgrade is complete on this
server.
Run the configuration wizard on the remaining servers in the farm in any order.
Note:
BEST PRACTICE
Remember to test your upgrade approach in a nonproduction environment
to identify any issues with the upgrade prior to performing the upgrade
in production.
You will use the same
Setup.exe program to upgrade to SharePoint 2010 as you did when you
performed an installation of SharePoint 2010; however, you will see some different options during the upgrade that weren’t shown during the installation.
1. Installing the In-Place Upgrade
You are ready to perform an
in-place upgrade to SharePoint 2010 after installing your prerequisites.
To perform an in-place upgrade to SharePoint 2010, complete the
following steps.
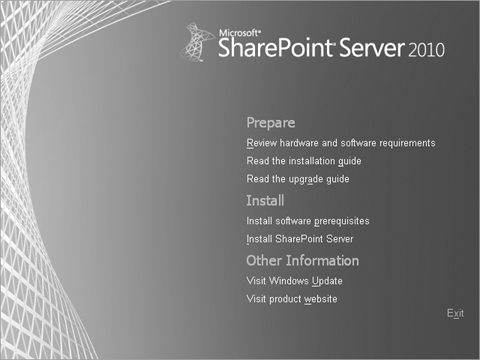
Start
the SharePoint 2010 installation by clicking Setup.exe for SharePoint
2010, which will display the SharePoint installation screen shown in Figure 1.
Under the Install category, click Install SharePoint Server, which opens the SharePoint file preparation screen shown in Figure 2.
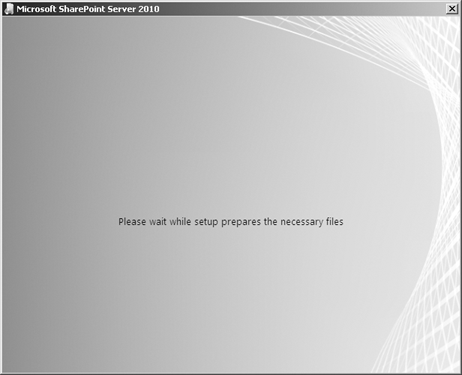
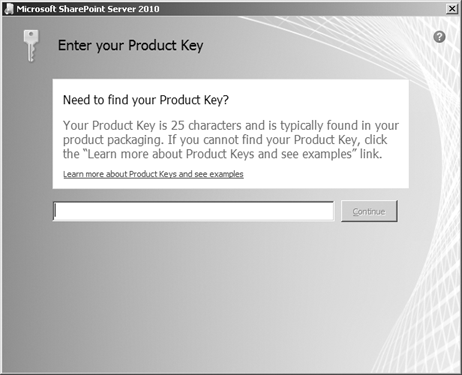
Shortly after the file preparation screen appears, as shown in Figure 3,
you will see the Enter Your Product Key screen, where you are prompted
to enter the product key. The product key you enter here determines
which functions will be enabled after the installation completes. An
Enterprise-level product key enables all functionality, whereas a
Standard-level product key installs the same functionality as the
Enterprise-level product key but does not enable the functions that are
only available in the Enterprise Edition.
After
you enter the product key, it is validated. If it is a valid product
key, the Continue button becomes active, which allows you to continue on
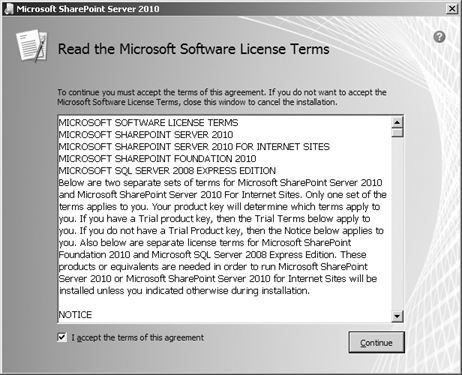
to the license agreement page shown in Figure 4.
You must select the check box that indicates that you accept the terms
in order to be able to click the Continue button and move on to the next
screen of the installation.
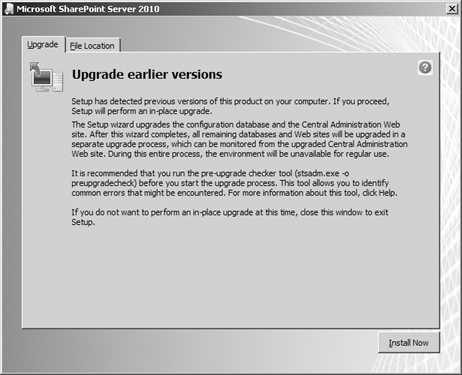
You will then see the Upgrade Earlier Versions screen shown in Figure 5,
which explains that Setup has detected an earlier version of SharePoint
on the server, so an upgrade to SharePoint 2010 will be performed. The
information on the Upgrade Earlier Versions screen also notes that this
portion of the upgrade installation will only upgrade the farm
configuration database and the Central Administration database; all
other databases will be upgraded later in the upgrade process.
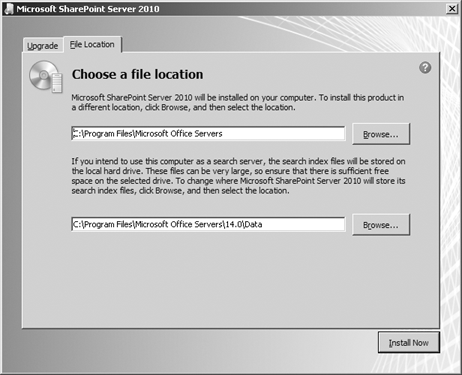
Optionally, you can click the File Location tab to display the file location screen shown in Figure 6
and then specify the location of the SharePoint 2010 product files as
well as the directory that will contain the search index, if the server
where you are performing the upgrade is going to be used as a search
server.
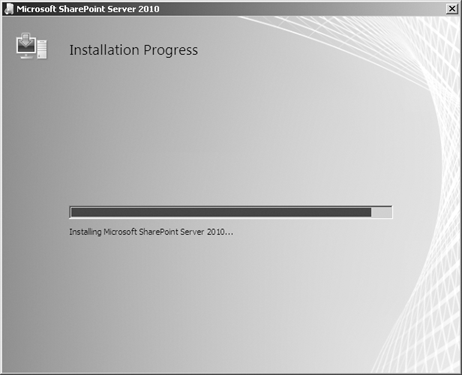
Click the Install Now button. You will see the installation progress screen shown in Figure 7 for several minutes as the upgrade to SharePoint 2010 is performed for you.
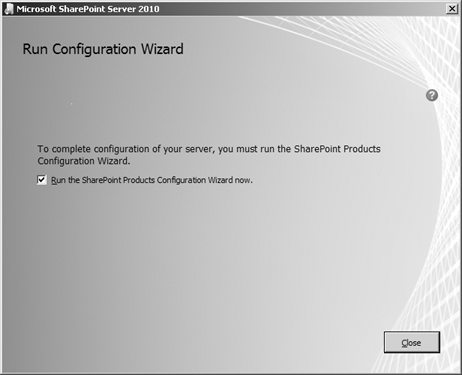
When the installation is
complete, the SharePoint product binaries are installed, completing
stage 1 of the upgrade. By default, the SharePoint Products
Configuration Wizard opening page shown in Figure 8 provides you with the option to begin the second stage of your SharePoint farm upgrade configuration.
