Windows Server 2008 R2 has many opportunities for IT
administrators to implement a virtualization strategy. Virtual Server,
Application Virtualization, Remote Desktop Gateways, and Remote Desktop
all provide opportunities for virtualization. Although all these tools
offer something uniquely valuable to the virtual environment, when we
think of virtualization with Windows Server 2008 R2, we think of
Hyper-V.
Hyper-V enables you to
create and host an entire virtualized environment in which you can host
client and server operating systems. Hyper-V offers the benefits of
running multiple operating systems simultaneously on the same set of
physical hardware. The problem of ever-increasing numbers of servers
(called server sprawl),
and its associated costs in both implementation and administration, can
be effectively controlled with a Hyper-V environment. There are also
benefits related to the testing and development areas of IT because test
machine and development environments can be easily built, maintained,
and reused. On a system running Hyper-V, the hardware utilization
typically goes way up while the hardware and administration costs go way
down. These benefits have made Hyper-V a very popular addition to the
Windows Server 2008 R2 network.
1. Install Hyper-V
To install Hyper-V, your system must meet certain requirements:
It must have an x64-based processor.
The
machine must support hardware-assisted virtualization. The processors
must support Intel Virtualization Technology (Intel VT) or AMD
Virtualization (AMD-V) enabled through the system BIOS.
Your system must have hardware-enforced Data Execution Prevention (DEP) via a BIOS-enabled Intel XD bit or AMD NX bit.
Your system must have Windows Server 2008 R2 Standard edition, Enterprise edition, or Datacenter edition installed.
Hyper-V is installed as a role
on Windows Server 2008 R2. You will use Server Manager to install
Hyper-V components and the Hyper-V Manager tool:
Select the box for the Hyper-V role.
Click Next to verify the informational messages.
Select a network adapter to use with your virtual machines. (You can modify this later with the Virtual Network Manager.)
The server will install the components and services for Hyper-V. See Figure 1.

Once the installation of Hyper-V has completed, you will need to restart your computer.
After the restart, you can use a
new tool called the Hyper-V Manager to manage your virtual networks and
virtual machines. You can open Hyper-V Manager by opening Server
Manager, expanding Roles, and selecting Hyper-V. You can also open
Hyper-V Manager as a stand-alone tool from the All Programs menu or the
Administrative Tools menu depending on how you have configured your
Programs menu.
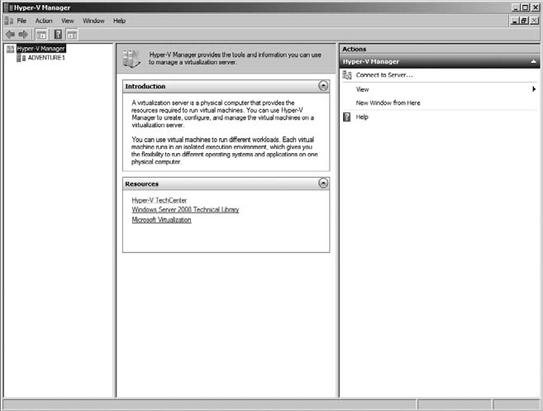
Hyper-V Manager consists of three panes, as you can see in Figure 2.
The tree pane is on the left side, the details pane is in the center,
and the Actions pane is on the right. As you select the server by its
name in the tree pane, the options available in the details and Actions
panes will update.
2. Work with Virtual Networks
The first things you will want to
do after installing Hyper-V is to build the virtual network
infrastructure you will use to connect your virtual machines to one
another and to make them available to the rest of your network, or even
the rest of the world.
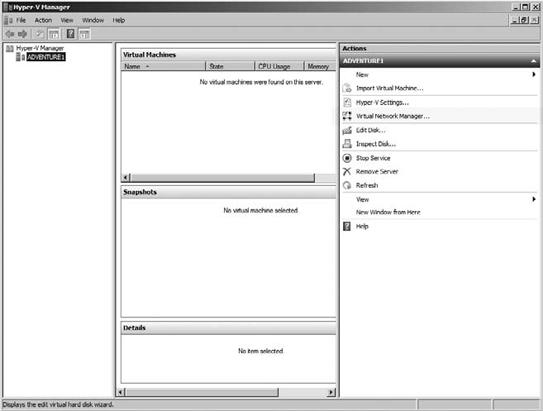
You can build and manage
virtual networks using the Virtual Network Manager tool in the Hyper-V
Manager. When the Hyper-V server is selected, you will find the Virtual
Network Manager option in the Actions pane, as shown in Figure 3.
When you click the
Virtual Network Manager option, you will see the default network that
was created when you installed Hyper-V, and you have the opportunity to
create additional virtual networks. Virtual networks come in three
distinct types:
External This type of virtual network binds to the physical network adapter so that virtual machines can access the physical network.
Internal
This creates a network that can be accessed only by the virtual
machines hosted by the local Hyper-V server and the host physical
server.
Private This creates a virtual network that can be accessed only by the virtual machines hosted by the local Hyper-V server.
When you are working with
virtual machines, you might want to have some machines connected to
private virtual networks, such as in a testing environment. Or you might
want to have machines connected to the physical network, such as a
hosted web server, or a legacy server running as a virtual machine. The
cool thing is that Virtual Network Manager does not limit you to
creating a single virtual network. You can build multiple virtual
networks and link virtual machines to the various virtual networks based
on your network needs.
To create a virtual network, follow these steps:
Open the Hyper-V Manager.
Select the server name in the tree pane.
Click Virtual Network Manager in the Actions pane.
Select the type of network you want to create (External, Internal, or Private).
Enter the name of your virtual network, as shown in Figure 4.
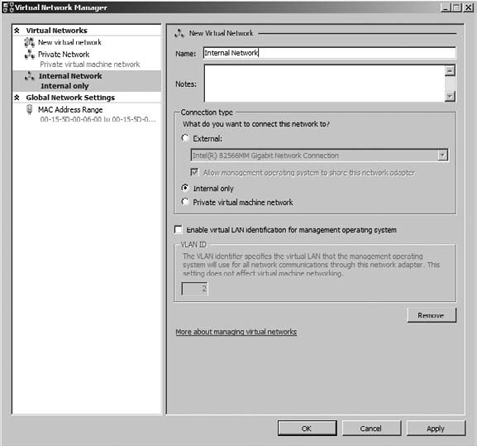
Enter any details or notes about the virtual network into the Notes field.
Under
Connection Type, select the network interface (for an external
network), or select the Internal Only or Private Virtual Machine Network
radio button.
In
the event that you are using an external network, you can also enable
and use a VLAN ID in conjunction with this virtual network.
The nice thing about the
Virtual Network Manager tool is that you can easily add new virtual
networks and make adjustments or changes to existing networks with
relative ease. If you open the Virtual Network Manager, the virtual
networks you have already created are visible in the details pane on the
left. You can select them by name and make any changes, including
removing the entire virtual network, by simply adjusting the settings in
the details pane.
