AIR (Adobe Integrated Runtime) is a cross-platform
runtime environment for building rich Internet applications using Adobe
Flash, Adobe Flex, HTML, or Ajax. Unlike traditional web applications,
the AIR application runs on your desktop without a web browser, often as
a floating panel.
With its combination of HTML
and JavaScript support, Fireworks has everything you need to create a
realistic interactive AIR prototype. The console mockup you will soon be
working with contains all the necessary elements to give the client the
appearance of a functional AIR application. The artwork is mostly
complete, and you will be adding AIR interactivity to the file as well
as making some adjustments to the imagery.
Note
Fireworks CS5 exports AIR
prototypes using the AIR 2.0 specification. Before you begin this
lesson, make sure you have AIR 2.0 installed on your system so that you
can install your prototype when it is completed. At the time of this
writing, AIR 2 is in public beta, so you may have to visit Adobe Labs (http://labs.adobe.com/technologies/air2/) to download version 2.
|
An AIR prototype is akin to an
HTML And Images export for a website. You will get the look and feel and
the interactivity of the application, but there is no live data
connection to other content—it’s not a fully functional AIR application.
Likewise, features such as scrolling in a text window are not possible.
However, rollovers, hyperlinks, and dragging are all possible.
Fireworks gives the client
an opportunity to “test-drive” the design and functionality of an AIR
application before any time is spent on the coding side.
Most of the techniques used in creating an HTML mockup can be applied to creating an AIR prototype.
|
Reviewing interaction
You’ll preview a simulation of a
console designed to allow visitors to browse campsites. You’ll test the
console’s interactive features as well.
1. | Open
the file nature_tours_console.fw.png from the Lesson13 folder. If you
are prompted about missing fonts, you can simply click Maintain
Appearance.
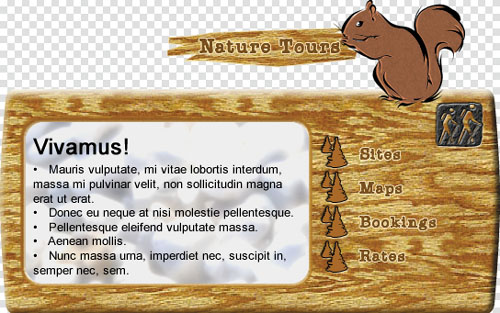
This console allows users to browse various campsites affiliated with
the fictitious Nature Tours Company, and to check rates and availability
of sites. Standard web interactivity has been used to create this
simulation, even though the end result will not be a website.
Note
The
decorative font used in this design is called JI Chaffs. To minimize
rendering issues, this font has been converted to paths. The only other
font used in this file is Arial and that has been left as a true font,
rather than being converted to paths.
|
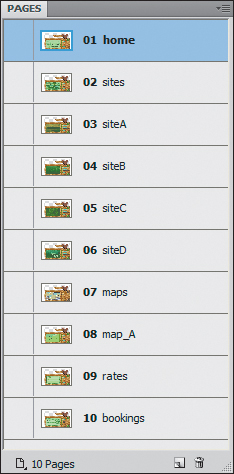
2. | Expand the Pages panel so you can see the entire list of pages in the document (a total of ten).
|
3. | Select the sites page.
Note
While the company may be
fictitious, the photos are the work of the completely real Jim Babbage,
of an equally real location called Obatanga Provincial Park in northern
Ontario, Canada.
|
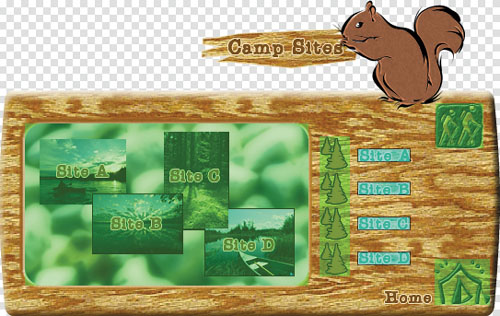
4. | Click Show Slices And Hotspots in the Tools panel.
A little squirrel mascot displays the current location. There are
buttons to close the application and to return to the main console
display.
Note the hotspots over the site names and the slices over the tree icons and the console screen.
|
5. | Switch to the Preview view at the top of the document window.

|
6. | Click Hide Slices And Hotspots in the Tools panel.
|
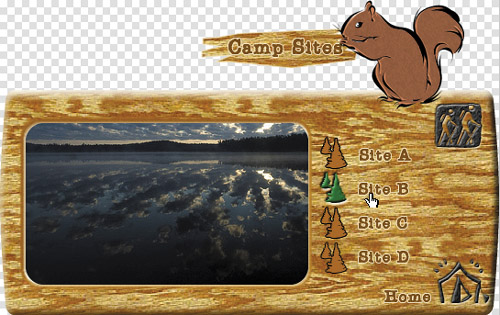
7. | Roll
over the Site B link in the right column. Effects have been added so
that the screen updates with a different photo when you hover your mouse
over the link, and the small tree icon also changes in appearance. The
hotspots also link to other pages in the design.
Note
In order for the interaction to work, you must select the Pointer tool in the Tools panel.
|
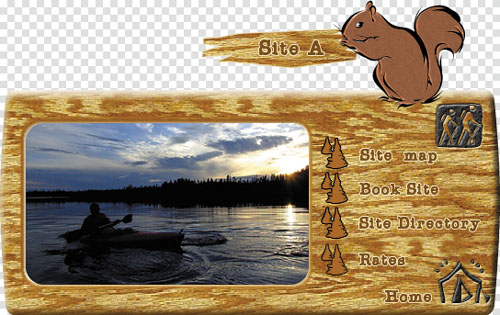
8. | Select the Site A page in the Pages panel.
Our squirrel acts as a way-finding device, displaying the current
location. The only rollover effects on this page are for the navigation.
|
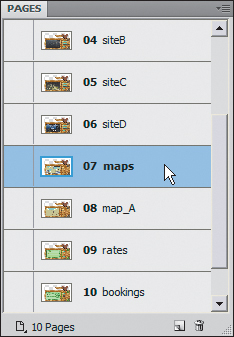
9. | Switch to the maps page in the Pages panel.
|
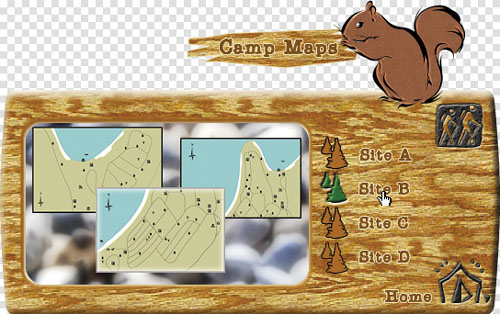
10. | Mouse over the different map links. The appropriate map thumbnail highlights in response to your rollover.
|
11. | Select
the map_A page from the Pages panel. Only one final site map has been
completed, but this is enough to show the client how that aspect of the
console will function.
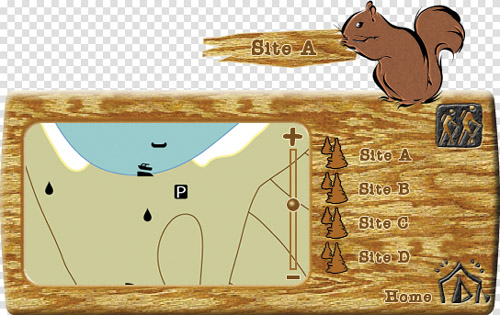
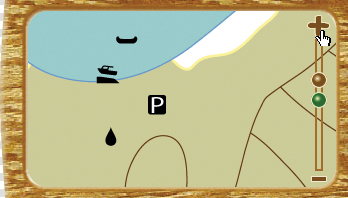
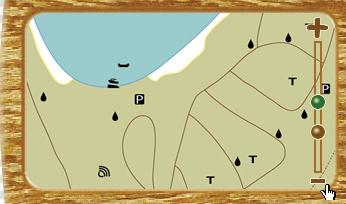
Although Fireworks cannot create a user-scrollable area, it can simulate zooming in and out of an area.
|
12. | Click the plus sign (+) on the map zoom bar. A new state appears, with a magnified view of the map.
|
13. | Click the minus sign (−). A reduced view of the site appears.
|
14. | Click the green dot to return to the original map-A page.
|
15. | Switch back to the Original view in the document window. |