Creating an AIR prototype
Yes, you are finally at the
point where you create the prototype! Much like an HTML prototype, this
gives you and the client a chance to interact with a simulation of the
AIR application before any time is spent coding the real thing.
First you should save this file to its own directory. This makes the rest of the process a little easier.
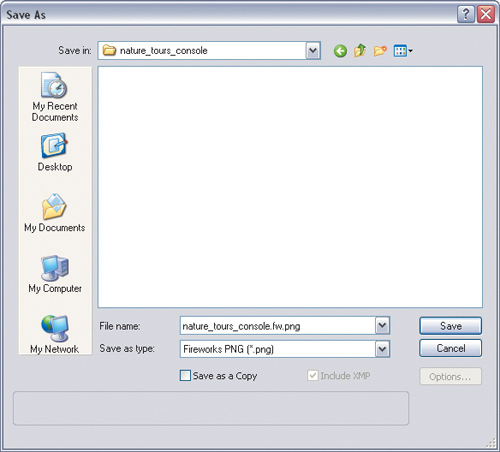
1. | Choose File > Save As.
| 2. | Create a new folder inside the Lesson13 folder, and call it nature_tours_console.
| 3. | Open this folder, if necessary, and save the PNG.
 | 4. | Copy the Lesson13/icons folder to the nature_tours_console folder.
| 5. | Select the home page in the Pages panel.
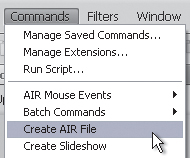
| 6. | Choose Commands > Create AIR File.
The Create AIR File dialog box appears, and it’s a big one. In this
figure, we’ve filled in the fields—refer to this figure to complete the
Create AIR Package dialog box:
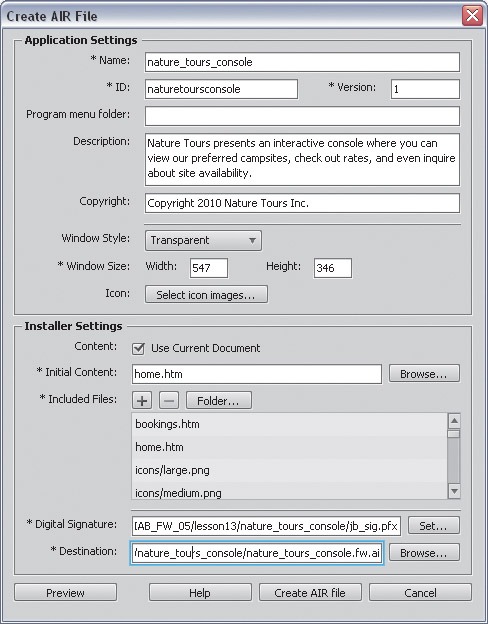
- Name. Specify
the name that appears on installation screens when users install the
application. By default, the filename is used, but you can change this.
- ID (required). Enter a unique ID for your application. Don’t use spaces or special characters in the ID. By default, the filename is used.
- Version (required). Specify a version number for your application. The default value is 1.
- Program Menu Folder (affects Windows only). Specify the folder in the Windows Start menu where you want the shortcut to the application created.
- Description. A description of the application to be displayed when the user installs the application. The description we used is Nature
Tours presents an interactive console where you can view our preferred
camp sites, check out rates, and even inquire about site availability.
- Copyright (affects Mac only). Include copyright information to be displayed in the About information for Adobe AIR applications installed on OS X.
- Window Style.
System Chrome surrounds the prototype with the standard window control
of the operating system. Transparent lets you use your own custom chrome
instead. Choose Transparent.
- Window Size.
Specify the dimensions of your application window in pixels when it
opens. Depending on your page sizes, outer glows, and drop shadows, you
may need to increase the dimensions slightly to prevent scroll bars from
appearing. Set the dimensions to 547 and 346, respectively.
|
One of the unique
characteristics of an AIR application is that it can “float” on your
desktop. So you could have a custom shape to the application
interface—much like we have in our nature tours console—and you will see
only the application, not the background of the original PNG file,
surrounding the design.
To use this look, make sure
your canvas color for each page is set to transparent and that you use
PNG 32 as your Optimization setting. The pages in this file have already
been set to PNG 32.
|
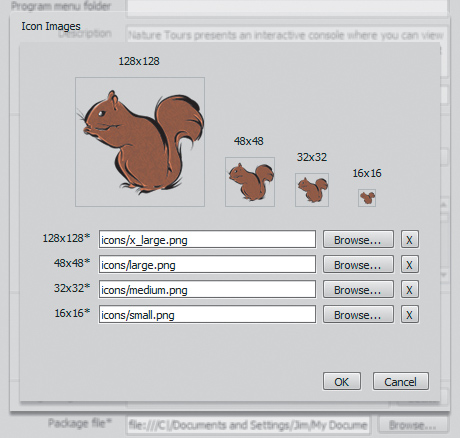
- Icon. You
can select custom images for the application icons. Select the folder
for each icon size, and select the image file you want to use. Only PNG
files are supported for application icon images.
Click
the button and for each of the four icons, browse to the icon folder
you copied over to the nature_tours_console folder. Match the
16×16-pixel icon with the small.png file, the 32×32-pixel icon with the
medium.png file, and so on. These icon files must be in the root
directory in order to be selected.
- Content. Select the Use
Current Document option to automatically select the folder from which
the files are to be included. The resulting list will be simpler if your
PNG file is in its own folder rather than, for example, your desktop or
main documents folder. This is why you saved the PNG file to its own
folder earlier.
Note
Fireworks generates all
the graphics needed for the prototype at this stage, so it’s not unusual
for Fireworks to become nonresponsive for a couple of minutes as it
runs through all the pages in the design.
- Initial Content.
Browse to select the page that appears as the starting screen of the
prototype. If you selected Current Document, the initial content is
automatically set.
- Included Files.
Specify the files or folders to include in your application. You can
add additional HTML and CSS files, image files, and JavaScript library
files. Click the plus button (+) to add files, and click Folder to add folders.
To delete a file or folder from your list, select the file or folder,
and click the minus button (−). The files or folders you include in the
Adobe AIR package must be in the root content folder. Scroll through
this list and locate the original PNG file. Select it, and then click
the minus button. The PNG file is not necessary for the AIR application,
and this will reduce the file size of the AIR file.
- Digital Signature (required). All Adobe AIR applications require a digital signature in order to be installed.
To add a digital signature, click the Set button next to the Digital Signature field, and do one of the following: To sign an application with a digital certificate that you have already purchased, click the Browse button, select the certificate, enter the corresponding password, and click OK. To create your own self-signed digital certificate, click the Create button. This is the method you will use for this exercise, so click Create.
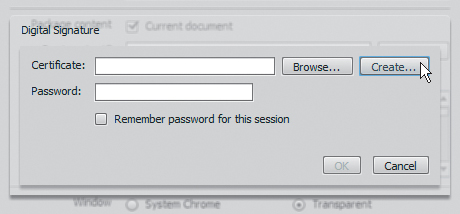
You must
fill in every field in order for the Create button to become active. You
can use the settings in the following figure as a guide.
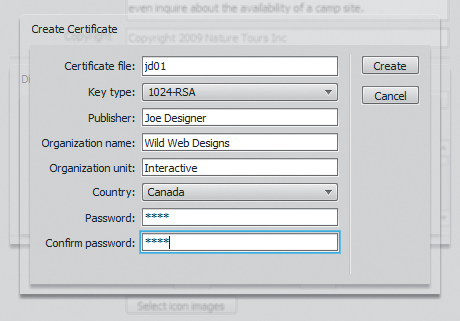
Note
The Key Type option
refers to the level of security of the certificate: 1024-RSA uses a
1024-bit key (less secure) and 2048-RSA uses a 2048-bit key (more
secure).
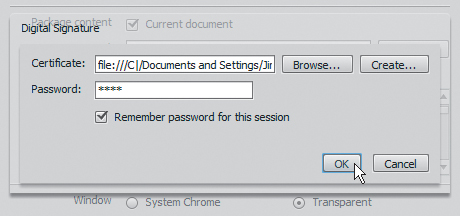
When
you’re finished, click Create. Then enter the corresponding password in
the Password field of the Digital Signature dialog box, and click OK.
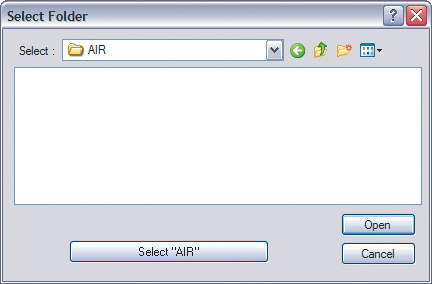
- Destination (required).
Specify the folder to save the new application installer (AIR file). The
default location is the initial content folder. Click the Browse button
to select a different location.
Create
a new folder called AIR in the nature_tours_console folder, and select
this new AIR folder as the location to place the installer package.
The only file required by the
user is the AIR installation file. All the necessary files are added to
the AIR installer by Fireworks.
| 7. | Before you click the create button, test the prototype by clicking Preview.
Fireworks builds a temporary version of the prototype and launches it.
You can test interaction and check for unsightly scroll bars at this
time. Click the prototype’s Close button (the hiker pictogram) to exit
the application.
| 8. | Click Create AIR file.
|
|