Now we can delve into the package
distribution process in more detail, beginning with package creation
itself. In this section we’ll explore the package creation process,
including identifying distribution points and creating programs.
1. Gathering Source Files
If your package involves the accessing of source
files, such as performing a software installation, you must define a
location for the source files. The location can be a shared folder on
the site server or on a remote server, including a CD-ROM
drive. The most important characteristic of the source file location is
that it must be accessible to the SMS site server either using the SMS
service account if running SMS in standard security mode or using the
site server’s computer account if running SMS in advanced security mode.
If your program involves using a script file or files, be sure to
include them as part of your source files as well or the program will
fail.
2. Creating a Package from Scratch
As in all things SMS, you’ll begin in the SMS
Administrator Console. You can create a package either from scratch—one
for which you provide all the configuration details—or from a package
definition file that already contains all the package details. In this
section we’ll look at the former technique.
To create a package from the ground up, follow these steps:
1. | Navigate
to the Packages folder, right-click it, choose New from the context
menu, and then choose Package to display the Package Properties dialog
box, shown in Figure 1.
|
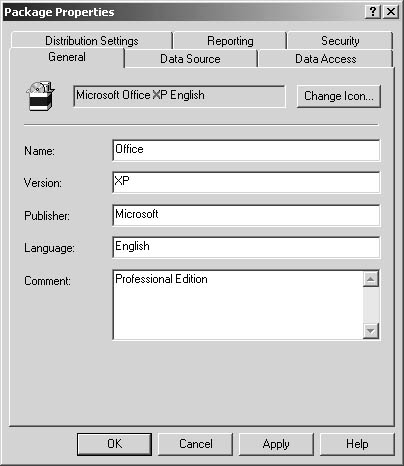
2. | In
the General tab, enter the name of the package, its version, its
publisher, its language, and a descriptive comment if desired. The only
required value here is Name. Notice that the full package name is
displayed in the text box to the left of the Change Icon button.
|
3. | Click
Change Icon to enter or browse for an icon file or Setup.exe file to
display the correct icon for the package. The default icon is the SMS
package icon.
|
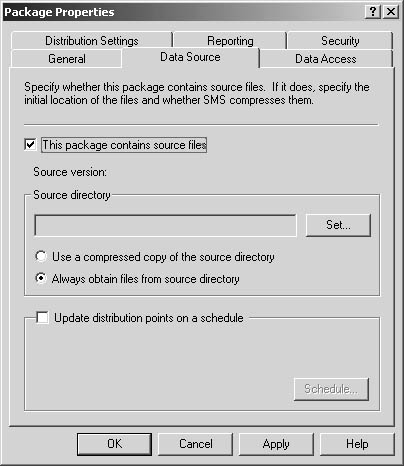
4. | Select the Data Source tab, shown in Figure 2.
This tab lets you define details concerning the source files for the
package. If the package contains source files—even a single file—select
the This Package Contains Source Files check box to enable the options
in the Source Directory frame.
|
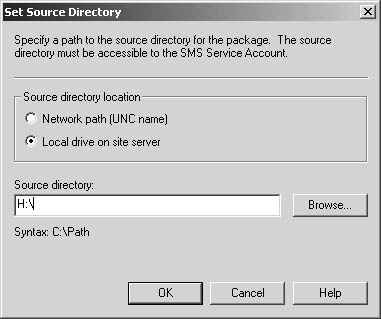
5. | Click Set to display the Set Source Directory dialog box, shown in Figure 3.
In this dialog box you define the location of the source files. The
location can be either a local drive path or a UNC path to a remote
share. Enter the location or click Browse to look for the directory.
Then click OK to return to the Data Source tab.
|
6. | If
your source files aren’t likely to change or are on a removable medium
such as a CD-ROM, or if the source path is likely to change, select the
Use A Compressed Copy Of The Source Directory option. This option causes
SMS to create and store a compressed version of the source files on the
site server. When the package needs to be sent to a new distribution
point or updated on existing distribution points, SMS will access the
compressed files, uncompress them, and send them to the distribution
points.
|
7. | If
your source files are likely to change periodically—for example, if
they include a monthly virus update file—select Always Obtain Files From
Source Directory. Selecting this option also allows you to select the
Update Distribution Points On A Schedule check box. Setting an update
schedule ensures that as the source files change, the distribution
points will be updated regularly.
|
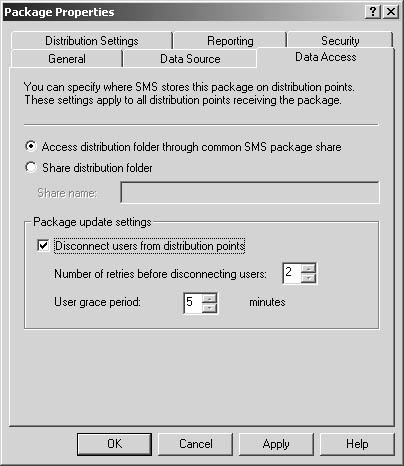
8. | Select the Data Access tab, shown in Figure 4.
The Data Access tab defines how SMS will store the package source files
on the distribution points. The default setting is Access Distribution
Folder Through Common SMS Package Share. With this setting, SMS will
define a share point on the distribution points and place the source
files in a folder in that share. The share will always be SMSPKGx$, where x
represents the drive with the most free disk space. This share is a
hidden share to keep prying eyes from browsing for it. When SMS runs out
of disk space, it will find the next drive with the most free space and
create an additional SMSPKGx$ directory and share there.
|
9. | If
you prefer to create your own folder organization and access shares,
you may do so first and then reference the share by selecting the option
Share Distribution Folder and entering the UNC path to the share. This
value can be a share or a share and a path, but whatever value you enter
must be unique among all packages. Also, the share and path must
already exist on the distribution points that you target. If you enter
only a share name (in the form \\server\appshare),
any file or subfolders created within the share will be deleted and
re-created whenever the package is updated or refreshed. If you enter a
share that includes a path (\\server\appshare\word), only the down-level folder will be deleted and re-created.
|
10. | Select
Disconnect Users From Distribution Points to do just that. If you want
to ensure that no users are connected to the package folder on the
distribution points when files are being refreshed or updated, this
option will cause SMS to inform users that they will be disconnected.
Users will be disconnected after the time period you specify in the User
Grace Period text box. The default value is 5 minutes, but you can
specify from 0 to 59 minutes. The Number Of Retries Before Disconnecting
Users option indicates how many times SMS will attempt to refresh the
distribution points before disconnecting users. This value can range
from 0 to 99.
|
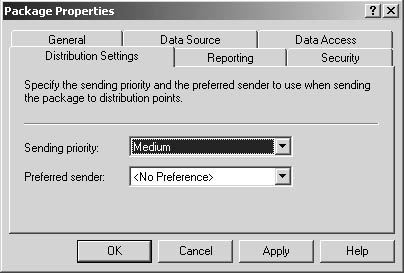
11. | Select the Distribution Settings tab, shown in Figure 5.
In this tab you identify the sending priority and preferred sender to
use when sending this package to distribution points in a child site. If
you have no child sites, these settings will have no effect.
|
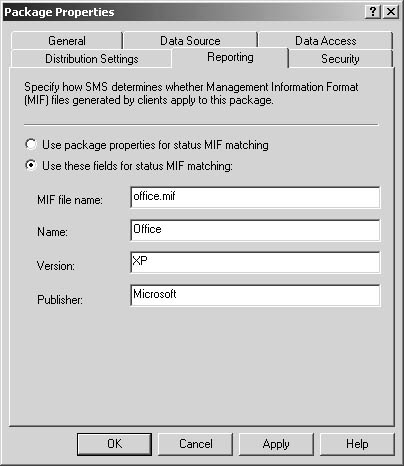
12. | Select the Reporting tab, shown in Figure 6.
This tab lets you identify how SMS reports installation status
Management Information Format (MIF) files from the client when the
package is run. Select Use Package Properties For Status MIF Matching to
simply use the values you supplied in the General tab to identify
status MIF files generated during installation. Or select Use These
Fields For Status MIF Matching and fill in the fields if you want to
specify different values.
|
13. | Select the Security tab to set class and instance security rights for the package.
|
14. | Click OK to create the package.
|
We haven’t quite finished creating this package.
If you expand the new package entry you just created in the SMS
Administrator Console, as in the example shown in Figure 7,
you’ll see that three areas of configuration remain. The first area,
defining access accounts, allows you to further secure who has access to
the distribution source files. The other two areas are absolutely
essential to the successful distribution of the package: defining
distribution points, without which the client has no access to the
source files, and defining programs, which specifies how to install or
run the source files. Let’s configure the access account first.
